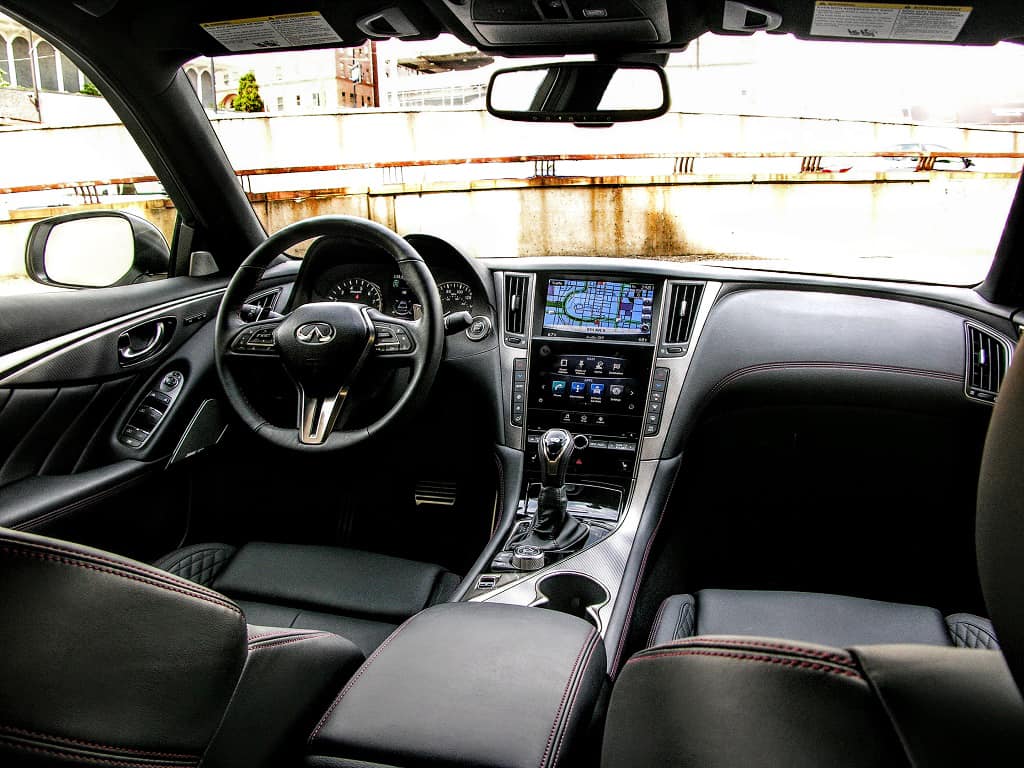
The sound of a plastic control knob snapping resonates inside the cabin, as does the gasp of dismay expelled by the driver. They’re not alone either, as every year, countless plastic car interior parts around the globe break under pressure.
While today’s plastics are more durable than ever, there’s only so much abuse these man-made materials can withstand before they break. Damage is inflicted upon these materials even when the vehicle is unoccupied, as the sun’s UV rays cause both crack and fade alike to materialize, while it’s intense heat distorts and forces seemingly strong plastics to become brittle with time.
This is why the use of a sunshade and temp-reducing window tint has been associated with prolonging the longevity of automotive interiors. There’s a reason why many automakers offer “factory window tint” on everything save for the front two doors, which are left devoid of the darkening film to meet the standards associated with various municipalities.
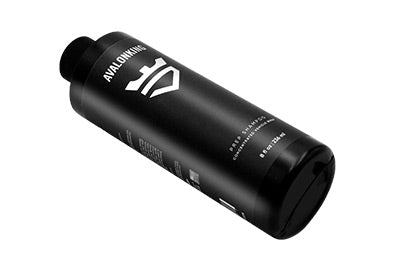
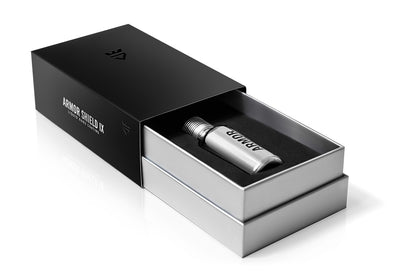
Naturally, a little routine cleaning and the use of protective oils or a 9H-rated ceramic coating like Armor Shield IX will help alleviate surface wear-and-tear too, as will the use of things like seat covers and driving gloves. But let’s not lose sight of the issue at hand here. Regardless of how much microfiber buffing, ceramic coating, leather balming, or seat cushioning you do, the rough hands of Father Time are forever eager to turn an interior trim panel or door handle into shards of shattered piece of plastic.
So which plastic interior parts are the quickest to crack? We’ve put together a little list of the most “accident prone” pieces of automotive plastic, along with some suggestions for fixing said component with a little DIY love.

Shit Happens… Plastic Car Interior Components and You
Plastics are fucking everywhere. Since the cigarette smoke laden days of the early 1970s onwards, the proliferation of this fossil fuel-based man-made material has made automotive interiors both cheaper and easier to manufacture, but far more brittle too. Polyethylenes, styrenes, nylons, polycarbonates, polypropylenes, polyvinyls, thermoplastics, polyurethanes, and many more unpronounceable terminologies are standard fair in the modern automobile, many of which drivers take for granted every day.
Quick Tip: Not sure what kind of plastic you are working with? The plastic repair gurus over at Polvance have put together a useful guide to help you identify what kind of material you are dealing with, and what sort of repair tips should be kept in mind when tinkering with these substances.
So which interior car components are most prone to wearing out prematurely due to excessive wear? Here are a few of the more common culprits.
Sun visor arms and the little plastic flaps covering the mirrors tucked within them are notorious for snapping at a moment’s notice, especially when handled regularly or during detailing. Plastic door handles on the other hand (dad joke anyone?), often fail due to hairline stress fractures, an almost invisible malady that develops after one overzealous tug too many occurs.
Audio and climate control knobs eventually dislodge from their mounting points or fail to send signals, while the hinged covers for USB and lighter outlets are quick to break due to abuse. Meanwhile, both the plastics on the steering wheel and the shifter assembly lose their luster and begin to scratch and peel, as heavy-handed usage (more dad jokes anyone?) take their toll.
Kick panels crack after one kick too many, pedals scratch and crack if not constructed from a lightweight alloy, and even then, aluminum pits and corrodes when exposed to salt-encrusted snow boots. Turn signal and wiper stalks lose their markings over time or snap entirely, while air vent fins suddenly snap while being adjusted for the millionth time.
Pretty much any component that comes into consistent contact with a driver or passenger’s hands and feet is fair game too. From seat belts and storage holds, to trunk liners, car door panel trim pieces, and scuff plates, every vehicle has its own unique list of contact “hot spots.”
While applying too much pressure to a button or switch will likely cause it to fail prematurely, the act of sliding ass cheeks across leather car seat surfaces will eventually rub even the roughest and toughest surface raw. Spilled beverages and precipitation only worsen matters too, as moisture seeps into porous surfaces, further weakening the already overtaxed materials, as well as the vehicle’s resale value.
Quick Nerd Note: Regardless as to what material is being used, it’s worth remembering that virtually every plastic on the planet is derived from some sort of fossil fuel. Fossil fuels primarily consist of biodegraded plant, earth, and animal matter. Taken literally, this means most humans are riding around in machines made out of melted dinosaur skeletons and really old compost.

Repair or Replace? The Price of Busted Plastic Car Interior Parts
As for the repair cost related to the fixing or replacement of an automotive interior component due to wear and tear, that will vary greatly depending upon the price of the part in question, and whether or not you choose an OEM unit, or an aftermarket alternative. There’s also the matter of the labor costs involved with said repair, for dealerships are notorious for charging a premium over run-of-the-mill mechanics.
Which leads us to the discussion of taking matters into one’s own hands, and attempting a DIY fix. While the car repair cost associated with fixing broken plastic within a car’s interior will be far less than say an engine replacement or windshield repair, the average mechanic will likely charge a hefty fee for even a simple fix. Being that the average auto insurance company doesn’t cover the repair cost associated with a scratched plastic car door scuff plate or cracked control knob, paying out of pocket is often the only way.

So while attempting a full interior conversion should be reserved for the pros, tackling small shit, like busted door handles, broken control knobs, and sun and heat interior damage can be tackled on a Saturday morning in the garage. Just keep in mind that many automakers offer a full bumper-to-bumper warranty, so if you are the original owner of a newer automobile, and you believe it is still covered by a warranty, hit that dealership up for a quick quote. It may result in a free fix.
Quick Tip: The repair or replacement of faulty safety equipment like seatbelts and airbags is typically covered under a manufacturer warranty. So if your airbag light comes on for no reason, or your seatbelt warning stays on even after buckling in, chances are it’s something that the dealer will tackle free of charge under an extended warranty and note in case of recall.

Fixing Broken Car Interior Plastic
Obviously, fixing or replacing cracked plastic car interior parts will only boost resale value, so if the fork in the road ahead involves selling, it’s probably not a bad idea to make those fixes sooner than later. Sure, that cracked temp control knob may seem like small tostadas, but chances are any buyer with a keen eye will notice it right away, thus giving them further cause to haggle over your asking price. Luckily, most broken interior parts fall within the category of quick car repairs, so let’s skip the whole “full car makeover” approach, and focus on what’s busted.
An article from automotive information juggernaut, The Drive, suggests using a plastics-approved adhesive to reaffix certain vehicle parts and fill cracks. While this may be an inexpensive and seemingly simple solution, the margin for error can be significant if you are unfamiliar with epoxies and strong-bonding adhesives. Hell, the fumes alone warrant their own warning in certain cases!
For those brave souls who are bold enough to attempt an interior plastic fix on their own, it is worth recalling that not all plastic repair products are made equal, and that certain repairs require a multi-stage operation. For instance, when repairing something like a cracked vinyl dashboard, it is important to get the right textured replica pad for imprinting, so as to guarantee that your DIY work blends flawlessly in with its surroundings.
Looking to delve deeper into the art of plastics repair? Napa Auto Parts offers a fairly all-encompassing guide to repairing simple plastic car interior components. The auto parts specialist recommends taking an approach that involves an epoxy and paint approach, as opposed to, say, solvent welding fixes, which utilize scraps from similar plastics.
If you decide to go the epoxy DIY route, you will need the following items, as well as a clean, well ventilated and brightly lit area to work in.
- Plastic Repair Epoxy (The Drive recommends using J-B PlasticWeld, Pratley Powda Bond, or Permatex Cream Plastic Welder)
- Masking Tape
- Interior Paint (Dupli-Color offers a lot of options here)
- Clear Coat (the tougher the better)
- Adhesion Promoting Primer
- Fine-Grit Sandpaper (320, 400, and 500)
- Wax & Grease Remover
- Lint-free Towels
- Nitrile Gloves
The Prep Process
Hit the compromised component in question with a clean microfiber cloth anointed with a splash of wax and grease remover, which should safely clean the surface area without damaging the plastic. If you don’t have access to microfiber towels, lint-free shop towels will work as well, just be sure to wipe-away the wax and grease remover with a separate dry cloth, regardless of which type of towel you prefer.
Quick Tip: While a dedicated wax and degreaser chemical will always yield the cleanest results, a properly blended isopropyl alcohol spray will clean away most unwanted residue as well. If neither is available, a concentrated mixture of soap and water will suffice, just be sure to thoroughly wipe the surfaces dry to remove any leftover soap.
Remove and Inspect the Compromised Component
If possible, remove the compromised plastic component from the vehicle prior to repair. This will not only allow you to better access the portion of the plastic requiring repair, but it will also keep other areas of your interior removed from any “oh shit moments” that might occur. Doing so will also give you the opportunity to assess other areas for signs of wear, as hairline cracks are a foreboding sign of larger issues. Keep a close eye out for damage along corners, as well as along creased and rounded edges, all of which are prone to cracking.
Quick Tip: Always inspect the backside of a plastic interior piece, as there may be hidden damage behind it. This is oftentimes the best place to make repairs too, as it results in a cleaner finish.
Tape, Glue, and Other Sticky Stuff
Surface cleaned, affix the damaged piece in the area where it belongs with the masking tape. If filling a hole or crack, tape over the damage, and then use an Exacto knife to carve out the area you wish to fill. Crack or hole closed and taped-off, it’s time to break-out your preferred adhesive, and get to slathering that shit over the damaged area. Remember, you probably won’t need a ton of this stuff, just enough to coat the compromised section.
After the epoxy has been pressed into the crack/hole/cavernous-black-hole-of-despair, carefully press the damaged pieces together before binding them tight. You can use any method of applying pressure that you wish, just as long as you remember to not press too firmly. All that is needed is enough pressure to guarantee that the damaged area can be snugly fitted back together once filled with adhesive. While masking tape is oftentimes a preferred method of binding, carpentry clamps, vice grips, and even gravity itself can be utilized to press the broken part back together.
Quick Tip: Certain putties and epoxies require hand blending, so be sure to follow the instructions in order to guarantee maximum adhesion.
Time to Play the Waiting Game
Once securely fitted together and/or filled with adhesive, allow ample curing time to take place, which will vary depending upon the product being utilized and air temperature. The trick here is patience. Like ceramic coatings, there’s a considerable amount of downtime associated with plastic adhesives, and there’s a massive difference between “hardening/dry time” and “curing time.”
While most high-grade epoxies will dry or harden in minutes, they require hours of undisturbed downtime to cure properly. So outside of peeling off the tape/removing pressure, the damaged plastic component should not be moved or even touched while curing. Come to think of it, if the applied pressure points do not come into contact with the adhesive (i.e. a vice gently pressing on each side), you can probably leave the part as it sits overnight to fully cure.
Sand By Me
Plastic piece properly cured, inspect the repaired part for both durability and appearance flaws. If it’s a highly visible component, and your repairs appear unsightly, you may need to sand the area and apply a matching coat of paint. Professionals suggest using a dry guide coating prior to sanding, primer, and paint, which will serve as a magnifying glass of sorts, and expose any missed or poorly repaired portions of the plastic.
After that, it’s on to sanding with a triple-pronged-approach via the use of 320, 400, and 500-grit sandpaper. Working with the 320-grit sandpaper first, remove any surface imperfections, adhesive residue, and/or oxidation, in the process removing the chalky coating left behind from the dry guide coating. As you sand be sure to follow the grain of the plastic (if applicable), and remember to not press too firmly in order to prevent the sandpaper from marring the surface, or worse yet, cracking the plastic.
Quick Nerd Note: NAPA warns that when it comes to using sandpaper on plastic surfaces, “…anything more coarse than 320 will leave sanding scratches in the final finish.”
Painting a Line in the Sand
While the pros over at NAPA recommend using a spray-on bed liner to mimic the grain within certain plastics, not all automotive interior materials have a grain/pattern. This is why finding a spray paint that matches your vehicle’s interior plastic is so important.
Sanding residue and dust removed with a wax and grease remover, you can then apply two medium coats of adhesion promoter, allowing at least 15 minutes of dry time to take place between coats. Follow this with a final top coat no later than an hour after the first two medium coatings have been applied. This will help further soften the plastic surface, which according to NAPA, encourages the paint to have both a “chemical and mechanical bond.”
After the adhesion promoter has cured, it’s on to paint. When working with spray paint, it is important to first do some test runs on a separate piece of plastic, so as to make sure that your spray distance, angle, and distribution are all spot-on. Textured formulas, metallic finishes, flaked pigments, and an endless rainbow of colors are all at your fingertips. So do your research, and choose the proper paint to best suit your needs to avoid having to do it all over again. Regardless of what paint you choose, always be sure to spray in a well ventilated area when temperatures are no less than 50° Fahrenheit, or 10° Celsius.
Take care when applying paint to avoid unsightly pooling and drips. Light coats sprayed from 8- to 15-inches away allow the paint enough time to dry slightly in the air before striking the surface. While heavier sprays like bed liners and undercoatings require 3-4 hours of cure time before being labeled as “safe-to-touch,” most basic trim spray paints need around 20-30 minutes of dry time to occur between coats. That being said, a good rule of thumb is to factor-in longer times between coats, and to allow a full 24 hours to pass before applying a clear coat or reinstalling the repaired piece of automotive interior.
Once reinstalled, hit that surface with a layer of ceramic coating to prevent scratches and oxidation from forming. This final process will create a rock-hard crystallized shell across the plastic trim, which will help prevent future damage from occurring.


