There is nothing wrong with nostalgia. In fact, in the automotive world, the growth of vintage restorations and nostalgia racing is a growing industry. But to be blunt – there are some things that should be left in the past; such as disco, bellbottom pants, and car wax.
A strong argument can be made that the usefulness of car wax has been surpassed by technology. Lab created synthetic wax or paint sealants accomplish the same task, but last longer and are easier to apply. Add the use of nano technology in ceramic coatings, and it’s easy to see how the days of applying, removing, and reapplying a wax or sealant are fading away.
But, whether they opt for natural carnauba wax, paint sealants or ceramic coatings, striping wax from a car is an important step before applying any new paint protection product.
Let’s explore some of the most successful ways you can strip wax from a car. We’ll explain why this is crucial, some supplies that work better than others, and outline best practices.
So – let’s get cracking.
How Does Car Wax Work?
As most of you know, an automotive car wax is the first stage of paint protection used by millions of people across the globe. There are two types of car wax – natural and synthetic. The natural is sourced from a palm tree found in Brazil. The synthetic is lab created.

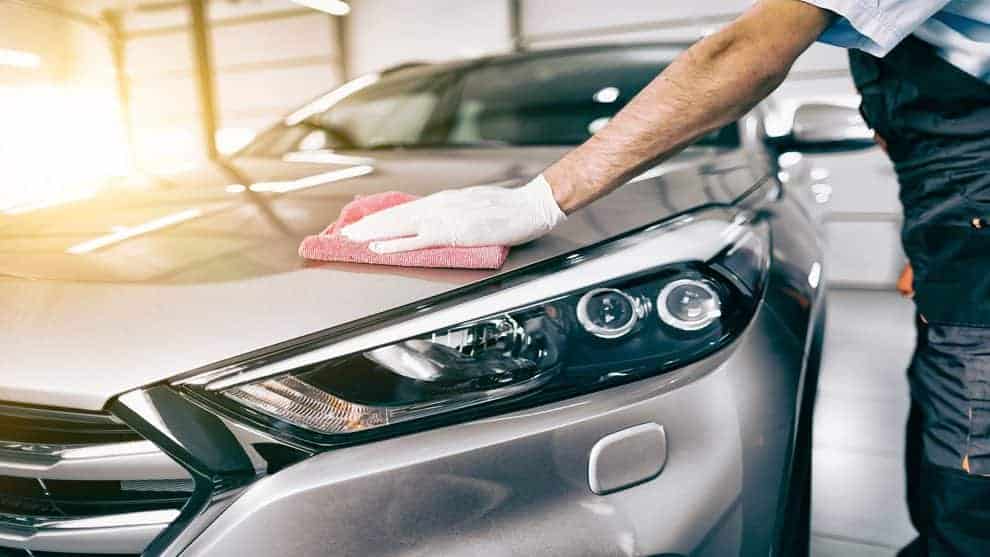
Both versions of automotive wax work by being spread evenly over a vehicle surface, flashing (or initially curing), which creates a coat of residual that is buffed off with a microfiber cloth or towel. When the wax hardens, it forms a protective shell on top of the surface applied.
However, wax only lasts for about three months – with synthetic variants up to a year at maximum. Before you apply a second layer of wax, you need to remove the old layer first. This is ultimately the largest pain in the butt and arguably why many car owners are switching to longer-lasting paint protection solutions.
3 Reasons to Strip Wax from a Car
There are generally three reasons or situations when you’ll want to strip or remove wax from your car, truck, or SUV.
To Prep for Any Paint Protection Application
The most common reason why someone would remove car wax is to prepare for adding another paint protection product. Most protection solutions are designed to apply directly to the base material.

For example, a ceramic coating works by penetrating those microscopic peaks and valley’s found on a porous surface, filling those imperfections, then leaving a flat and hard layer of protection.
However, if wax is left on the surface, the ceramic coating will not be able to fill those imperfections, harden or work correctly. This is the same with car wax, paint sealants, ceramic sprays, hybrids, and other products. Heck, even PPF adheres better to the raw surface that does not have a coating of wax on top.
First Step in Paint Correction
Most long-lasting paint protection products enhance the luster or shine of the surface it’s applied. As such, completing paint correction or polishing the body panels, headlights and other substances is recommended.
If you refer to our exceptional article on DIY paint correction, you’ll remember we said the first step should be to completely wash the vehicle. We also recommended using a wax-stripping or degreasing car wash automotive shampoo. This helps to remove wax (which we’ll get to the nitty gritty a bit later).
Before Auto Body Repair
Don’t you hate it when you park at a shopping center and you find a fresh dent on your door? Unfortunately, this is a daily occurrence across the globe. Minor scratches and dings may be repaired by a detailing specialist. But most of the time, it’s the duty of an autobody shop.
While there are several methods for fixing this type of damage, most body repair involves prepping a section, and repainting. If this is the case, the autobody expert will remove any wax on the entire section that will receive any paint or touch-up.
How Often Should You Remove Car Wax?
If you pray to the church of carnauba wax, you likely have a set regimen for applying, removing, applying, and so forth. According to the many wax gurus it’s recommended to apply, remove and reapply every three months.
For those looking to upgrade or change their paint protection game, simply remove car wax as your first step in the process.
What are the Hurdles Associated with Removing Car Wax?
Removing car wax is not an exact science. In fact, depending on the type of car wax used, how long it was applied, the amount of wax applied or buffed off, and even the amount of exposure, the removal process can be challenging for some car owners.
This introduces some of the hurdles or concerns that exist with regards to removing car wax.
Potential of Scratching: There are different methods used to remove car wax, one of which is to polish or ‘buff’ it off. This involves the use of a cutting compound and power orbital polisher. The compound basically cuts into the layer of wax and removes it via friction.
If the polishing compound is too aggressive or the polishing cloth or microfiber towel has dirt or debris, it can cause light scratches or swirl marks.
Not Knowing When It’s Removed: Another issue some car owners have with removing car wax or a paint sealant from the paint job is not knowing when it’s gone. If they are polishing, and not sure when it’s removed, they can cut into the clear coat or worse.
How to Tell If You Have Wax on Your Car Still
Like the old GI Joe cartoon once said, “Knowing is half the battle.” Understanding how much of your coat of wax is still on your vehicle, or if it’s naturally faded can – and often will, direct you to choosing the best method for removing what’s remaining.
Here are a few easy tips for getting a baseline of the wax remaining on your vehicle.
Does the Vehicle Appear Shiny Still?
Car wax is designed to amplify what’s underneath. So, if the paint is in great shape, the wax will enhance that luster. If it’s dull, the wax can help add some depth. The first key to knowing whether or not your car still has wax is to consider its shine.
If your car was dull before application, and it’s still fairly shiny, then you still have wax on it. If the shine has gone, so is most of the wax.
Does Water Bead or Roll Off the Surface?
The next test of wax remaining on a vehicle is the hydrophobic test. This basically determines the repellency of water on the protected surface. If water rolls of the surface, it’s still protected with wax. If the water sits on the surface or pools in a large area, the wax is likely gone.
How Long Was it Applied?
Most automotive waxes hold up till for about 3 months – liquid wax can last longer. If you applied it more than three months ago, it’s more than likely gone. Driving conditions and exposure to outdoor elements is another determining factor.
If it’s been a garage queen, the car wax can last longer than three months. If it’s been parked outdoors, it will accelerate the deterioration without using a wax remover.
Best Practices for Removing Car Wax
The information above should give you a solid baseline of the condition of your vehicle, specifically how to approach the wax removal.

Generally, if the car wax has been on for longer than two months, you can get away with using an automotive-specific degreasing or wax-stripping car wash soap or shampoo. If it’s less than two months old, you might have to use more aggressive methods.
Here is an easy way to remove car wax from your vehicle.
Degreasing Car Shampoo Wash & Clay Bar Treatment
The easiest way to remove wax from a car is to wash it off. To accomplish this, you’ll need a degreasing soap that is made for automotive paints and surfaces. Wax is comprised of greasy oils, that will break down when a pH-positive degreaser has time to work its magic.
Let me be 100% clear – using dish soap for this task is NOT a good idea. Dish soaps are degreasing agents and do a great job of removing oils and grease, but they are not designed for car paint, plastic trims, and other automotive parts. They simply are too aggressive – so always opt for a high-quality, automotive-specific wax-stripping shampoo.
Here is an easy to follow guide for this process:
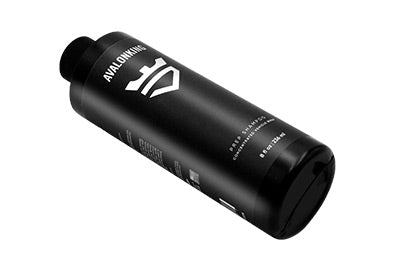
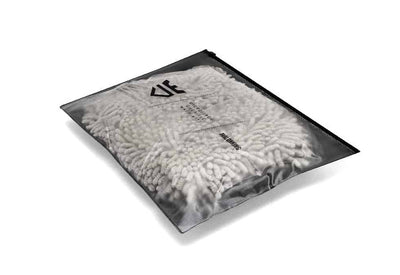
Gather Supplies – (1) bottle of automotive wax stripping shampoo, two wash buckets, a microfiber wash mitt, and a foam cannon or foam gun if you’ve got one.
Step 1 – Pre Wash with Foam Cannon or Foam Gun
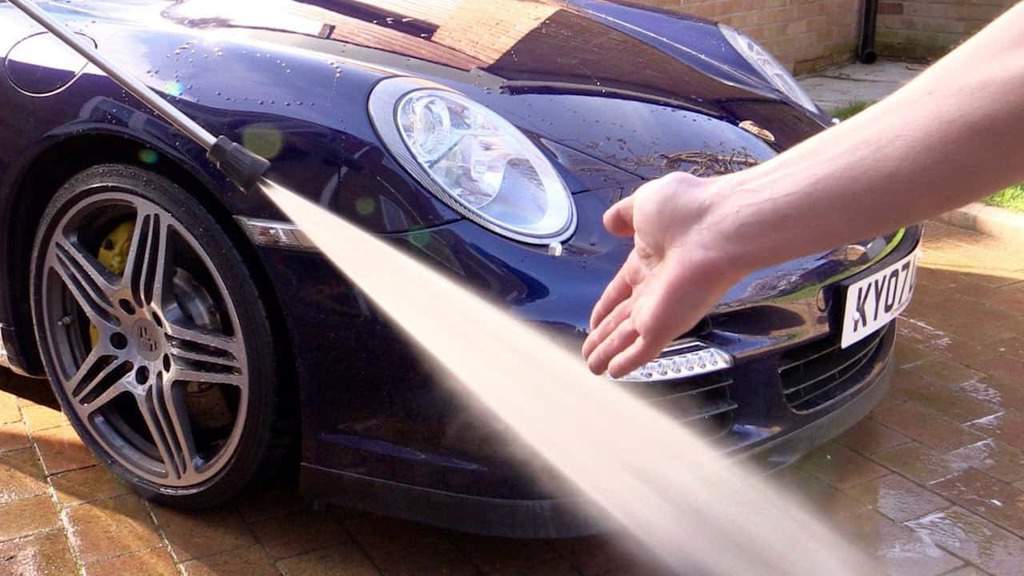
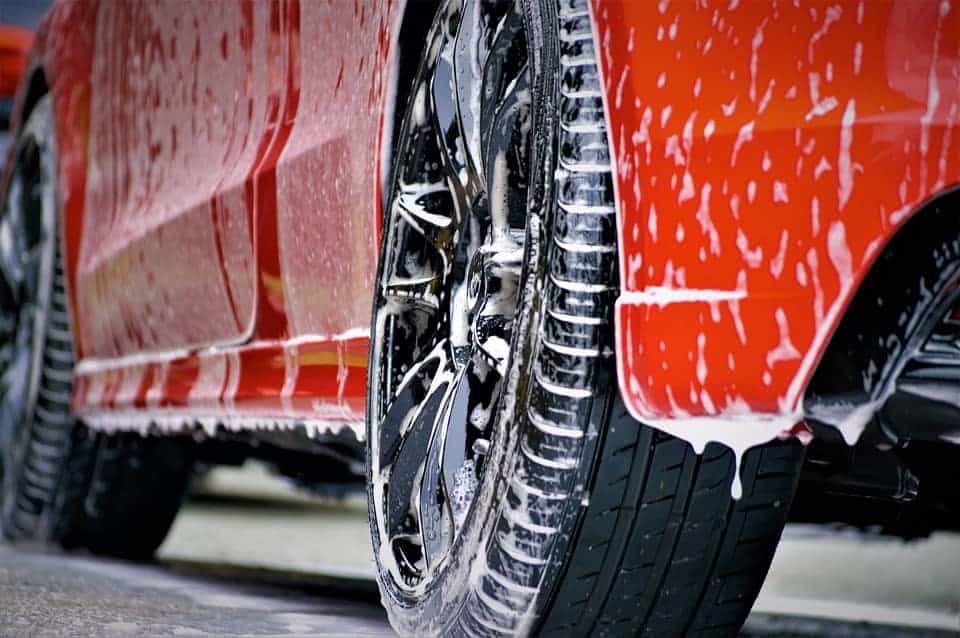
The best way to start the car washing method of removing car wax is to start with a pre-wash. This is accomplished by spraying the car with water first, then using a foam cannon or foam gun to spray a layer of soap on the entire vehicle.

A few helpful hints:
- Never do this in direct sunlight. It will accelerate the drying process which is bad.
- Cover the entire vehicle in soap. Let it soak into the surface for about 3 minutes – no more than 5 minutes.
- Spray off with fresh water.
Step 2 – Use the Two Bucket Method for Car Washing
If you need a refresher on two bucket car washing – read this article. With a wax stripping shampoo, you’ll want to use the recommended dilution per the manufacturer guidelines. Make sure to fully rinse off each section as you go to avoid drying.

When you’re finished washing the car – rinse off the entire vehicle once more. After that, use a high-quality drying towel to completely remove any standing water. Degreasing shampoo – even that made for cars can leave streaks if the water isn’t completely wiped dry with a good drying towel.
If your car still appears to have car wax on it – or if you want to remove any wax that is trapped in those nooks and crannies – it’s a good idea to proceed to step 3.
Step 3 – Use a Clay Mitt
This is recommended anytime you’re going to apply a ceramic coating to your vehicle, but it’s a great way of removing wax for paint sealants or other protectants as well. Here is how to do the clay bar / clay mitt treatment.
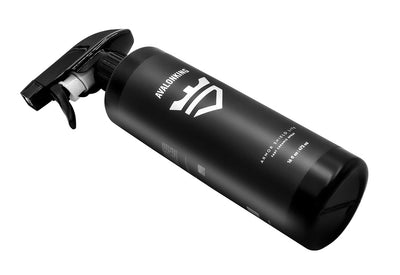
Gather Your Supplies: You can use a clay bar kit or clay mitt with a lubricant spray made for this application. Don’t skimp on using the lubrication spray – so make sure to buy at least 16oz bottle. Trust me – you’ll use it on an entire average sized car.
This is a great video that shows you how to clay your car.
Wrapping it Up
Removing car wax from a car, truck, SUV, even motorcycle is easier than you’d think. Like anything else, the task is streamlined and simplified by using the right tools for the job.
By spending a few extra dollars on using high-quality supplies designed for this task, you’ll reduce scratching, damage to paint and other vehicle parts, and ensure your surface is ready for a longer-lasting paint protection solution.


5 comments
Douglas albin
Used mirror shine on my hood and it was cleaned before applying and it left the finish rough but shiny need to remove the mirror shine from the clear coat and start over Thanks.
Used mirror shine on my hood and it was cleaned before applying and it left the finish rough but shiny need to remove the mirror shine from the clear coat and start over Thanks.
Dale Pearl
Hi Kevin!
We definitely recommend prepping the surface even with a new car. I would suggest a basic prep such as this with new cars:
1) wash and dry also removing any wax at this stage
2) clay mitt
3) IPA wipe down with diluted IPA strength between 15% and 25%
Hi Kevin!
We definitely recommend prepping the surface even with a new car. I would suggest a basic prep such as this with new cars:
1) wash and dry also removing any wax at this stage
2) clay mitt
3) IPA wipe down with diluted IPA strength between 15% and 25%
Kevin
I’m purchasing a brand new car, is there any prep required before applying IX ?
I’m purchasing a brand new car, is there any prep required before applying IX ?
Tim C
Hi Greg:
The process for removing paint sealant is the same as polishing wax. It is basically paint correction.
Hi Greg:
The process for removing paint sealant is the same as polishing wax. It is basically paint correction.
Greg
Great article! Can you tell us the procedure for removing paint sealant. Is is more difficult than wax? I’m currently using Klasse, but would like to venture into a ceramic finish. Thanks!
Great article! Can you tell us the procedure for removing paint sealant. Is is more difficult than wax? I’m currently using Klasse, but would like to venture into a ceramic finish. Thanks!