
How to polish a Honda Pilot?
Polishing your Honda Pilot is not just about maintaining its aesthetic appeal. It's also about preserving the value of your vehicle. Over time, dirt, grime, and minor scratches can dull the shine of your car. However, with the right tools and techniques, you can restore your Honda Pilot to its original luster. This guide will walk you through the process of polishing your Honda Pilot, ensuring it remains in top condition.
Understanding the Importance of Polishing
Before we delve into the how-to of polishing, it's essential to understand why it's necessary. Polishing your Honda Pilot does more than just enhance its appearance. It also protects the paintwork from harsh weather conditions, road salt, and other damaging elements. Moreover, it can help to remove minor scratches and blemishes, improving the overall look of your vehicle.
Polishing also extends the life of your car's paint job. By removing the top layer of dirt and grime, you're also removing harmful contaminants that can cause your paint to oxidize and fade over time. So, not only does polishing keep your Honda Pilot looking its best, but it also helps to maintain its value.
The Polishing Process
Polishing a car might seem like a daunting task, but with the right approach, it can be quite straightforward. Here's a step-by-step guide on how to polish your Honda Pilot.
Step 1: Gather Your Materials
Before you start, you'll need to gather a few essential materials. These include a car wash soap, a bucket, a sponge or wash mitt, a microfiber towel, a car polish, and a polishing pad or machine. If you're polishing by hand, a foam applicator pad will do. However, for a more thorough job, you might want to consider investing in a dual-action polisher.
It's also a good idea to have a clay bar on hand. This is used to remove any remaining contaminants from the paint surface before you start polishing. A clay bar can help to ensure a smoother, more even polish.
Step 2: Wash Your Car
The first step in the polishing process is to wash your car thoroughly. This will remove any loose dirt and grime, making the polishing process more effective. Be sure to use a car wash soap, as household detergents can strip the wax from your car's paint.
Start by rinsing your car with a hose to remove any loose dirt. Then, using your sponge or wash mitt, wash your car from top to bottom. Rinse your sponge frequently to avoid scratching the paint with dirt particles. Once you've washed the entire car, rinse it off and dry it with your microfiber towel.
Step 3: Clay Bar Your Car
Once your car is clean and dry, it's time to use the clay bar. This will remove any remaining contaminants from the paint surface, making the polishing process more effective. Simply spray a small area of your car with clay lubricant, then glide the clay bar over the surface. You'll feel the clay bar picking up contaminants as you go. Once the clay glides smoothly over the surface, you know it's clean. Repeat this process over the entire car.
After you've finished with the clay bar, give your car another quick rinse and dry. This will remove any clay residue and prepare the surface for polishing.
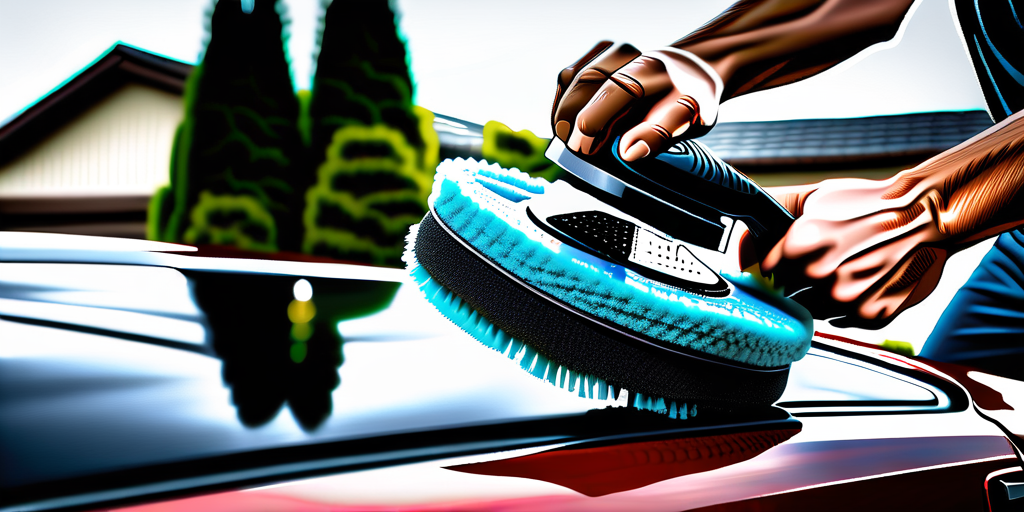
Step 4: Apply the Polish
Now it's time to apply the polish. If you're using a foam applicator pad, apply a small amount of polish to the pad and then apply it to a small section of your car. Use circular motions to work the polish into the paint. If you're using a dual-action polisher, apply the polish directly to the pad and then use the machine to apply it to the car.
Once you've applied the polish, let it dry to a haze. This usually takes about 10-15 minutes. Then, using a clean microfiber towel, buff the polish off using circular motions. Repeat this process over the entire car.
Maintaining the Shine
After you've polished your Honda Pilot, you'll want to maintain that shine for as long as possible. One way to do this is by applying a car wax or sealant. This will create a protective barrier over the paint, helping to keep it clean and shiny for longer.
Another key to maintaining the shine is regular washing. Aim to wash your car every two weeks, or more frequently if it gets dirty. Regular washing will help to prevent dirt and grime from building up on the paint surface, keeping your Honda Pilot looking its best.
Conclusion
Polishing your Honda Pilot is a great way to maintain its appearance and value. It's a simple process that can be done at home with a few basic materials. By following this guide, you can keep your Honda Pilot looking its best for years to come.
Remember, maintaining your car's paintwork is not just about aesthetics. It's also about preserving the value of your vehicle. So, take the time to polish your Honda Pilot regularly. Your car, and your wallet, will thank you.
Ready to give your Honda Pilot the shine it deserves? Look no further than AvalonKing for all your car polishing needs. With years of experience in providing top-quality car cleaning products, we have everything you need to make your vehicle look its best. From ceramic coatings to car shampoos, our products are designed to deliver exceptional results. Check out our products today and take the first step towards a gleaming Honda Pilot.

