How to polish a Nissan Armada?
Polishing your Nissan Armada is not just about maintaining its shiny exterior. It's also about preserving the vehicle's value and ensuring it continues to turn heads wherever it goes. This comprehensive guide will provide you with all the necessary steps and tips to polish your Nissan Armada like a professional.
Understanding the Importance of Polishing
Before we delve into the how-to, it's crucial to understand why polishing your Nissan Armada is important. Polishing is not merely an aesthetic exercise. It serves a practical purpose too.
Polishing removes the outermost layer of your car's paint, which often contains minor scratches, swirl marks, and other imperfections. It restores the original shine and luster of your car's paint, making it look brand new. Moreover, it provides a smooth surface for wax or sealant, enhancing the overall protection of your car's exterior.
The Benefits of Regular Polishing
Regular polishing of your Nissan Armada has several benefits. Firstly, it keeps your car looking its best. A well-polished car stands out on the road and can even be a point of pride for many car owners. Secondly, it helps maintain the car's resale value. A car with a well-maintained exterior is likely to fetch a higher price in the market.
Lastly, regular polishing protects your car's paint from harsh environmental elements. It creates a barrier against harmful UV rays, acid rain, bird droppings, and road salt, all of which can damage your car's paint over time.
Polishing Your Nissan Armada: A Step-by-Step Guide
Now that we've covered the importance of polishing, let's move on to the actual process. Polishing your Nissan Armada is a multi-step process that requires patience and attention to detail. But don't worry, we've got you covered with this comprehensive step-by-step guide.
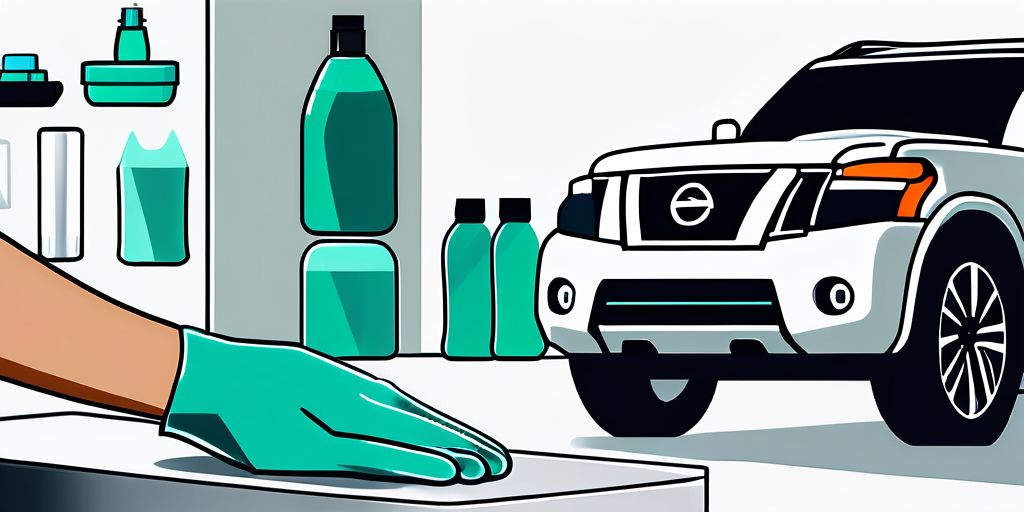
Step 1: Gather Your Supplies
Before you start, make sure you have all the necessary supplies. You'll need a car polish, a polishing pad, a microfiber cloth, and a dual-action polisher. If you don't have a dual-action polisher, you can also use a rotary buffer, but be careful as it can cause damage if not used properly.
When choosing a car polish, look for one that is specifically designed for your car's paint type. This information can usually be found in your car's manual. Also, consider the condition of your car's paint. If it has a lot of scratches or swirl marks, you might need a more abrasive polish.
Step 2: Prepare Your Car
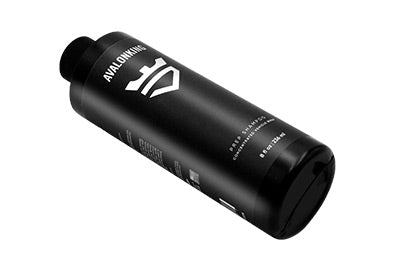
Before you start polishing, it's important to thoroughly clean your car. Any dirt or debris left on the car's surface can cause scratches during the polishing process. Start by washing your car with a car shampoo and a soft sponge. Rinse it thoroughly and dry it with a microfiber towel.
Once your car is clean, inspect it for any major scratches or dents. If you find any, it's best to have them repaired before you start polishing. Polishing won't fix these issues and might even make them more noticeable.
Step 3: Apply the Polish
Now it's time to apply the polish. Start by applying a small amount of polish to your polishing pad. Then, using the dual-action polisher, spread the polish evenly over a small section of your car's surface. It's best to work in small sections to ensure an even application.
Once you've spread the polish, increase the speed of your polisher and work it into the paint using a back and forth motion. Make sure to apply moderate pressure and keep the polisher moving to avoid burning the paint. Continue this process until the polish becomes clear or starts to dry.
Step 4: Buff and Inspect
After you've applied the polish, it's time to buff it off. Using a clean microfiber cloth, gently buff the polished area until all the residue is removed. Then, inspect the area for any remaining scratches or swirl marks. If you find any, repeat the polishing process until the desired result is achieved.
Continue this process until you've polished the entire car. Remember to regularly clean your polishing pad to prevent any built-up residue from scratching your car's paint.
Maintaining Your Nissan Armada's Shine
Polishing your Nissan Armada is just the first step in maintaining its shine. To keep your car looking its best, it's important to follow up with regular maintenance.
Regular Washing
Regular washing is crucial in maintaining your car's shine. It removes dirt and grime that can dull your car's paint and lead to scratches. Aim to wash your car at least once a week, using a car shampoo and a soft sponge. Avoid using dish soap or other harsh detergents as they can strip away your car's wax or sealant.
Waxing
Waxing is another important step in maintaining your car's shine. It provides a protective layer over your car's paint, preventing damage from UV rays, acid rain, and other environmental elements. Aim to wax your car every three to six months, depending on the type of wax you use and your car's exposure to the elements.
Regular Inspections
Lastly, regular inspections can help you spot any potential issues before they become major problems. Look for any signs of fading, scratches, or other damage. If you spot any issues, address them promptly to prevent further damage.
In conclusion, polishing your Nissan Armada is a worthwhile investment of your time and effort. It not only enhances your car's appearance but also preserves its value and protects it from damage. With this comprehensive guide, you now have all the knowledge you need to polish your Nissan Armada like a pro.
Ready to give your Nissan Armada the shine it deserves? Look no further than AvalonKing for all your car polishing needs. With years of experience in providing top-quality car cleaning products, AvalonKing has everything you need to make your vehicle sparkle. From ceramic coatings to car shampoos, our products are designed to deliver professional results. Check out our products today and take the first step towards a gleaming, well-protected ride.

