How to wax a Honda Pilot?
Waxing your Honda Pilot is not just a matter of aesthetics. It's an essential part of vehicle maintenance that can extend the life of your car's paint job, protect it from the elements, and even enhance its resale value. But how exactly do you go about it? In this comprehensive guide, we'll walk you through the process step by step.
Understanding the Importance of Car Waxing
Before we delve into the specifics of waxing a Honda Pilot, it's crucial to understand why this task is so important. Car wax serves as a protective layer over your car's paint, shielding it from a variety of potential damages.
For instance, UV rays from the sun can cause your car's paint to fade over time. By applying a layer of wax, you can minimize this effect, keeping your car looking newer for longer. Similarly, wax can protect your car from scratches and chips caused by small pebbles or debris on the road.
Moreover, a good wax job can give your car a glossy, showroom-like finish that can turn heads wherever you go. It's a simple and cost-effective way to enhance your vehicle's appearance and maintain its value.
Choosing the Right Wax for Your Honda Pilot
Not all car waxes are created equal. Different types of wax offer different benefits, and the best choice for your Honda Pilot will depend on your specific needs and preferences.

For example, natural carnauba wax is known for its deep, rich shine and excellent water-beading properties. However, it doesn't last as long as synthetic waxes, which are more durable and offer better protection against the elements.
There are also liquid waxes and paste waxes to consider. Liquid waxes are easier to apply and remove, but they may not last as long as paste waxes. On the other hand, paste waxes can be more difficult to work with, but they often provide a longer-lasting finish.
Preparing Your Honda Pilot for Waxing
Before you start waxing your Honda Pilot, you need to prepare the surface properly. This involves washing your car thoroughly to remove any dirt, grime, or other contaminants that could interfere with the waxing process.
Start by rinsing your car with a hose to remove loose dirt. Then, using a soft sponge or car wash mitt, apply a car wash soap and scrub the surface gently. Rinse the soap off thoroughly and dry the car using a microfiber towel to prevent water spots.
Once your car is clean and dry, you can proceed to the waxing stage. However, if you notice any scratches or swirl marks on the paint, you might want to consider using a clay bar or a polishing compound to smooth out the surface before applying the wax.
Waxing Your Honda Pilot: A Step-by-Step Guide
Step 1: Applying the Wax
Start by applying a small amount of wax to a foam applicator pad. Then, using a circular motion, spread the wax evenly over a small section of the car's surface. It's best to work on one section at a time, rather than trying to wax the entire car at once.
Make sure to apply the wax thinly and evenly. Applying too much wax won't provide better protection, and it can make the wax harder to remove.
Step 2: Removing the Wax
After applying the wax, you need to let it dry. This usually takes about 5 to 10 minutes, but it can vary depending on the type of wax you're using and the weather conditions. You can tell when the wax is ready to be removed by performing the swipe test: swipe your finger across the waxed surface, and if the wax smears, it needs more drying time. If it doesn't smear, it's ready to be removed.
Use a clean, dry microfiber towel to buff off the wax. Turn the towel frequently to avoid reapplying wax to the surface. Continue this process until all the wax has been removed and the surface has a high gloss finish.
Step 3: Checking Your Work
Once you've removed the wax, take a step back and inspect your work. Look for any areas that you might have missed, or any spots where the wax hasn't been fully removed. If necessary, reapply wax to these areas and buff it off again.
Remember, the goal is to achieve a uniform, high-gloss finish across the entire surface of your Honda Pilot. If you notice any streaks or hazy areas, it might be a sign that you need to go over the surface again with a clean, dry microfiber towel.
Maintaining Your Honda Pilot's Wax Job
Waxing your Honda Pilot is not a one-time task. To keep your car looking its best and to maintain the protective benefits of the wax, you'll need to reapply it regularly. How often you need to wax your car will depend on a variety of factors, including the type of wax you use, the weather conditions in your area, and how often you use your car.
As a general rule, you should aim to wax your car at least twice a year. However, if you live in a harsh climate or if you use your car frequently, you might need to wax it more often.
Remember, maintaining a good wax job is not just about reapplying the wax. It's also about keeping your car clean between waxing sessions. Regular washing can help prevent dirt and grime from building up on the surface, which can dull the shine of the wax and reduce its protective properties.
Conclusion
Waxing your Honda Pilot might seem like a daunting task, but with the right tools and techniques, it can be a rewarding process that enhances your car's appearance and protects it from damage. Remember, the key to a successful wax job is preparation, patience, and attention to detail. So take your time, follow the steps outlined in this guide, and you'll be on your way to a shiny, well-protected Honda Pilot in no time.
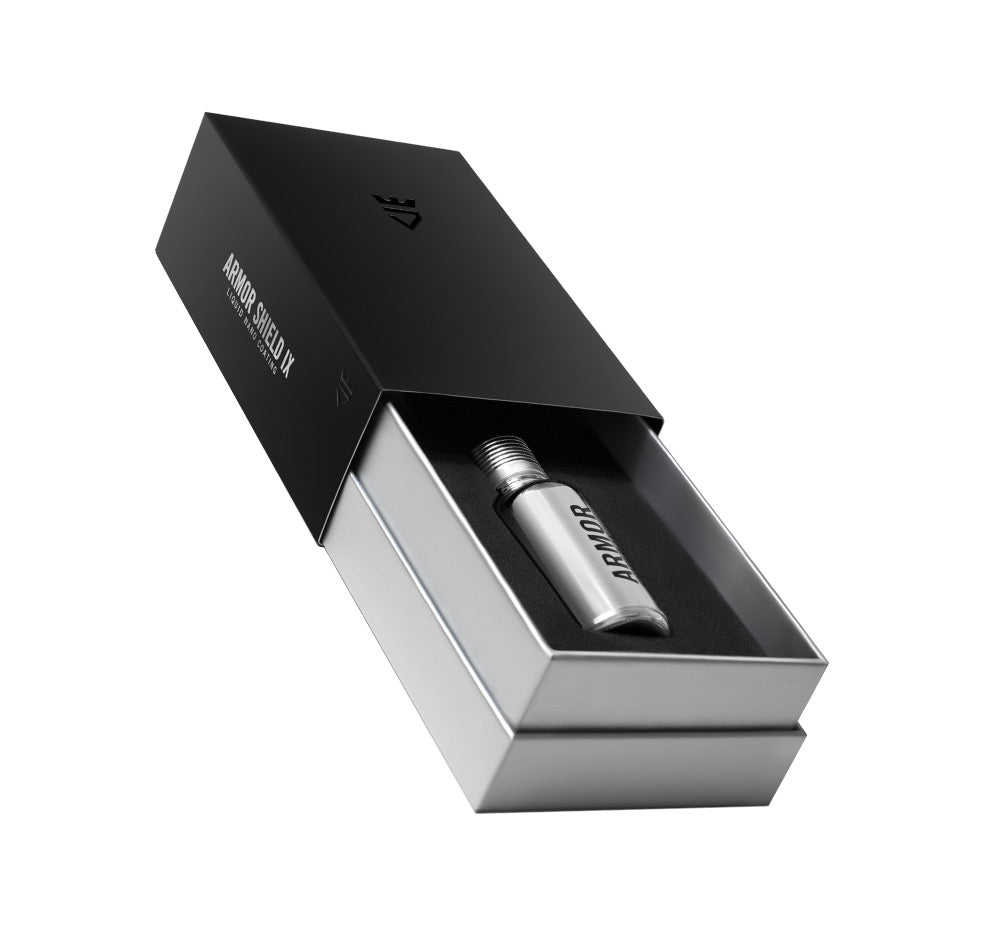
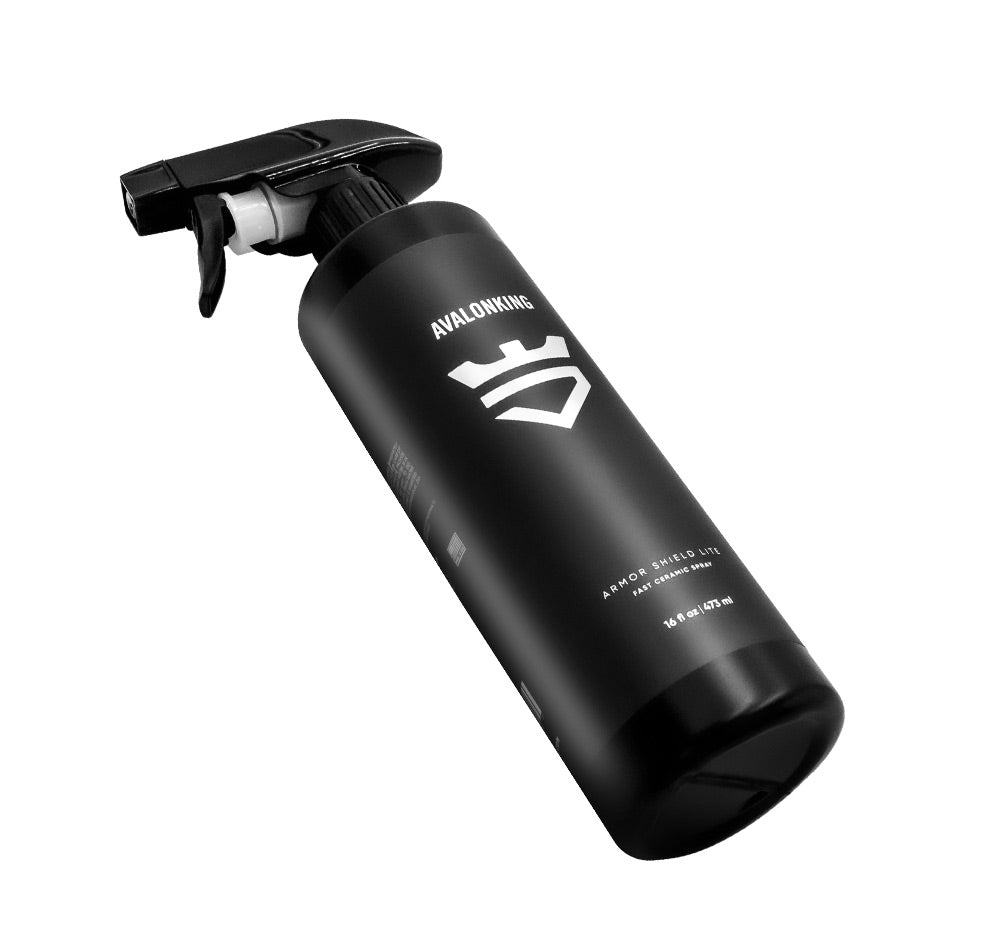
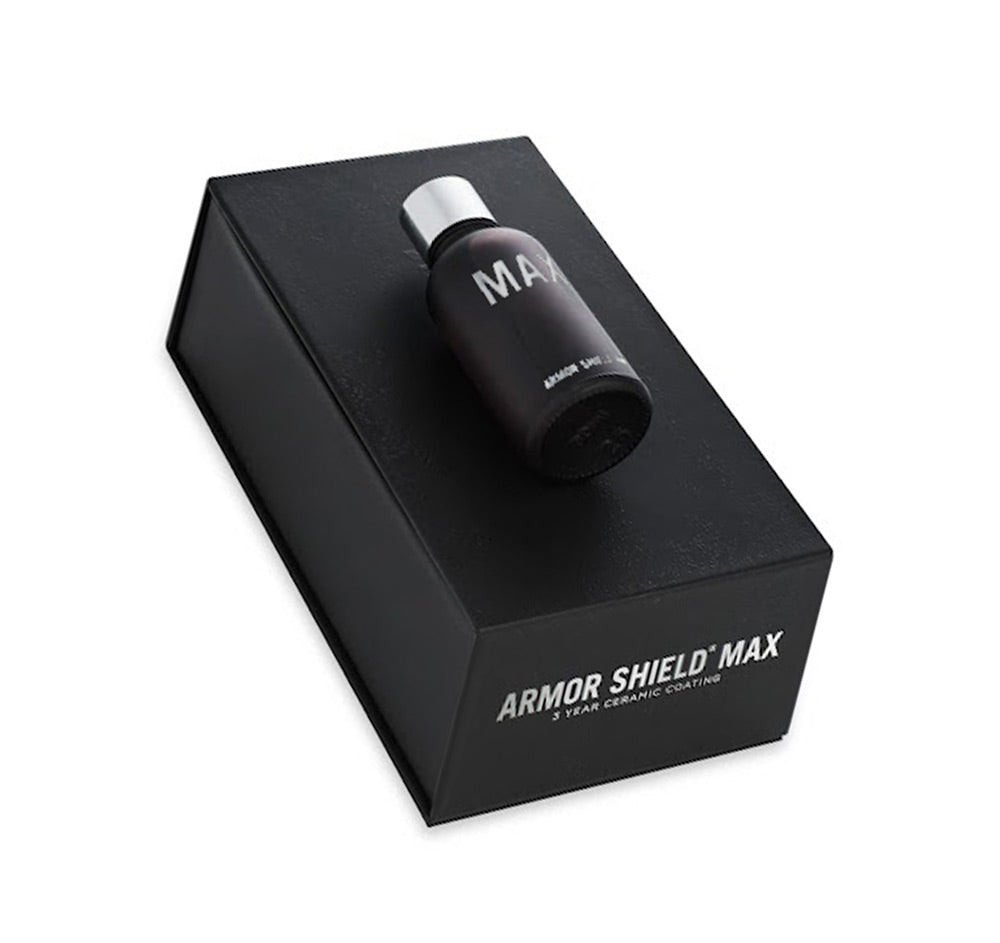
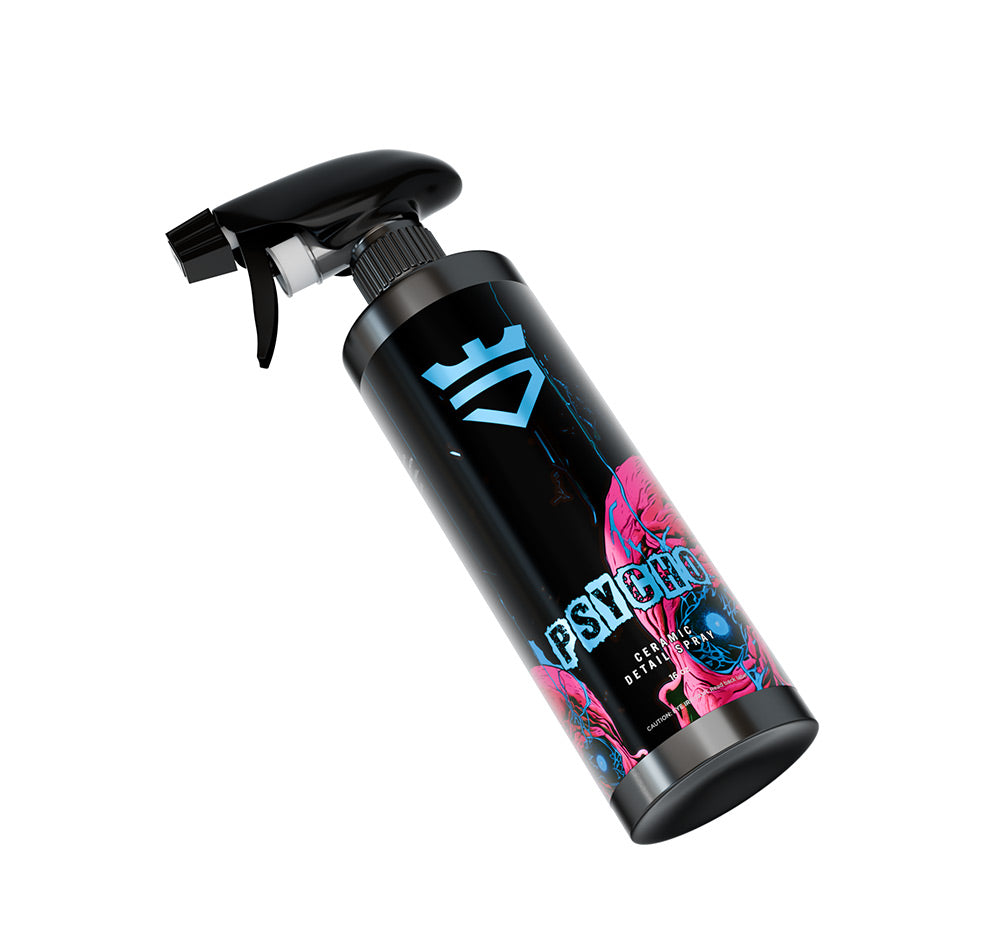
Ready to give your Honda Pilot the ultimate shine and protection it deserves? Look no further than AvalonKing for all your car care needs. With years of expertise in providing top-notch car cleaning products, AvalonKing has everything you need from ceramic coatings to car shampoos. Check out our products today and see the difference quality makes in maintaining your vehicle's pristine condition.

