How to wax a Lexus ES?
Waxing your Lexus ES is an essential part of maintaining its sleek and shiny appearance. It not only enhances the car's aesthetic appeal but also provides a protective layer against harsh weather conditions and road debris. But how exactly do you wax a Lexus ES? Let's delve into the step-by-step process.
Understanding the Importance of Waxing
Before we jump into the how-to, it's crucial to understand why waxing your Lexus ES is so important. Waxing is not merely a cosmetic procedure. It serves a dual purpose: enhancing the car's appearance and protecting its paintwork.
When you wax your car, you're essentially applying a protective layer over the paint. This layer shields the paint from the damaging effects of UV rays, rain, snow, and road salt. It also helps to keep your car cleaner for longer by preventing dirt and grime from sticking to the surface.
The Aesthetic Appeal
There's no denying that a freshly waxed Lexus ES is a sight to behold. The wax brings out the depth and richness of the paint, making your car look brand new. It also gives the car a glossy finish that's sure to turn heads wherever you go.
Moreover, waxing can help to hide minor scratches and swirl marks, improving the overall look of your car. So, if you want your Lexus ES to look its best, regular waxing is a must.
The Protective Element
But waxing is not just about looks. It's also about protection. The wax layer acts as a barrier against various environmental elements that can damage your car's paint.
For instance, UV rays can cause the paint to fade over time. But when you wax your car, the wax absorbs these harmful rays, protecting the paint underneath. Similarly, the wax prevents rainwater from coming into direct contact with the paint, reducing the risk of rust.
Preparing Your Lexus ES for Waxing
Now that we've understood the importance of waxing, let's move on to the preparation stage. Proper preparation is key to achieving a flawless wax finish.
Start by washing your car thoroughly. Use a high-quality car shampoo and a soft, clean sponge to remove all dirt and grime from the surface. Be sure to rinse the car well to remove all soap residues.
Drying the Car
After washing, it's time to dry your car. It's essential to ensure that the car is completely dry before you start waxing. Any water droplets left on the surface can interfere with the wax application, leading to a streaky finish.
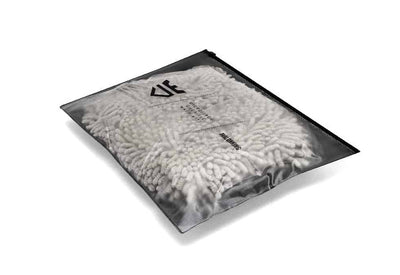
Use a microfiber towel to dry your car. These towels are super absorbent and gentle on the paint, reducing the risk of scratches. Start from the top and work your way down, making sure to dry all areas, including the door jambs and trunk lid.
Inspecting the Paint
Once the car is dry, inspect the paint for any imperfections. Look for scratches, swirl marks, or oxidation. If you find any, you may need to use a clay bar or a polishing compound to correct them before waxing.
Remember, waxing will not fix these issues. It will only enhance the appearance of the paint. So, if the paint is not in good condition, the wax will not give you the desired results.
Applying the Wax
With your car clean and dry, it's time to apply the wax. You can use a liquid or paste wax, depending on your preference. Both types offer similar protection, but liquid waxes are easier to apply, while paste waxes tend to last longer.
Apply the wax in a thin, even layer using a foam applicator pad. Start from the top and work your way down, applying the wax in small, circular motions. Be sure to avoid plastic trim and rubber seals as wax can leave white stains on these materials.
Buffing the Wax
After applying the wax, let it dry to a haze. This usually takes about 10 to 15 minutes, depending on the temperature and humidity. Once the wax is dry, it's time to buff it off.
Use a clean, dry microfiber towel to buff the wax. Again, start from the top and work your way down, buffing in circular motions. Be sure to turn the towel frequently to avoid wax build-up.
Inspecting the Finish
Once you've buffed off all the wax, inspect the finish. The paint should look glossy and smooth, with no streaks or haze. If you see any areas that need more work, simply apply more wax and buff again.
Remember, waxing is not a one-time task. To keep your Lexus ES looking its best, you should wax it every three to four months. This will ensure that the paint stays protected and the car keeps its glossy shine.
Conclusion
Waxing your Lexus ES is a simple task that can make a big difference in the appearance and longevity of your car. With the right tools and techniques, you can achieve a professional-looking wax finish at home. So, don't wait. Give your Lexus ES the care it deserves and enjoy the benefits of a well-waxed car.
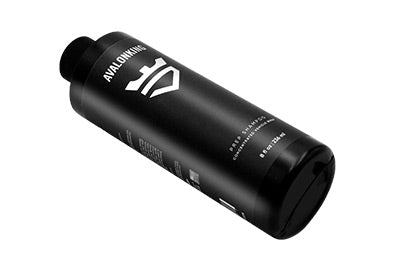
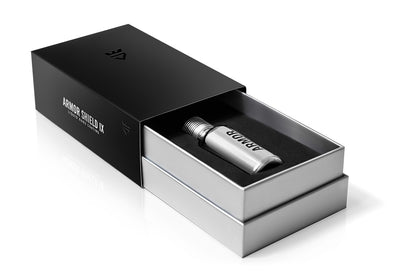
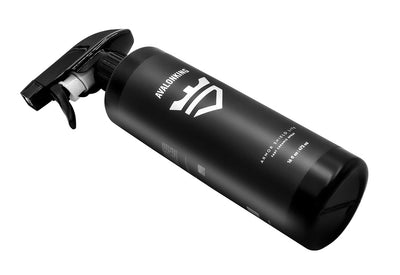
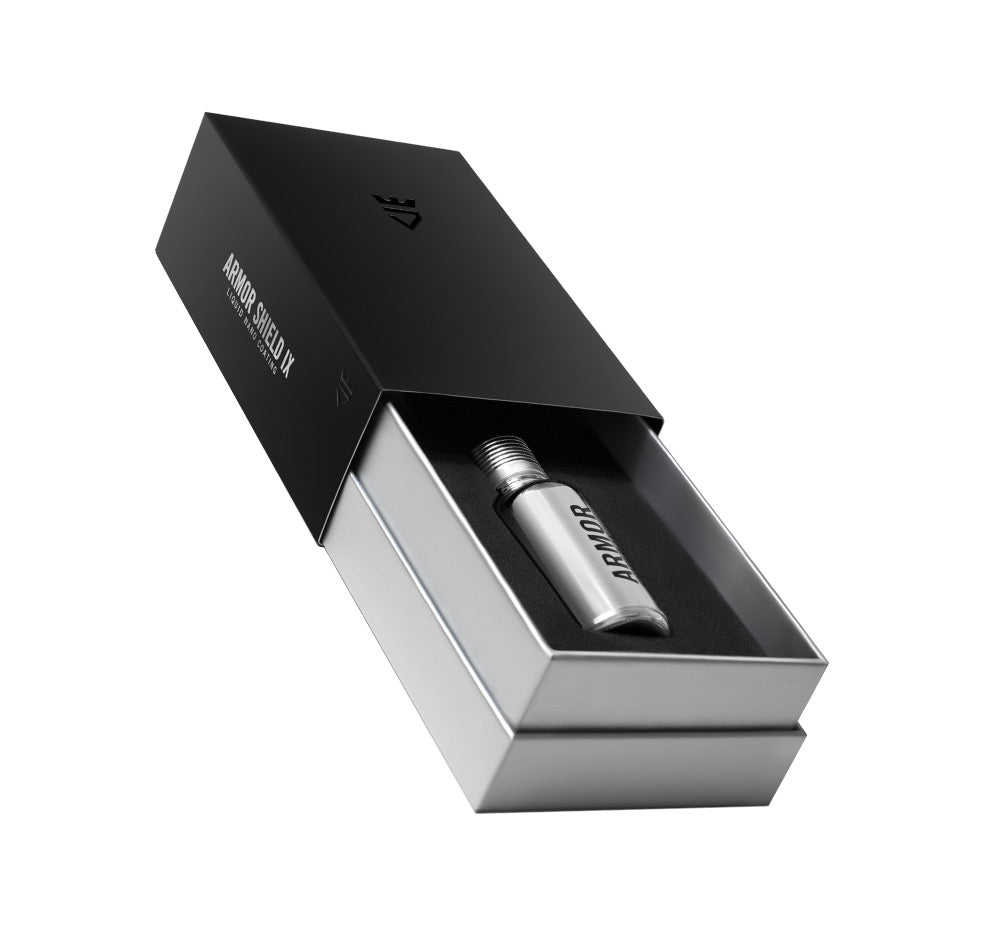
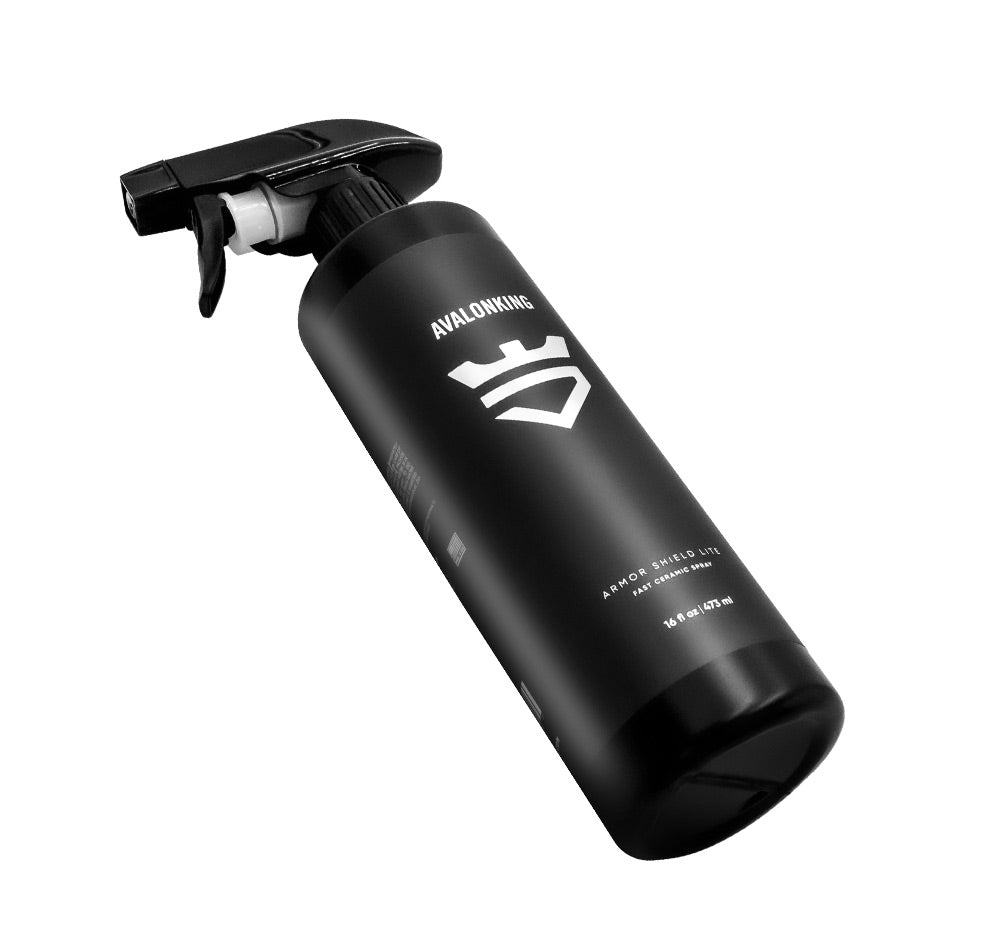
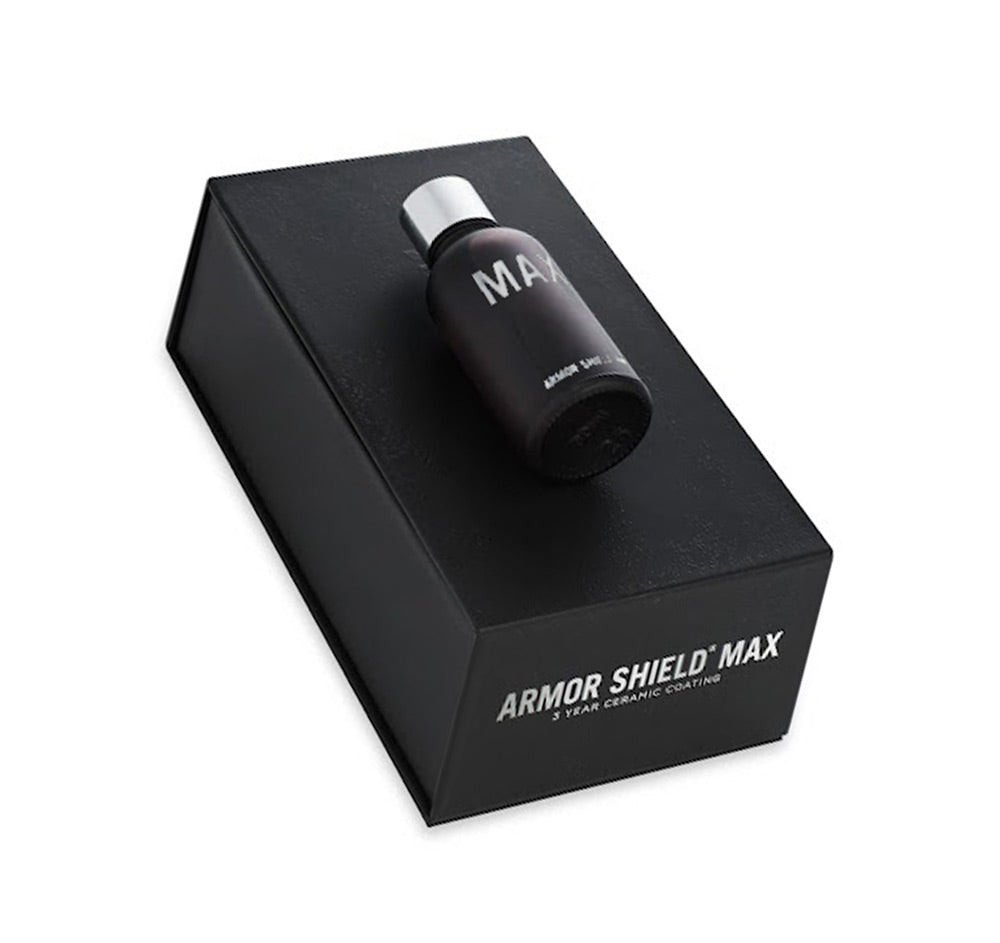
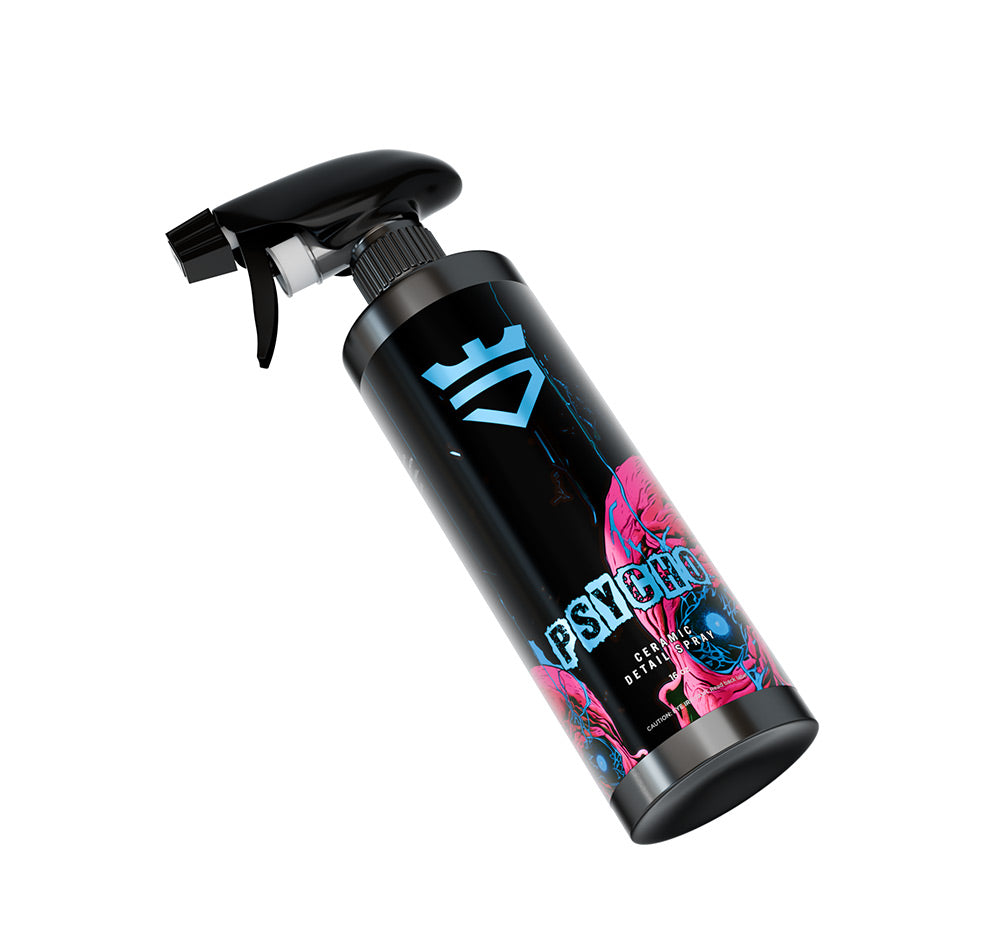
Ready to elevate your Lexus ES waxing experience? Look no further than AvalonKing for all your car care needs. From top-of-the-line ceramic coatings to luxurious car shampoos, AvalonKing has been the go-to source for superior vehicle cleaning products for years. Check out our products today and treat your Lexus ES to the ultimate shine and protection it deserves.

