How to wax a Toyota Highlander?
Waxing your Toyota Highlander is more than just a cosmetic exercise. It's a vital part of vehicle maintenance that can extend the life of your car's paint job, protect it from the elements, and even enhance its resale value. But how exactly do you go about this task? Let's dive in and explore the process.
Understanding the Importance of Waxing
Before we delve into the 'how-to', it's crucial to understand why waxing your Toyota Highlander is so important. Wax serves as a protective layer for your car's paint, shielding it from harmful factors like UV rays, dirt, and grime. It also gives your car a shiny, new look that can turn heads on the road.
Furthermore, regular waxing can prevent minor scratches and chips in your paintwork from rusting. This can save you a significant amount of money in the long run, as rust repairs can be costly. Now that we understand the importance of waxing, let's move on to the process itself.
Materials You'll Need
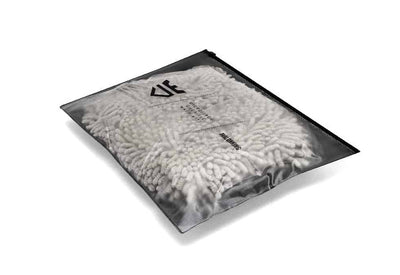
Before you start waxing your Toyota Highlander, you'll need to gather a few essential materials. These include car wax (either liquid or paste), a car wash solution, a bucket, a sponge or car wash mitt, microfiber towels, and a wax applicator pad.
When choosing a car wax, consider factors like the climate in your area, your car's color, and how often you're willing to reapply the wax. Different waxes offer different levels of protection and shine, so choose one that suits your needs and preferences.
The Waxing Process
Step 1: Prepare Your Car
Start by washing your car thoroughly. This will remove any dirt or grime that could scratch your paint when you apply the wax. Use a car wash solution and a sponge or mitt to clean your car, then rinse it off and dry it with a microfiber towel.
Once your car is clean, park it in a shaded area. Waxing your car in direct sunlight can cause the wax to dry too quickly, making it difficult to remove and potentially damaging your paint.
Step 2: Apply the Wax
Now it's time to apply the wax. Dip your applicator pad in the wax, then apply it to your car in a circular motion. Start at the top of your car and work your way down, applying the wax one section at a time.
It's important to apply the wax evenly and thinly. Too much wax can be difficult to remove and won't provide any extra protection. Once you've applied the wax, let it dry until it turns hazy.
Step 3: Remove the Wax
Once the wax is dry, use a clean microfiber towel to buff it off. Again, use a circular motion and work from the top of your car down. Be sure to turn your towel frequently to avoid reapplying wax to your car.
After you've removed all the wax, give your car a final once-over to make sure you didn't miss any spots. If you find any, simply apply a bit more wax, let it dry, and buff it off.
Maintaining Your Wax Job
After you've waxed your Toyota Highlander, it's important to maintain the wax job. This means washing your car regularly to remove dirt and grime, and reapplying wax as needed. Most car waxes last between one and three months, so plan to re-wax your car at least four times a year.
By following these steps, you can keep your Toyota Highlander looking shiny and new, while also protecting it from the elements. So why not give it a try? With a bit of time and effort, you can wax your car like a pro and reap the benefits for years to come.
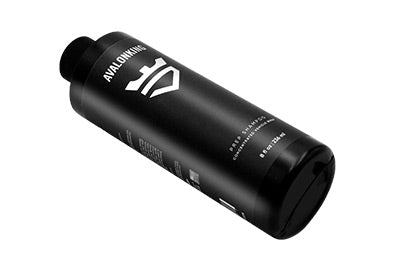
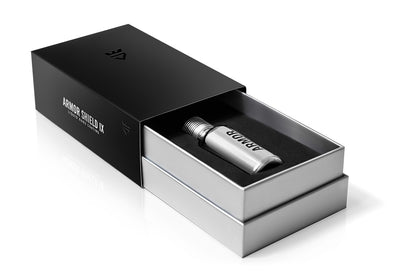
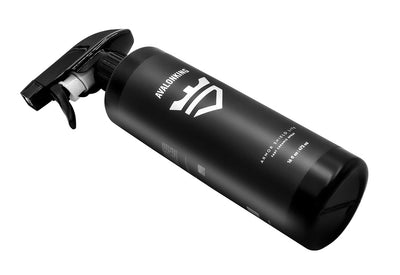
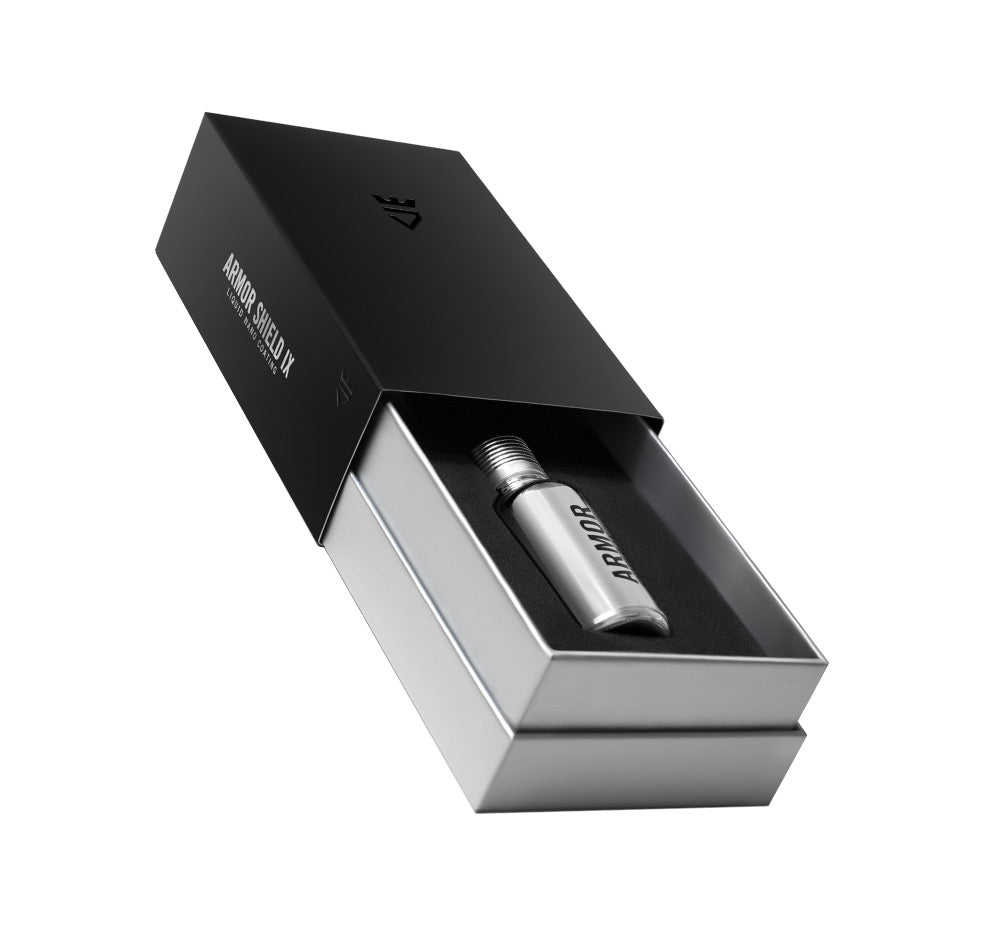
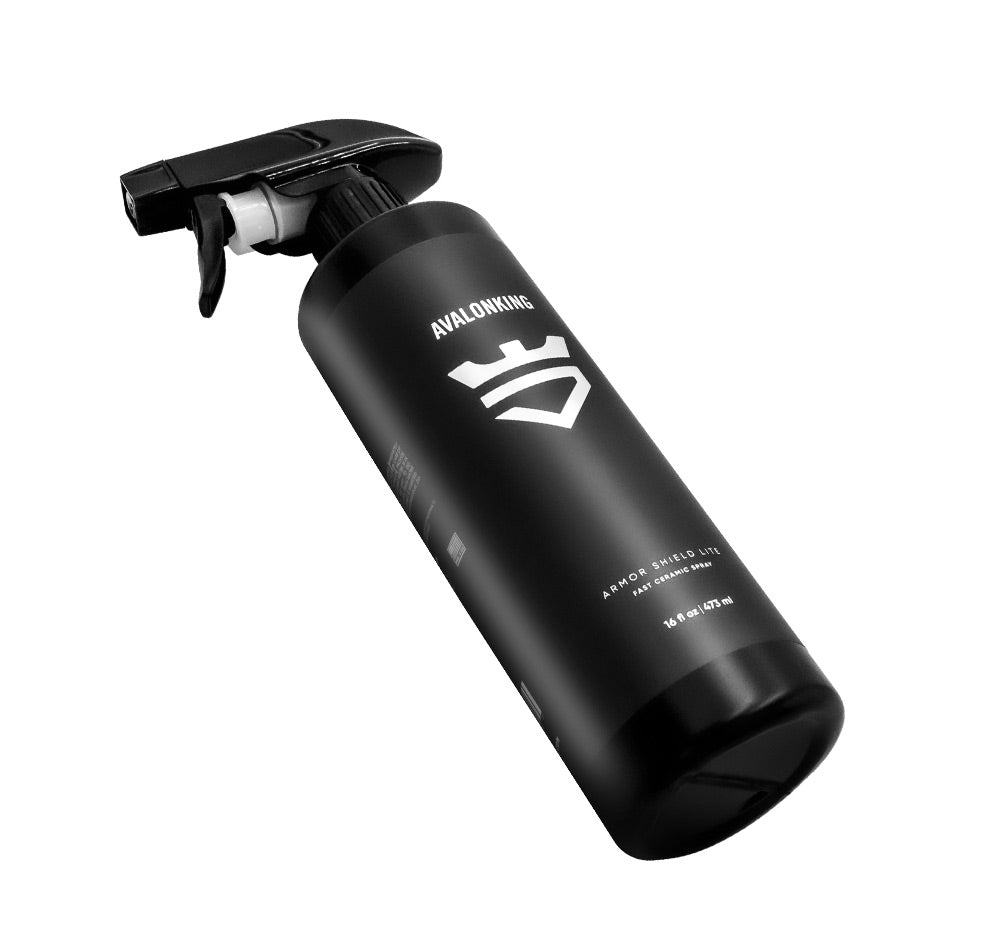
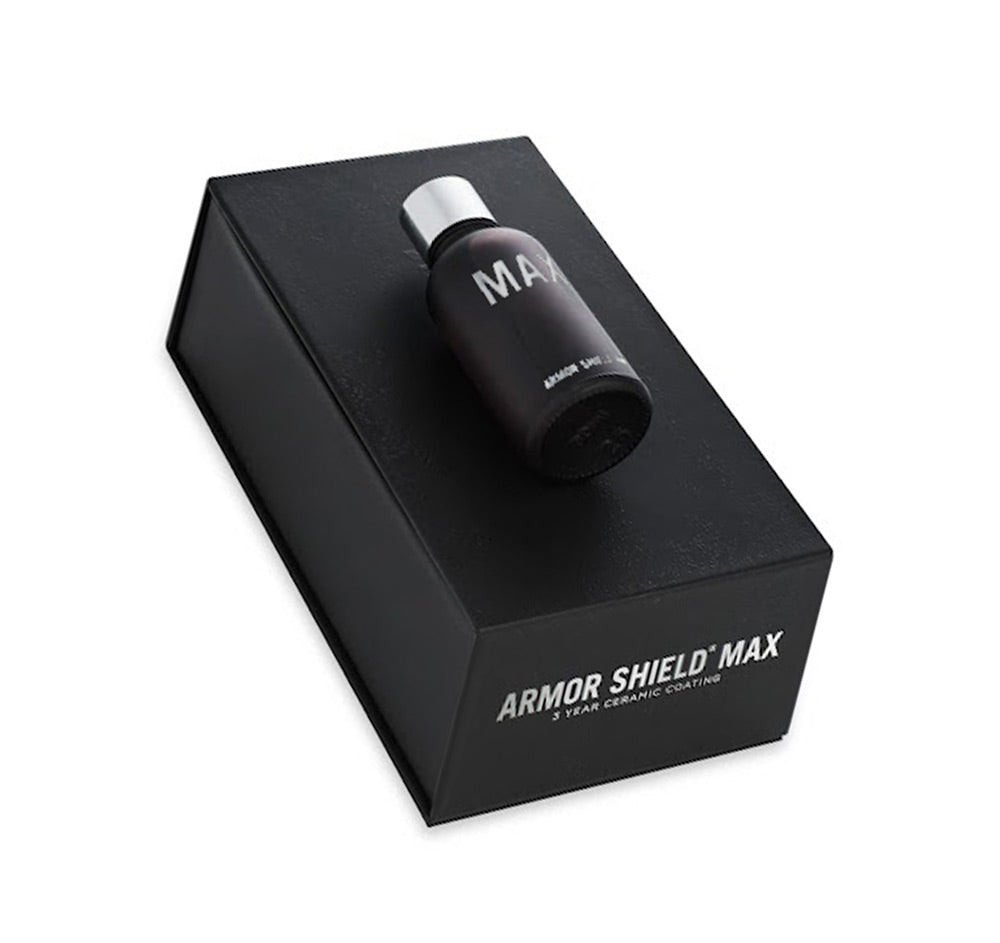
Ready to achieve that perfect shine on your Toyota Highlander? Look no further than AvalonKing for all your car waxing needs! With years of expertise in providing top-notch car cleaning products, AvalonKing has everything you need to maintain your vehicle's gleaming appearance. From high-quality ceramic coatings to effective car shampoos, our online store is your one-stop-shop for the very best in vehicle care. Check out our products today and take the first step towards a dazzling wax job that lasts!

