How to wax a Volkswagen Jetta?
The Volkswagen Jetta, a classic symbol of German engineering, is a car that deserves the utmost care and attention. Waxing your Jetta not only enhances its aesthetic appeal but also protects the paintwork from the harsh elements. But how do you go about this task? Let's dive into the nitty-gritty of waxing a Volkswagen Jetta.
Understanding the Importance of Waxing
Before we delve into the process, it's essential to understand why waxing your Jetta is crucial. Waxing does more than just give your car a shiny, new look. It forms a protective barrier on your car's surface, shielding it from the harmful effects of UV rays, rain, and dirt. This protective layer can prolong the lifespan of your car's paintwork, keeping it looking fresh and vibrant for longer.
Moreover, waxing your car can increase its resale value. A well-maintained car is more attractive to potential buyers, and a shiny, well-waxed car is a testament to its owner's care and attention to detail. So, waxing your Jetta is not just about maintaining its looks, but also about preserving its value.
Choosing the Right Wax
When it comes to waxing your Jetta, not all waxes are created equal. The market is flooded with a plethora of waxing products, each claiming to be the best. However, the right wax for your Jetta depends on your specific needs and preferences.
There are three main types of car wax: liquid, paste, and spray. Liquid waxes are known for their durability and high-gloss finish but can be challenging to apply evenly. Paste waxes, on the other hand, are easier to apply but may not last as long. Spray waxes are the easiest to use and are great for quick touch-ups, but they don't offer the same level of protection and longevity as liquid or paste waxes.
When choosing a wax, consider factors such as the climate you live in, your car's color, and how often you're willing to wax your car. For instance, if you live in a hot, sunny area, a wax with high UV protection would be ideal. If your Jetta is a dark color, a wax that offers a high-gloss finish can make the color pop.
The Waxing Process
Preparing Your Car
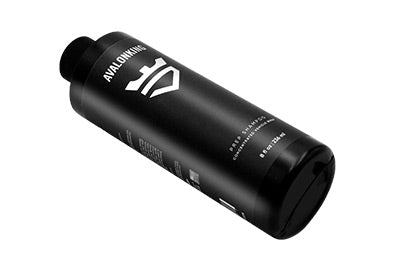
Before you start waxing, it's essential to prepare your car. This involves cleaning your car thoroughly to remove any dirt or grime that could scratch the paintwork during the waxing process. Use a high-quality car shampoo and a soft, non-abrasive cloth to clean your car. Rinse thoroughly and dry with a microfiber towel to avoid water spots.
Once your car is clean, park it in a shaded area. Waxing your car under direct sunlight can cause the wax to dry too quickly, making it difficult to remove and potentially damaging your paintwork.
Applying the Wax
Now that your car is clean and dry, it's time to apply the wax. If you're using a liquid or paste wax, apply a small amount to a foam applicator pad. Apply the wax to your car's surface in a circular motion, working on one section at a time. Avoid applying wax on plastic or rubber parts as it can leave white stains.
After applying the wax, let it dry until it forms a hazy finish. This usually takes about 5 to 10 minutes, depending on the weather and the specific wax you're using.
Removing the Wax
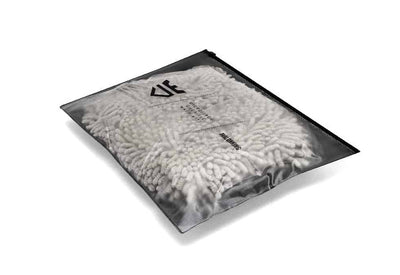
Once the wax has dried, it's time to remove it. Using a clean, soft microfiber cloth, gently buff the wax off using circular motions. Turn the cloth frequently to avoid reapplying wax onto your car's surface. Continue this process until you've removed all the wax and your car has a shiny, glossy finish.
Remember, waxing is not a one-time process. To maintain the look and protection, it's recommended to wax your car every three to four months. However, this may vary depending on the type of wax you use and your specific circumstances.
Common Mistakes to Avoid
Waxing your car may seem straightforward, but there are a few common mistakes that can hinder your results. One of the most common mistakes is not preparing the car properly. As mentioned earlier, failing to clean your car thoroughly before waxing can lead to scratches and swirl marks on your paintwork.
Another common mistake is using too much wax. More wax doesn't necessarily mean more shine. In fact, using too much wax can make it difficult to remove and can leave a cloudy, uneven finish. A small amount of wax is usually enough to cover a large area.
Lastly, rushing the process can lead to subpar results. Waxing is a process that requires patience and attention to detail. Take your time to apply the wax evenly and remove it thoroughly for the best results.
Conclusion
Waxing your Volkswagen Jetta is a labor of love that pays off in the form of a shiny, well-protected car. Whether you're a seasoned car enthusiast or a beginner, this guide should help you understand the process and importance of waxing your car. Remember, the key to a successful waxing job lies in choosing the right wax, preparing your car properly, and taking your time to apply and remove the wax. Happy waxing!
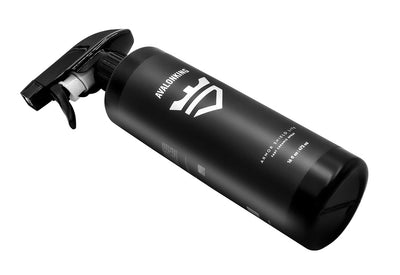
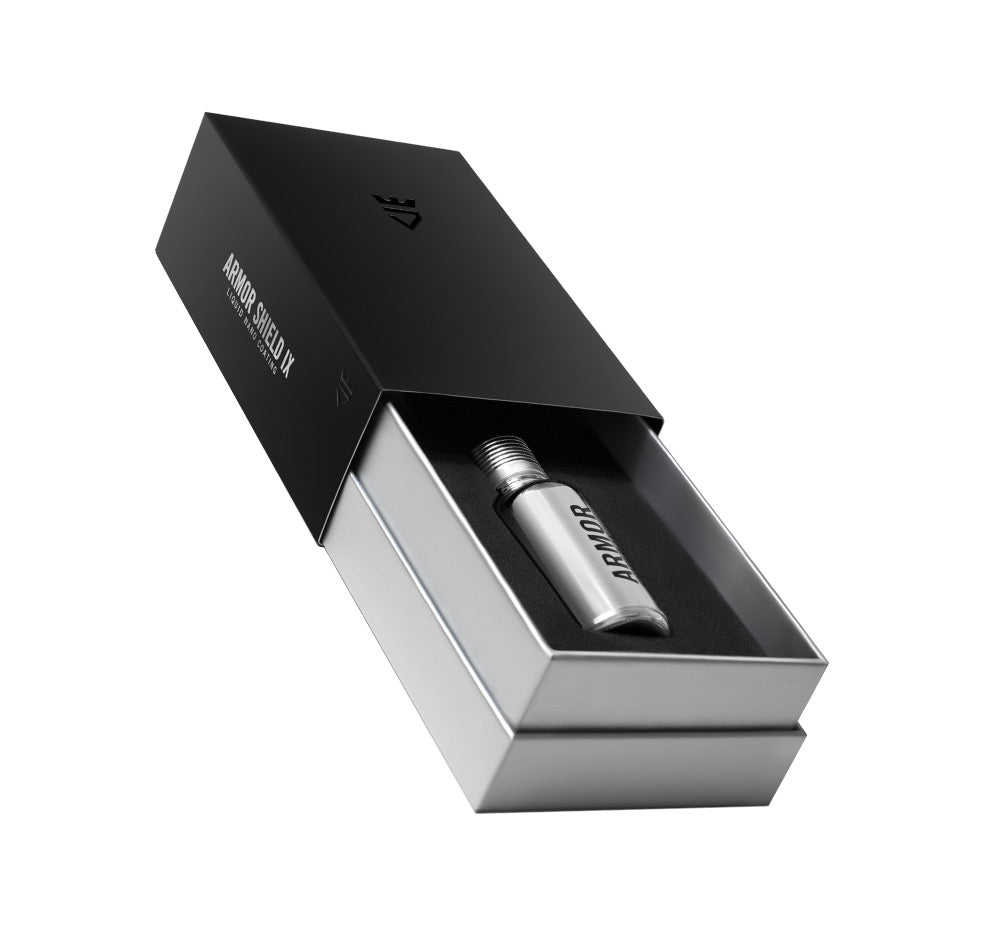
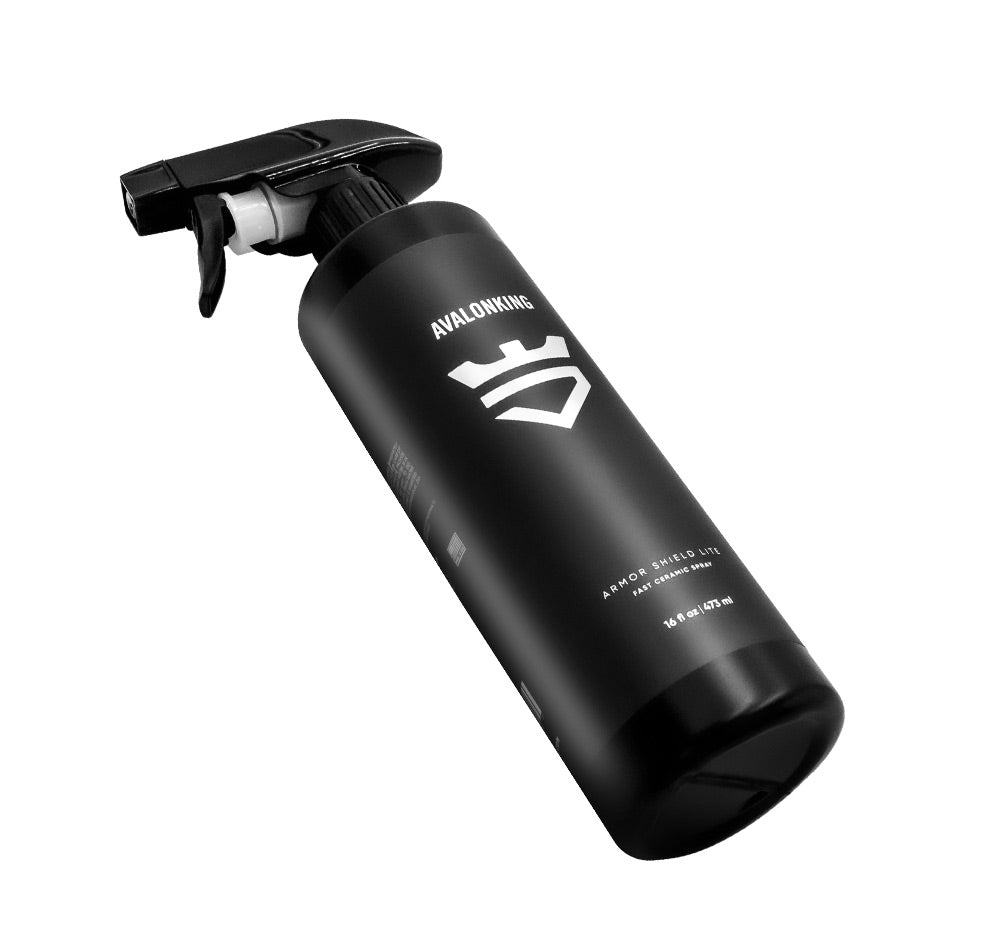
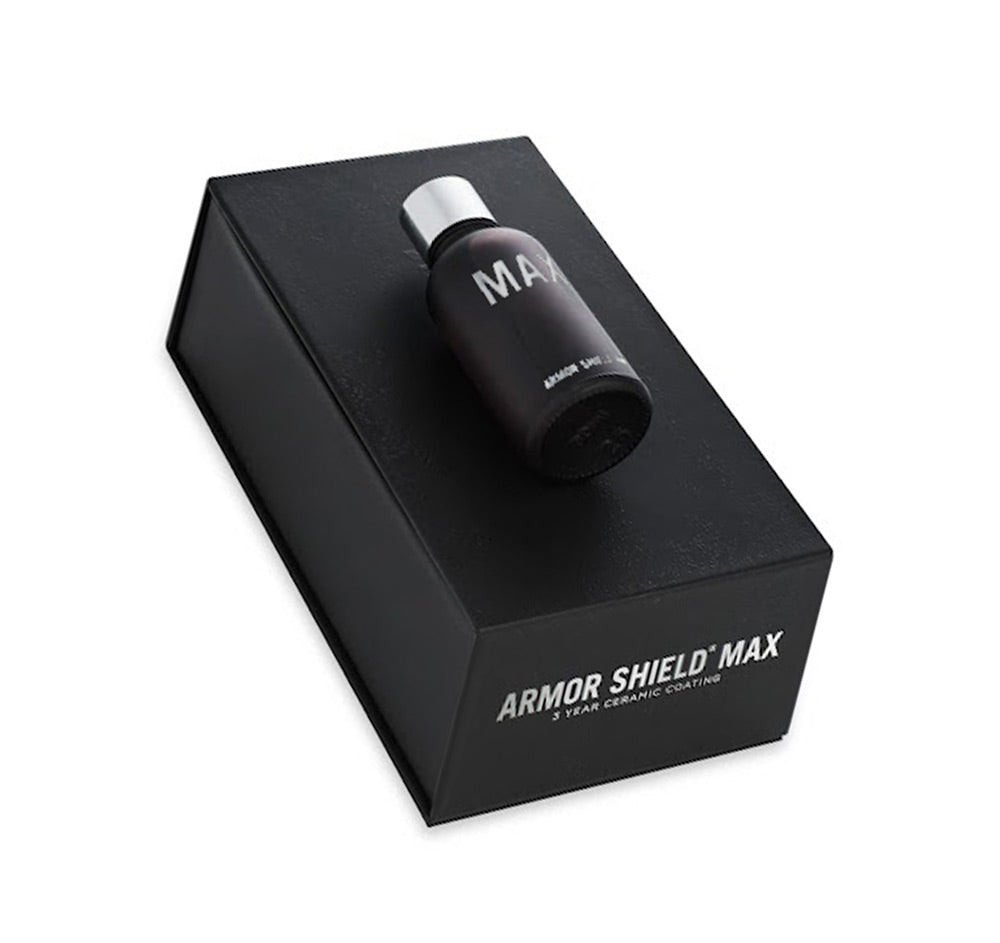
Ready to give your Volkswagen Jetta the premium treatment it deserves? Look no further than AvalonKing for all your car waxing needs. With years of experience in providing top-notch car cleaning products, AvalonKing is your go-to source for everything from ceramic coatings to car shampoos. Check out our products today and see the difference quality makes!

