
Polishing your vehicle’s posterior until it shines like glass and then leaving its engine bay untouched is like hopping in the shower and not washing your ass. Just because no one can see under there doesn’t mean it isn’t filthy as hell, and the longer you wait between scrubs the worse things are going to get down below.
Although hitting the car wash or scheduling a weekly car detailing routine is common practice for most people, drivers tend to forego cleaning their engine bays for a few reasons. The typical excuse you hear is that they don’t want to damage any crucial components, and being that engines are typically an “out of sight, out of mind” part of the vehicle, it shouldn’t really matter anyway. If a car engine runs fine without being hit with an engine cleaner once a year, why worry about things like stubborn dirt, carbon deposits, and grease building-up around the valve cover?

There are quite a few reasons why you should scrub where the sun doesn’t shine. On older vehicles, having a filthy engine bay will only make identifying a fluid leak all the more challenging. Heavy layers of grime, road salt, engine fluids, and rust have also been known to expedite the deterioration of rubber components like vacuum lines and hoses. There is also the risk of corrosion, which can shorten the lifespan of crucial powertrain components and cause bolts to seize.
In order to help you combat these often overlooked engine bay issues, we did some research and have included info on a few cleaning solution options that professionals and DIY minds alike have found to work best. Remember, no one likes “swamp ass,” regardless as to whether it is you or your vehicle that is stricken with this malady. So let’s get to scrubbin’, because the longer you wait, the harder it is going to be to complete that engine detailing job.
Pros and Cons of Cleaning Your Engine Bay at Home
The advantages of cleaning your engine bay yourself are two-fold. You will definitely save money by taking the DIY route, and if time is not an issue, you will probably be able to do a more thorough job than the $20 engine scrub being offered down the street. Taking the auto detailing DIY approach will also help you identify any fluid leak issues that might be lurking beneath all that grime, which on an older vehicle can spell the difference between a quick trip to the grocery store and a tow to the local mechanic.
Many mechanics actually suggest cleaning your engine bay regularly, as it helps make their job all the more easy when it comes time to turn wrenches. That said, there are some dangers associated with cleaning a vehicle’s engine bay, as well as a few myths.
Ever driven in the rain before and wondered if all that water that’s being pushed into your vehicle’s grille or kicked-up off the asphalt is going to damage your motor? Modern automobile engine bays, and the components contained therein, are designed to withstand a certain amount of water penetration.

With a few precautionary steps in place, it is possible to safely spray-down your engine with water, an approach that expedites the cleaning process significantly. While it is not advisable to hit your bay with a pressure washer set on “vaporize,” rinsing everything off with fresh water is a crucial step in creating a clean engine bay.
Another myth is that spraying cleaning chemicals under your hood will damage sensitive components. Unless you have an exposed air filter or there’s an unplugged electrical connector, dousing your engine bay with an automotive degreaser is not going to hurt anything. That being said, there are some precautions that go with using these grime-removing man-made chemical concoctions. The following products all have their own pros and cons, so pick one that seems like it will suit your particular needs, and always remember to wear safety gear when handling cleaning products of this caliber.
Looking to skip the DIY approach entirely and pay a professional to tackle that engine bay detailing job? Levels of care offered and the pricing that goes along with these services varies greatly, so be sure to research your local options thoroughly before letting someone clean your engine. Pricing tends to run anywhere from $25-$300 per session, with many pro detailing shops offering engine degreasing as an “add-on option” when scheduling an appointment.
Tools Needed to Clean Your Engine Bay

If you are looking to take the DIY route, and want to clean your engine bay like a pro, you are going to need some tools. Here are a few of the basics that most professional detailers agree need to be in your possession prior to attempting an engine cleaning session. While there is little proof that a clean engine bay results in longer car life, having a spotless engine compartment is a guaranteed way to help boost resale value.
- Engine Degreaser
- Stiff Synthetic Bristle Brush
- Soft Detailing Brush
- Microfiber Cloths
- Garden Hose or Pressure Washer
- Plastic Bags
- Nitrile Gloves
- High Temp Protective Coating
- High Pressure Air Hose (optional)
While the nitrile gloves will protect your hands from car cleaning chemicals, those plastic bags are going to do wonders for keeping degreaser and water away from the components you do not want to get wet. The great thing about using plastic shopping bags is that they are readily available, free of charge, and can be cut to fit whatever you wish to cover.
As for the other ingredients on today’s cleaning menu, while the degreaser used will be of your choosing, having two kinds of scrubbing brush is highly recommended. While a stiff brush serves as an ideal agitator for tougher grime and corrosion, the softer detailing brush is great for spreading degreaser and foam into tight areas of the engine bay that are easily scratched or damaged.
You’ll also need a source of water to rinse away all of these contaminants and cleaning products once they are loosened, and what better way to sop it all up than a well-made microfiber cloth. Once it’s all dry you’ll probably want to add a high temp protective coating to various components in order to keep them looking new, and to make future engine cleaning jobs all the more easy.
Best Products for Cleaning Your Engine Bay
With all of the basic tools allocated, and a mountain of disposable microfiber towel products on hand, we focus on the real workhorse of the show today: the engine degreaser.
Having tried a multitude of engine degreasers over the years, it is safe to say that the following product has worked the best. Although there are other degreasers out there that have yet to be tested, the perks of the following product is impossible to ignore, and to this day we still use it as a benchmark for cutting crud.
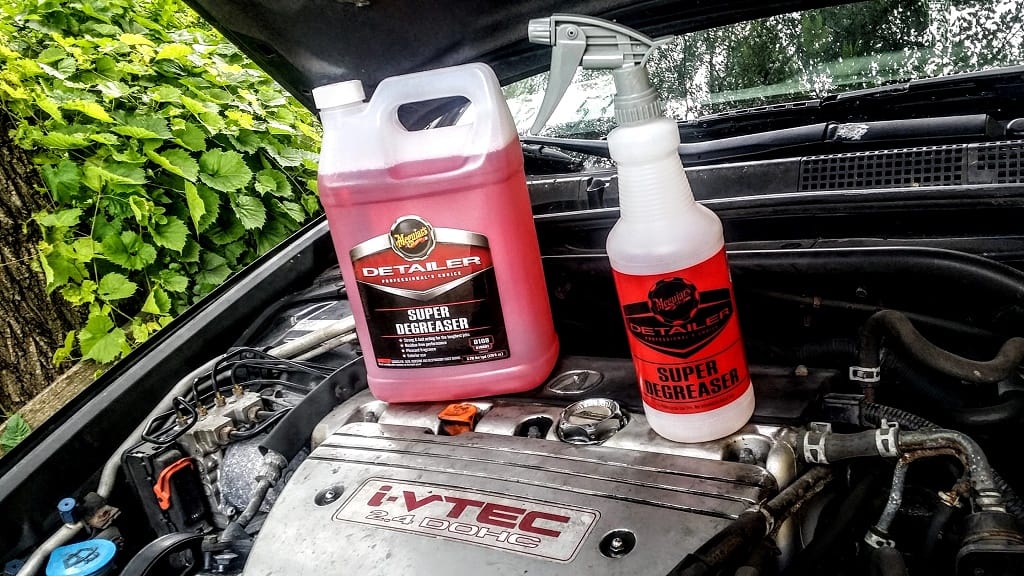
After spraying this industrial-strength cleaner on multiple “grime-ridden” engine bays, I can safely say that Meguiar’s Super Degreaser is the best engine cleaning product I have ever encountered. Road salt, asphalt gunk, soot, mud, oil, grease, power steering fluid, water spots, squirrel turds… you name the unsightly build-up, and this stuff instantly gives it the shaft. Surprisingly, this stuff doesn’t smell like a chemical bomb either, and while it should still be applied in a well ventilated area, aroma and eye irritation were not an issue whatsoever.
That said, this degreaser is an industrial strength solution that is designed for commercial use, so it will need to be diluted with water prior to use. There’s also the risk of chemical burns with this one, so always wear hand and eye protection when using this degreaser.
Quick Tip: Although a gallon of Meguiar’s “Super Degreaser” is only listed at $21.99 on the company’s website, it is not available for sale to the public over the web. If you know someone with a repair shop, have them phone-in an order for you and you can skip the asinine $40 Amazon price.
Know Your Engine Degreaser Options

The Natural Approach
In a recent post, where we discussed removing unpleasant car odors, the topic of creating your own natural engine bay degreaser was brought forth. By using a combination of vinegar, lemon juice, and baking soda, you not only create a degreaser that cuts crud and rinses away easily, but develop a powerful odor eliminator as well. This homemade non-toxic degreaser has been found to be safe for most engine bay components, and is incredibly affordable. The downside is that this natural blend struggles to lift heavy layers of grime and sediment, making it more of an entry-level engine degreaser.
Foaming Engine Options
Perhaps the most recognizable engine cleaning product is the foam degreaser. Typically found in aerosol can form, these commonplace degreasers are praised for their ability to safely clean electrical components. As the foam expands, it forces its way into tight places and into areas that are often difficult to spot from above. Being that most degreaser foams require little more than a wipe-down afterward, they remain a crowd favorite with those who are looking to clean their electric motor without the aid of H20. On the downside, foam degreasers tend to be fairly mild in their grime-removing capabilities, so it is best to save this stuff for when it is time to do a finishing round of cleaning.
Concentrated Liquids
Liquid degreasers typically tend to be industrial strength, and therefore require dilution prior to application in order to avoid damaging sensitive areas of an engine. Once put to use, these hardcore chemicals cuts grime like you would not believe. The danger here is that some of this stuff is so strong that it will eat into soft plastics and rubbers, and cause chemical burns on bare skin in as little as a few seconds.
Petroleum-Based Products
If you have a lubricant like engine oil, or some other form of liquid leaking beneath your bonnet, chances are a petroleum-based degreaser will flush it away. Unfortunately, being that these products are petroleum-based, they tend to leave behind their own residue, and can be unpleasantly odorous as well. Certain petrol-based cleaners have also been known to increase the deterioration rates of rubber and vinyl.
So with degreaser selected, and various cleaning tools sourced, it is time we turn toward the dirty deed. But before we begin, there is one important question that must be answered. How can you clean your engine without damaging anything? From electrical system pigtails and fuel rails, to that fat high-flow filter sitting on the end of your air intake, there’s a bunch of stuff underneath your hood you don’t want to damage. Fret not intrepid DIY explorer, for we shall safely guide ye through the valley of filth, and onward to the holy land of pristine engine parts and an unbridled sense of satisfaction.

Steps to Cleaning Your Engine Bay
Step 1: Warm Engine Good, Hot Engine Bad
Before you begin, make sure your engine isn’t hotter than a Lil Smokie sausage on a barbecue grate, because 3rd degree burns suck, and the hospital systems are a bit preoccupied right now. However, a slightly warm engine is not a bad thing either, as the average oil-based sediment tends to rinse away much easier when in a warm, slightly liquid state. If it seems like this step is required, merely start your vehicle and let it run for up to 1-2 minutes before shutting it off.
Step 2: Cover-up Any Sensitive Bits, and Strip Others Bare
With the engine at a safe temp, it’s time to break out the plastic bags and wrap-up anything you don’t want to see coated with water or cleaning chemicals. This means covering (or removing) the battery, wrapping exposed air filter(s) and plugging the ram intake ducting, along with the alternator, coil packs, the ECU, and on older vehicles, the distributor. A bit of masking tape or a rubber band here and there should help keep the bags securely fastened. After that, it’s on to removing plastic shrouding in order to expose any hidden grime that might be lurking underneath. Just set the shrouding aside for a separate round of cleaning.
Step 3: Get Blasted and Start Scrubbing
Sensitive stuff covered, and shrouding stripped, it’s time to blast your engine bay with water or an air hose. This will help dislodge any large debris or leaves that might be lurking underneath and loosen-up heavier layers of grime. Once blasted with water, air, or a bit of both, hit the filthiest areas of your engine bay with the degreaser of your choosing and allow it to sit for the suggested amount of time on the label. As a general rule of thumb, soak time should be limited to around 5 minutes tops in order to prevent the degreaser from eating into surface coatings and whatnot.
After that, give the grimier areas you sprayed a good rub down with the rougher of the two brushes. If it looks like the area in question may be easily damaged or scratched, grab that softer detailing brush or a microfiber cloth instead. As you scrub, pay close attention to the viscosity of the degreaser, because if it dries out you’ll be left with some of the nastiest water spots you’ve ever seen.
Quick Tip: If it looks like your degreaser is drying too quickly, don’t hesitate to hose-off the entire engine and apply a fresh coating of cleaner to the areas you haven’t scrubbed yet. This will help prevent the degreaser from caking onto your engine bay, and will wash away any loosened debris from the first round, making the next scrubbing session all the easier.
Step 4: Rinse and Repeat
Now that you’ve agitated and loosened any embedded grime, hose the entire engine bay down one more time with your hose or pressure washer. If using a pressure washer, always remember to have it on a low setting in order to avoid damaging anything.
Step 5: Dry Time
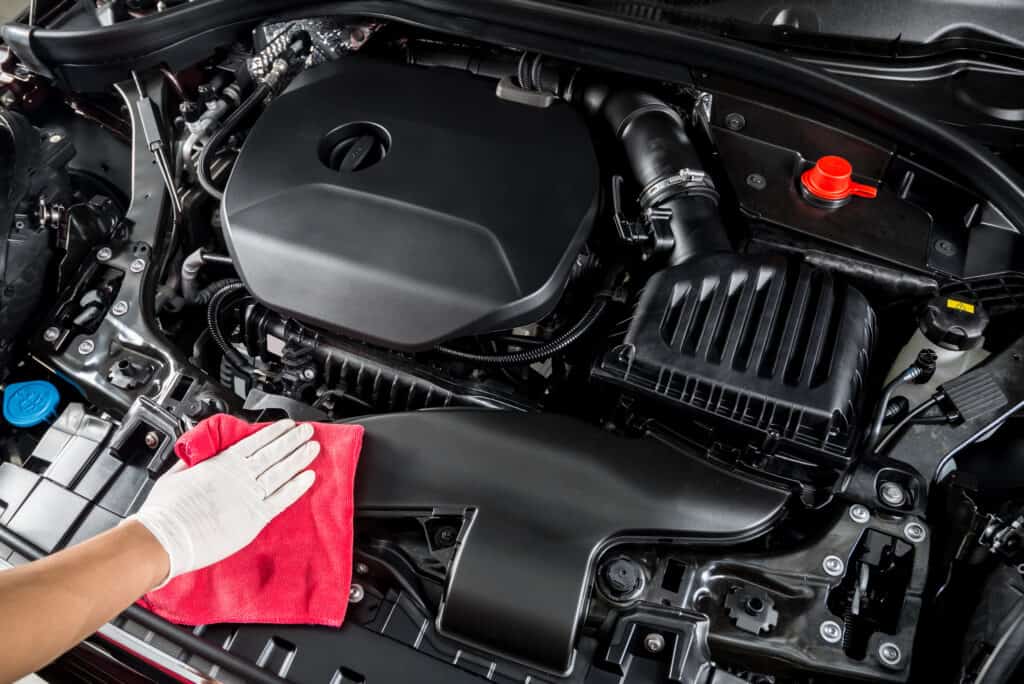
Grime removed, the microfiber cloth makes its big appearance, removing water spots and soaking-up any excess that might be pooling in crevices. If you have access to an air compressor and a spray wand, you’ll be able to blast moisture out of hard to reach areas a lot better and will dislodge any stubborn grime that might be left behind. From there you can remove the plastic bags and dry any excess water that runs off upon their removal, before giving the shrouding you removed the same treatment as the rest of the engine.
Step 6: Get Dressed-Up
Devoid of dirt and all other forms of filth, it is now time to coat everything with a protective coating. While some people swear by engine dressing products like GUNK’s “Engine Brite Gel Spray,” while others prefer the old fashioned Armor All approach. Whichever way you go, it’s important to add a layer of protectant to your engine bay in order to make the next detailing job all the easier.
Step 7: Repeat Regularly
By giving your engine bay a good scrubbing every year or so, you not only are helping make it look stellar, but you are cutting down on the negative effects of corrosion and grime. From wear and tear on exposed electrical components to removing stubborn truck engine dirt, the list of perks that come from cleaning your engine bay are both beneficial and satisfying.
Quick Tip: AvalonKing’s Armor Shield IX is safe to apply on most hard surfaces, and being that it can withstand temps all the way up to 400°F, ceramic coating the plastic and metal surfaces found within an engine bay is now a possibility.


Comments (0)
There are no comments for this article. Be the first one to leave a message!