Making the decision to use a ceramic coating is not one that should be made lightly. While today’s DIY ceramic coatings are easier than ever to apply and care for, it’s not intended for everybody. In fact, in many cases, using a ceramic coating product is more trouble than it’s worth – and we’re not talking nonstick pans here.
The internet is filled with misleading and inaccurate information, especially when it comes to which paint protection products for consumers to use. That’s why we focus our blogs on providing accurate, and fact-based info – so consumers can trust they’re receiving the most accurate information about the products they use to keep their cars shiny, clean, and protected for years.
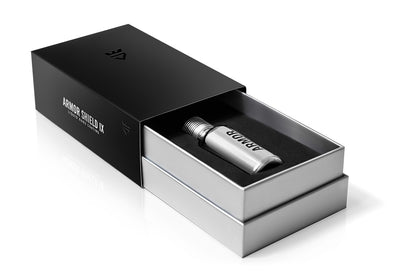
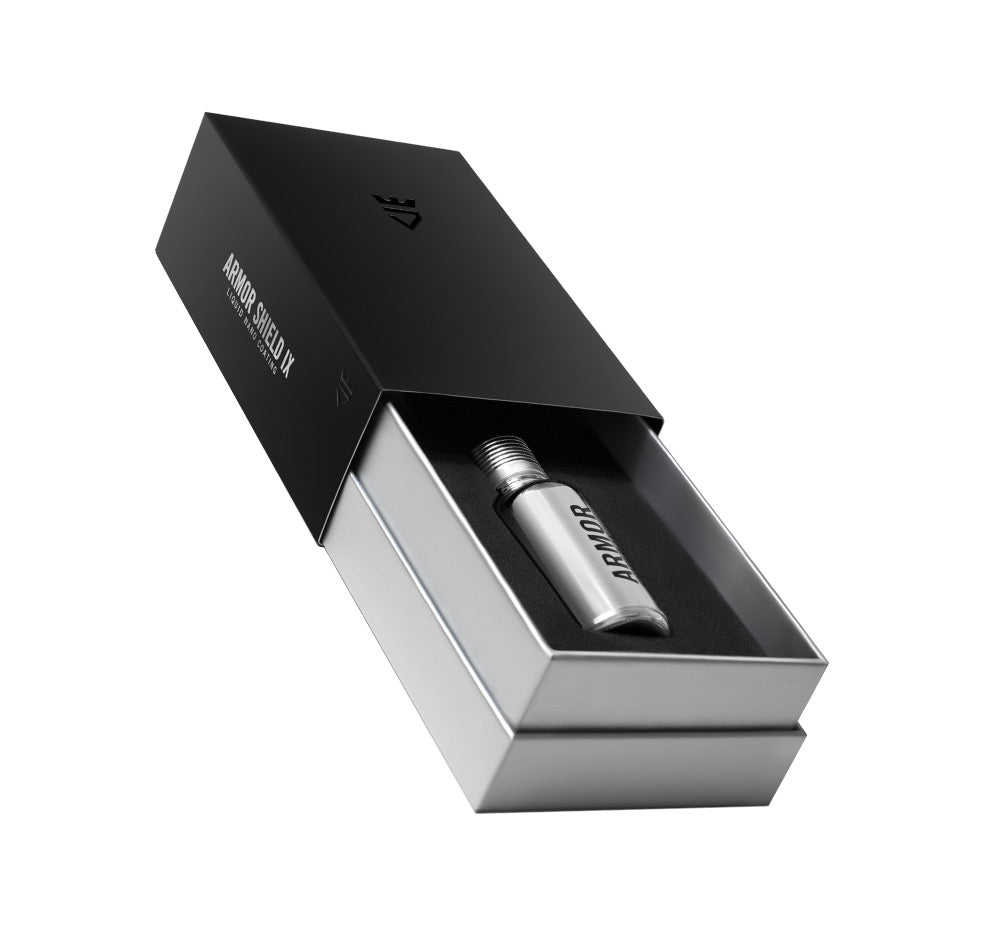
If you’re on the fence about using a product like Armor Shield IX or any DIY ceramic car coating, or you’re getting ready to hit that purchase button – this article is custom-built for you.
In the information below, we’ll provide 10 tips for first-time ceramic coating users. By doing so, you’ll minimize mistakes, buy with confidence, and determine if a different paint protection product is best for your individual application.
So, let’s get the ball rolling.
Tip #1 – Determine your Paint Condition
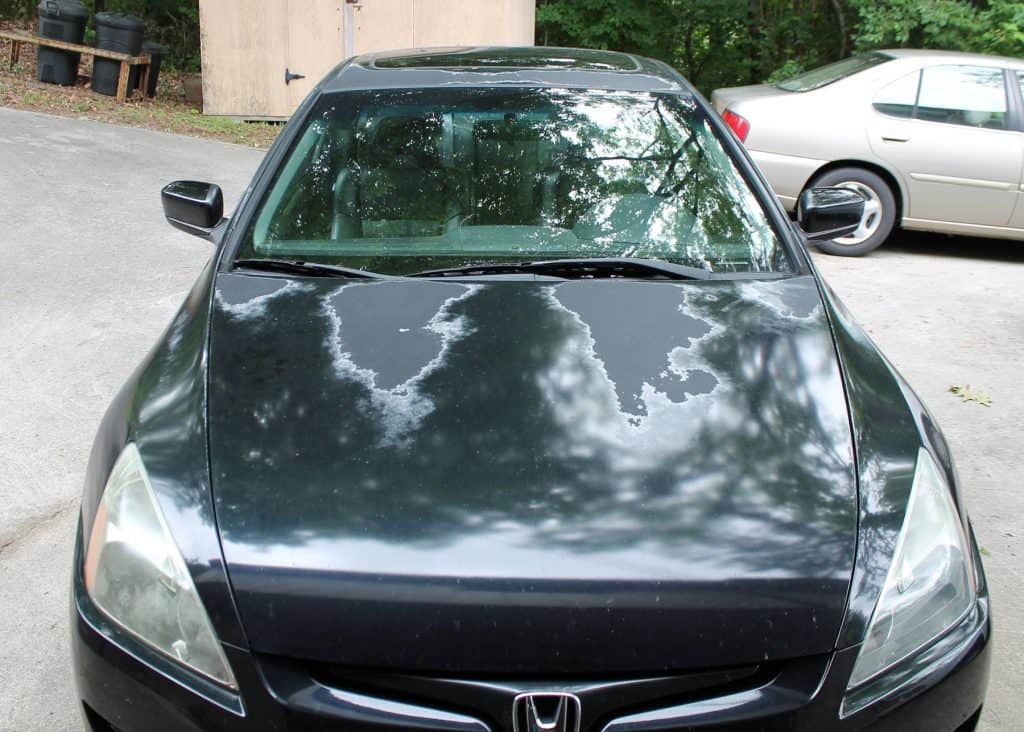
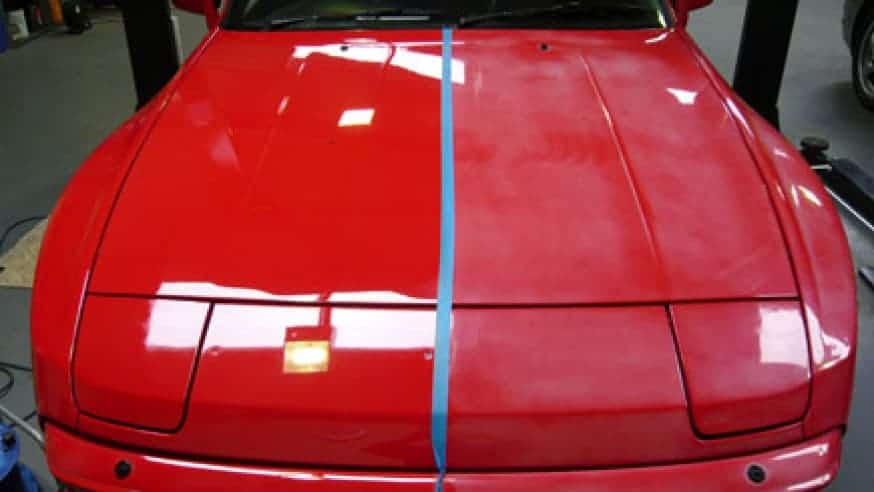
Before investing in any paint protection product, the first step is to determine the quality of your paint. A leading myth about ceramic coatings is that they improve or fix the paint. That’s just not accurate. In fact, it’s flat out wrong. A ceramic coating amplifies the existing condition of the paint.
When ceramic coating cures, it provides a thin, yet an exceptionally strong layer of ‘glass’ that protects the paint and clear coating. This acts as a magnifying glass essentially.
So, if you’ve got paint damage, such as scratches, sun damage, swirl marks caused by a frequent car wash, or faded paint due to direct sunlight, you might want to delay your ceramic coating purchase. This is due to the fact that If your paint is in great condition, proceed to tip #3. If it’s got some damage, see below.
Tip #2 – Research Paint Correction Options

Just because your paint might be damaged or has lots of swirls, doesn’t mean you have to take the car to your local paint shop. In fact, many paint protection products can still be used if you decide to complete paint correction – or have this service provided by a professional detailer.
Paint correction is the process of repairing damage to the clear coating on top of the paint. If the damage has surpassed the clear coat and has actually damaged the paint surface, it’s a good idea to either have the car repainted professionally or consider trading it in on a newer model.
With respect to paint correction, the process involves the following.
- Wash, cleaning with a wash mitt and removing debris
- Wet sanding or leveling
- Waxing and Polishing
- Sealing the paint
We wrote a really detailed article about DIY paint correction, which we highly recommend reading if you’re considering doing this yourself. Once you have, determine if you feel comfortable doing this yourself. Otherwise, start looking for a local professional car detailer or auto detailing company who can handle this for you.
Tip #3 – Consider your Paint Protection Options
If your paint is in good shape, or you’ve had paint correction recently completed, the next item to consider is the multiple paint protection options. Generally, consumers have four different types of products to choose from that are designed to protect the paint surface.

Car Wax and Polish
The most popular method of protecting car paint is the old-fashioned car wax and polish method. This is a manually applied product that starts with a natural carnauba wax or synthetic wax, followed by a polish which provides the gloss. Wax or sealant products usually last about six weeks to six months, then require removal and reapplication.
Paint Sealants
The next level up is the paint sealant. This is basically an enhanced and synthetically created car wax and polish combined product. Like car wax and polish, it’s applied manually but tends to provide about six months of protection against UV rays, water, dirt, light chemicals, and road grime.
Ceramic Coatings
The third upgrade from the two above is the ceramic coating segment. Consumers can choose from professionally-grade and applied coatings or DIY ceramic coatings. This type of product provides a hard layer of protection that actually infuses on top of a clear coating once the curing process is complete, to provide anywhere from 2 to 5 years of protection.
Paint Protection Film (PPF)
On top of the paint protection food chain is PPF or paint protection film. This stuff is an amazing technology and is a high-quality thermoplastic urethane film that is applied to the top of the painted surfaces of a new or used car. It’s available in multiple colors or an optically clear version, in a variety of thickness levels.
PPF is always professionally applied and is one of the more expensive but longer-lasting paint protection products.
Again, before you make the investment with any paint protection product, carefully consider the costs or pros and cons of each. It’s also a good idea to speak with your friends and ask them what they like or dislikes about the paint protection products they use.
We wrote a fairly detailed article comparing all four items mentioned above.
Tip #4 – Review the Different Types of Ceramic Coatings
So, you’ve made it this far down the list, and you’re confident that nano-ceramic coating is your best option? Bitchin! We agree with ya – lol. But seriously, there are many reasons why ceramic coatings are pound-for-pound the best paint protection products made today.
That being said, choosing a coating breaks down to comfort level – and your budget.
Professional Coatings

The professional-grade ceramic coating is an industrial-strength solution. It’s only applied by certified installation centers, mainly because the formulation is made from longevity, and has a narrow margin of error. The main reason for this is an incredibly high SiO2 percentage. Silica dioxide is the ‘secret sauce’ that is primarily responsible for the strong layer of protection.
Ceramic Pro products (not to be confused with the brand Ceramic Pro) can range in cost from $500 to $4,000 based on the product used, and the level of ‘warranty’. Most of these products or services are sold as packages, that focuses mainly on the years of covered protection.
DIY Ceramic Coating
The other option is the do-it-yourself ceramic coating. The main difference between DIY and pro-grade stuff is that the DIY coatings are specially formulated for easier application. This is typically accomplished by reducing the percentage of silica dioxide (SiO2) to a maximum of 86 to 87%.
The general rule of thumb is that the lower SiO2 %, the longer it will take for it to flash, or initially ‘cure’. This can be helpful for those who apply their coating at higher temperatures or higher humidity climates. However, the drawback of lower SiO2 % is that it won’t last as long.
The ‘happy’ zone is finding a DIY coating that is a bit above 80%. I would recommend reading more about these two products, to help you understand all the variables involved. This article is quite helpful when choosing between professional ceramic coatings and DIY ceramic coatings.
Tip #5 – Complete a Cost Analysis
If you’re thinking about ceramic coatings, we’ll assume you’ve determined that PPF is either out of your price range or not up to your alley. That being said, before making the decision, it’s a smart idea to complete a cost analysis of the price of protection products, time or cost to have somebody apply them, and the financial investment needed to maintain the products.

I wrote a rather in-depth article breaking down all of these factors in this article, which you should read. Click this link to break down the true cost of ceramic coatings vs. car wax and polish.
Tip #6 – Are you Comfortable with Prep Work for DIY Ceramic Coatings?

While price and cost is usually the leading factor when choosing any aftermarket automotive enhancement, the ability to complete the project yourself is another important consideration. This is especially true when deciding between professionally installed or DIY ceramic coatings. With the professional-grade products, the prep work consists of driving to the location and letting the experts do what they do best.
DIY coatings involve completing all – or most of the prep work on your own. This involves a four-step plan:
Washing the Vehicle
You’ll wash your car using the two-bucket method.
Clay Bar Treatment
Once the car has been completely washed, you’ll clay bar the entire paint surface.
Paint Correction
After clay bar treatment, paint correction is the next recommended step. The level of paint correction needed will be determined by the paint condition. Some consumers opt to have professional detailers complete this step for them.
Final IPA Wipe Down
The easiest step of prep work is the final IPA wipe down. This simply involves using an isopropyl alcohol solution and clean microfiber towels
Tip #7 – Do you Have the Patience for DIY Ceramic Installation?
Applying a DIY ceramic coating is definitely not a fast process. Depending on the size of your vehicle, it can take anywhere from three to eight hours to complete this process correctly.
We’ve added a video below that outlines the steps for correctly applying a DIY ceramic coating.
OK – it’s actually the steps for applying Armor Shield IX, but if you’re here, might as well learn how the best DIY coating is applied.
Tip #8 – What’s Important in a Quality Ceramic Coating?

By now in the process, you’ve likely selected the DIY ceramic coating option. That’s great! Now, it’s important to determine what is important to you. Ceramic coatings are typically rated on their quality based on three primary attributes:
Hardness
The main product feature of all ceramic coatings is hardness – as this usually equates to the level of protection and the longevity of the product. The harness or longevity of protection is often determined by the SiO2 percentage. If longevity is important to you, make sure the coating has a SiO2 % above 80.
Protection
Ceramic coatings are great at protecting the paint from weather elements, debris, chemicals, and more. Make sure any ceramic coating you purchase will protect against road salt, UV rays, bird droppings, bug splatters, and other daily contaminants. It should also have great hydrophobic properties (which means water beading).
It’s also a good idea to look for a coating that has some sort of guarantee or expected longevity warranty, along with a towel made from microfiber and other supplies needed to correctly apply. This is rare in the DIY ceramic coating segment, but there are some out there.
Ease of Application
The final consideration to factor about the product itself is how easy it is to apply. Mainly this will be due to two different items – the quality of the product, and what’s included in the kit.
To correctly apply most DIY coatings, you’ll need the product, an applicator sponge, multiple applicator suedes, protective gloves, and a microfiber towel for buffing off.
Tip #9 – Review Ceramic Coating Companies
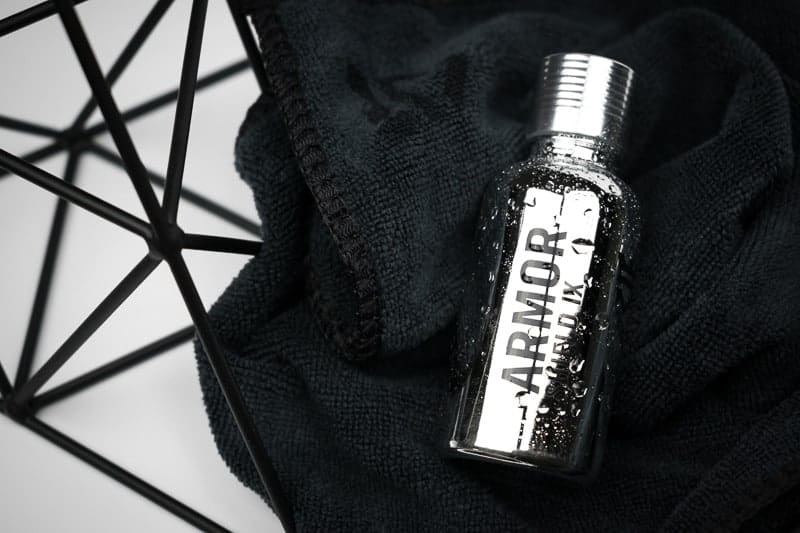
Hopefully by now in the process, you’ve narrowed down your options to less than three products. The final step in the decision making is reviewing the companies themselves, especially with regards to customer service, support, and their reputation for shipping the products to consumers.
When a company goes the extra mile to take care of their customers, and they are reviewed positively by previous customers, that’s a good indicator that their product will be of high quality as well.
Tip #10 – Don’t Be Afraid to Ask for Help
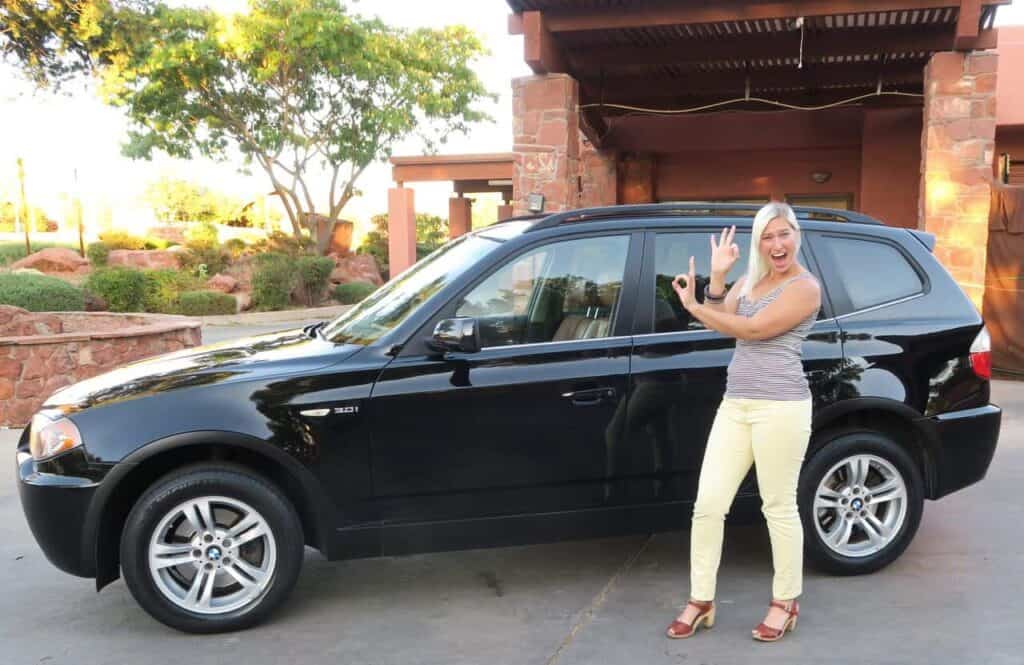
The final tip we can offer is to ask for help from somebody who has traveled this path themselves. If you have a friend who has applied a ceramic coating before or someone who is more comfortable with car care products, don’t be afraid to ask them for their advice or assistance with the application process or prep work.
Throw in a case of beer and a bucket of KFC for their efforts in helping you, but whatever you do, don’t take on this type of project alone if you’re not 100% confident.
Wrapping it Up
Our primary objective at AvalonKing is to ensure every customer has a positive experience with us and our products. We strive to empower people to take on jobs otherwise completed by professionals, with high-quality products made to simplify this process.
But, under no circumstances do we want to push people onto something they are not fully comfortable using.
If this means they choose a different option because of their comfort level, that’s completely cool with us. Regardless of which way you choose to protect your car’s paint surface, make sure to carefully consider all of the items above, and you’ll make the best choice.



2 comments
Sandra Warren
I have bought everything humanly possible from you guys in preparation for a couple of things that need it.
1. My tractor (Kubota) is getting a new hood and essentially a new front end. Perfect time to Ceramic Coat it when it arrives home from it’s overhaul. It is not used in the woods anymore and believe it or not I detail it. :D
2. I bought a 1995 Chevy Truck for My Truck (yes I am a girl and love my machinery) It got a new hood (hail damage when I bought it) and otherwise restoring it. Not worth much but to me. I love to keep my stuff shiny and new
So all are getting the AvalonKing treatment. More tractors and trucks in the future after I get these 2 under my belt.
Thank you guys!
Dave
Great article guys! Thank you for even taking the time to share, I definitely look forward to implementing a lot of these tips for my new Mustang Cobra. I will be recommending this to a couple of my buddy as well. Keep it up.
Great article guys! Thank you for even taking the time to share, I definitely look forward to implementing a lot of these tips for my new Mustang Cobra. I will be recommending this to a couple of my buddy as well. Keep it up.