While it’s common for many of us to make mistakes in the choices we make, there is a lot of value from learning from those errors. Whether it’s picking the food to eat, place to work, or folks to date, most of us typically set standards that help us make solid decisions, to ensure we don’t screw the pooch too hard.
However, some poor decisions can lead to long-lasting effects. Such is the case with paint protection products for your car. With several options on the table, from natural carnauba wax to professional-grade ceramic coatings and paint protection film, selecting the right product can result in an amazing experience. But diving into a project that is simply not worth the effort will suck.
So, if you’re thinking about diving into the DIY ceramic coating world of paint protection – you should probably take time to read this blog. In the information below, we’ll introduce 7 questions you should ask and answer – to ensure this paint protection product is the one for you.
Why It’s Important to Research DIY Ceramic Coatings
You’ll find a lot of great information online – and sometimes, not so much. Let’s be real, today, nearly all the information, news, and education you’ll read online has some sort of ‘slant’ or ‘spin’ to it. This fact is especially relevant in the automotive segment, and the paint protection world specifically.
The DIY ceramic coating industry is one that is incredibly diverse – with multiple levels of products. Some of them exceed customer expectations and others – not so much. This is why it’s crucial to complete a lot of research when entering the world of DIY coatings.

If you pick one based simply on price – you’ll likely get a cheap knock-off product, and struggle with the application. On the reverse, picking the most expensive one does not always equate to the best. The same applies to the ease of use, what’s in the kit, if it’s backed by a warranty and more.
The moral of the story is to always do your research before picking any paint protection product, but especially DIY nano coatings. Now, onto the questions.
Question #1 – What is The Condition of My Paint?
In a perfect world, you’d be getting ready to apply a ceramic coating onto a brand new vehicle is perfect paint. But this world just doesn’t exist. In fact, even if you are buying a new car, it’s quite possible that the paint has a factory applied paint sealant.
The condition of your vehicle’s paint is the most important factor that will determine whether or not using a DIY ceramic coating is best for your individual application. For example – if the paint surface is clean, free of debris, swirl marks, marring, or other paint protection products, it’s a fresh canvass in which to work.
On the contrary, if the car’s finish is protected by an existing product, has current damage, or is showing signs of fading, you’ll have to either invest in professional paint correction, or do it yourself. This is arguably the biggest pain-in-the-a$$ for the average DIYer.
A DIY ceramic coating – regardless of its formulation, it designed to protect – not repair or cover up imperfections or damage on the paint surface. If the paint is scratched, the coating will amplify that damage. If the paint is dull, the coating will not improve the luster. For a ceramic coating to bond to the surface, all existing coatings or wax/sealants must be removed.
So, before you even consider DIY ceramic coatings, make sure to ask a few questions about your paint condition.
- Is the paint protected by another product? Car wax, paint sealant, ceramic coating, vinyl wrap, or paint protection film.
- Are there any swirl marks, scratches, stains?
- Is the paint faded or does the clear coat show any signs of damage?
If the answer is yes to any of these questions, proceed to asking the questions below. If you can honestly answer “NO” to all the questions, your vehicle is PRIME and READY for a ceramic coating, with little prep work needed.
Question #2 – Are you Comfortable with Prep Work for DIY Ceramic Coatings?
The next question to ask involves the prep work required to apply a nano coating yourself. Again, while there are multiple types of ceramic coatings, and levels of quality and longevity, they all require the same general prep work to produce optimal results.
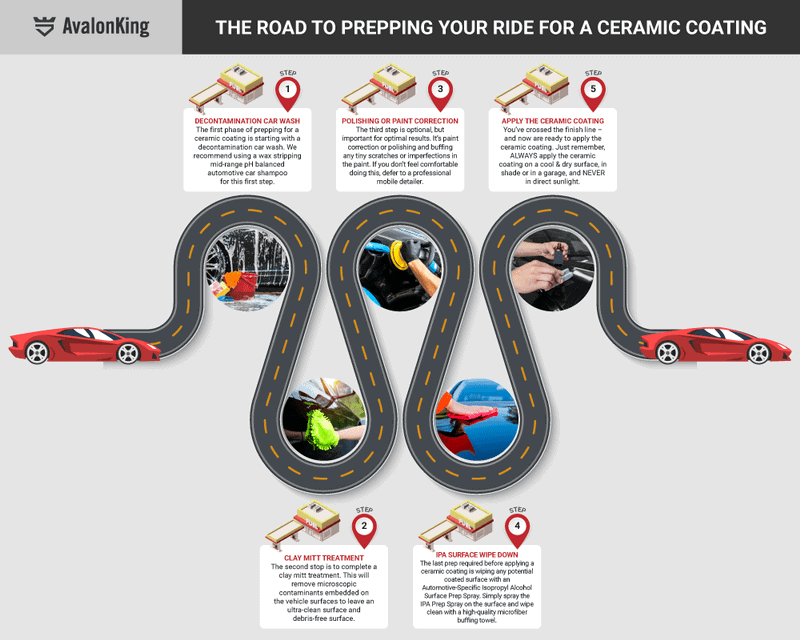
DIY coatings involve completing all – or most of the prep work on your own. Here is the four-step prep work process.
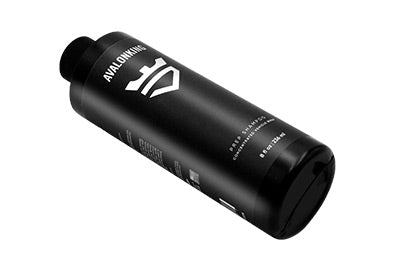
Washing the Vehicle: You’ll wash your car using the two-bucket method. In this first wash, you’re going to need a wax-stripping or decontamination car shampoo. It’s basically a detergent that is formulated for breaking down grease, oils, and other synthetic ingredients found in paint protection products.
It also removes bug guts, bird droppings, tree sap, and other surface contaminants. The idea here is to remove as much “stuff” from your vehicle – so you’ve got a clean
Clay Bar Treatment: Once the car has been completely washed, you’ll clay bar the entire paint surface. In this step, you’re picking up where you left off with decontamination. However, the clay bar and lubrication spray help to remove those microscopic or embedded contaminants found in the clear coating.
Paint Correction: After clay bar treatment, paint correction is the next recommended step. The level of paint correction needed will be determined by the paint condition – which you answered (hopefully) above.
Some consumers opt to have professional detailers complete this step for them. If this is your option, make sure to get at least three quotes or estimates, so you can compare pricing and review the quality of the detailers work.
Final IPA wipe down: The easiest step of prep work is the final IPA wipe down. This simply involves using an isopropyl alcohol solution and clean microfiber towels. We recommend using a 30/70 blend with 99% pure isopropyl alcohol (there is no 100% version) being the lesser amount, and distilled water being the remaining 70% of the mixture.
If you feel comfortable with this prep work, then you’re ready to proceed. If not, skip to question #5 below.
Question #3 – Do you Have the Patience for DIY Ceramic Installation?
All good things take time to produce great results. Whether it’s slow and low smoking meats, or applying a DIY ceramic coating, the turtle always beats the hare. The process of applying a DIY ceramic coating is tedious and should be completed one panel at a time.
Knowing how much liquid to apply to each suede cloth, how big of a section to coat, and how long to wait before removing is crucial for longevity and durability of the coating. Rushing the job or trying to skimp on product will NEVER result in a happy ending.

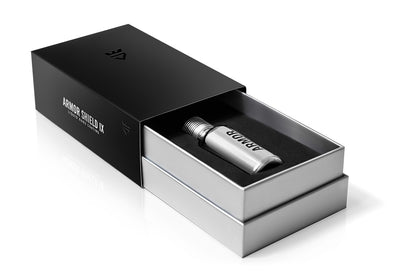
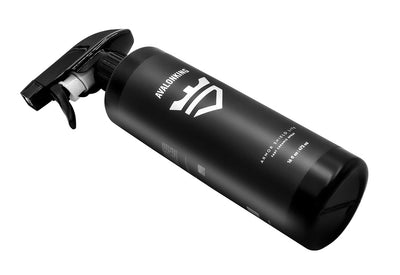
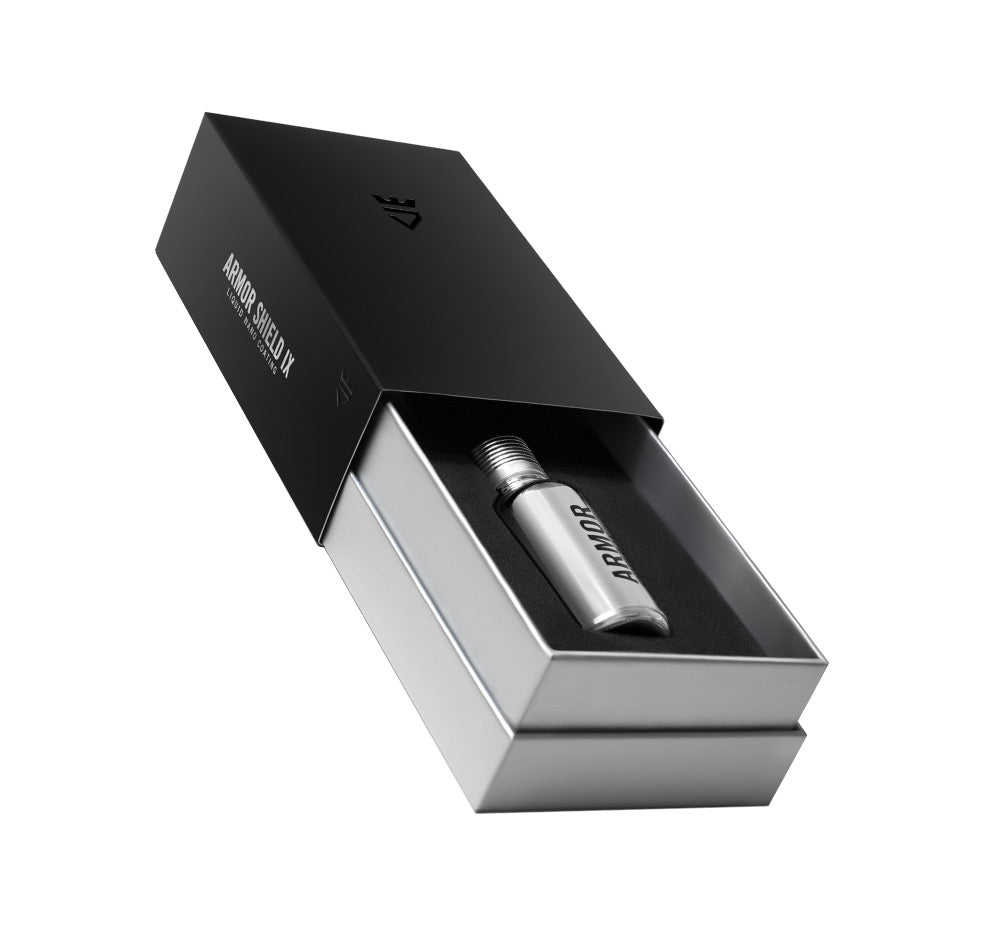
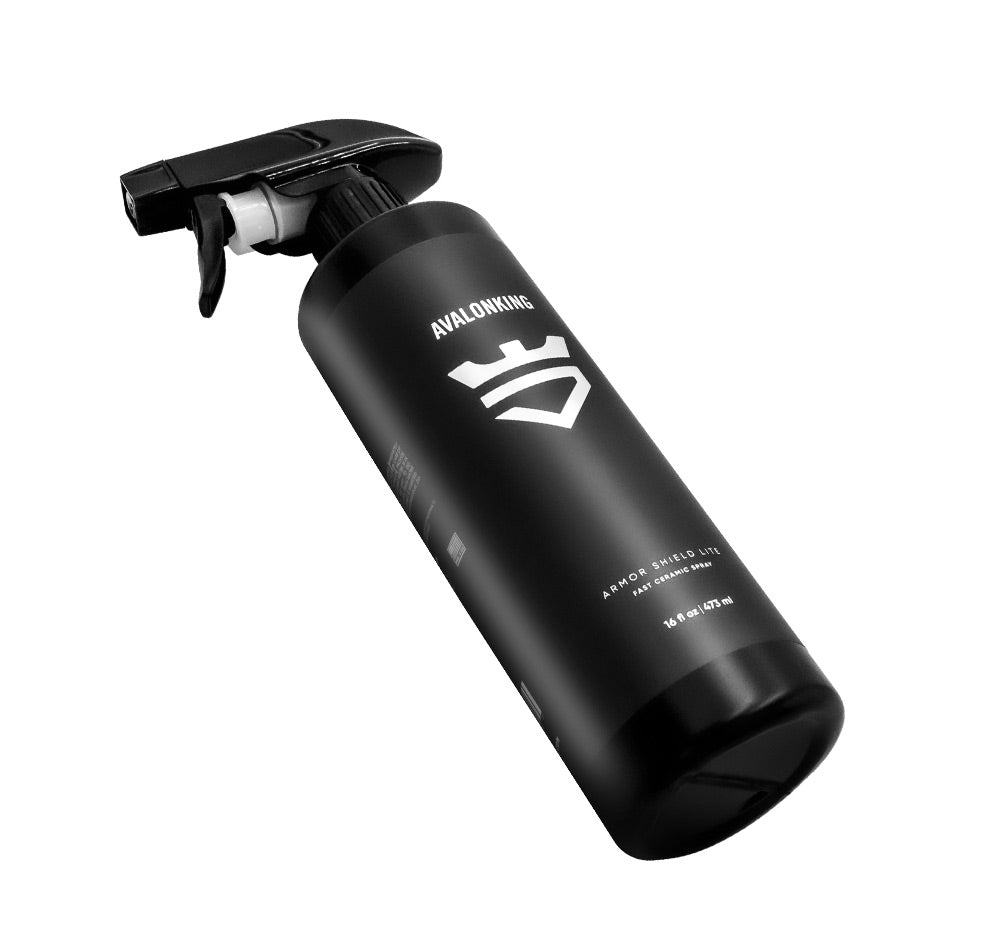
If you’re not 100% comfortable with taking time to do the job right, you might want to consider easier to apply products – like an SiO2 Boost Spray for example. This type of ceramic coating is a diluted version of the nano concentrated formulas like Armor Shield IX. You’ll have to do the prep work noted above, but applying is simple, faster, and produces great results.
If you’re comfortable with the time and process of applying DIY nano coatings, keep going with the questions below.
Question #4 – Do you Have the Right Location to Apply a DIY Ceramic Coating?
Applying a ceramic coating comes with some Gremlin-like rules. There are a few important requirements for applying a DIY ceramic coating. First, it can’t be applied onto a warm surface. Second, you can’t apply it in direct sunlight. Third, the vehicle needs to be kept indoors or away from blowing dust, pollen, or wet conditions for a minimum of 24 hours after the final coating.
To correctly apply a DIY ceramic coating, you really should use a garage or enclosed area. If you don’t have that type of area available, find one. Call a buddy, your neighbor, a family member, and ask to borrow theirs for a day or two.

While there are several customers of Armor Shield IX who have applied it under a covered canopy, leaving it outside – especially when the wind is blowing or during pollen season, opens the door to a lot of negative results.
If these contaminants blow onto your ride, they will become stuck in the coating. And removing them without removing the coating is nearly impossible. You’re gonna have a bad time.
Question #5 – Which Paint Protection Product is Best for You?
If you feel comfortable about your answers to the questions above – by all means, hit that BUY NOW button on your shopping cart for Armor Shield IX DIY Nano Ceramic Coating. But, if you’ve reviewed the information below, and are not quite comfortable with those honest answers, it’s probably best to review your paint protection options.
If you’re looking for DIY options, you basically have three.
Car Wax and Paint Sealants: The most popular method of protecting car paint is the old-fashioned car wax and polish method. This is a manually applied product that starts with a natural carnauba wax or synthetic wax, followed by a polish which provides the gloss. Wax or sealant products usually last about six weeks to six months, then require removal and reapplication.
Spray On Ceramic Coatings: The next level is a spray on ceramic coating. With this type of product, you’re applying it like you would a spray wax. However, the coating will require at least 24 hours to harden and cure. This type of ceramic coating will generally hold up for 3 to 6 months. However, unlike wax or sealants, you can layer it on top of each coat – so you don’t need to remove and reapply.
DIY Nano Ceramic Coating: This is the top level of the DIY paint protection world. It’s the highly concentrated nano ceramic coating like Armor Shield IX. You need to follow the questions and requirements above for successful application and longevity.
The main problem with this product type is the range of quality. Some are formulated with only 50% SiO2 or Silicon Dioxide – the main ingredient that forms the hard shell of protection with superior hydrophobic properties.
Some range as high as 84% – like Armor Shield IX. They are not formulated to layer on top of each other – that would be a professional-grade coating like Ceramic Pro 9H for example.
If you’re cool with some DIY time and 2 to 5 years of protection, with the first two of those years being 100% guaranteed, then Armor Shield IX is as good as it gets. However, if you’re looking for something more permanent, and are not comfortable with the DIY installation or prep work mentioned above, you’ll have to pay a premium for a more hardcore, professionally applied ceramic coating product.
Question #6 – Do You Know the Difference Between Professional Coatings and DIY Coatings?
So – you’re still on the fence? Not sure whether to invest in a professional coating or to DIY that sucker. If this is the case, it’s important to know the difference between the two. Here is a helpful guideline that will help you learn the difference – so you can make a smart decision.
Professional Coatings
The professional-grade ceramic coating is only applied by certified installation centers, mainly because the formulation is made for longevity, and has a narrow margin of error. The main reason for this is an incredibly concentrated SiO2 & TiO2 percentage, along with some special solvents that allows the product to be layered on top of each other.
In fact, you’d be shocked to learn that sometimes, the SiO2 percentage of a professional-grade coating is lower than a top DIY product. However, where the DIY coating does not build layers, the pro-grade product can. Most pro ceramic coatings involve a multiple-application process.
It begins with a base coating, which is typically lower than 70% SiO2. This gives the base or like a primer for lack of a better term. Then, a higher percentage formula is applied (usually multiple coats based on the longevity or warranty desired by the customer). Finally, a specially formulated Top Coat is the cherry on the ceramic coating sundae.
With a professional-grade ceramic coating, it’s simple – the more layers they apply, and using the correct top coatings, will produce longer lasting, higher-quality results.
Professional ceramic coatings can range in cost from $500 to $3,000 based on the product used, and the level of ‘warranty’. Most of these products or services are sold as packages, that focus mainly on the years of covered protection.
DIY Ceramic Coating
The other option is the do-it-yourself ceramic coating. The main difference between DIY and pro-grade stuff is that the DIY coatings are specially formulated for easier application. This is typically accomplished by reducing the percentage of silica dioxide (SiO2) and the solvents used in the formulation.
The general rule of thumb is that the lower SiO2 %, the longer it will take for it to flash, or initially ‘cure’. This can be helpful for those who apply their coating in higher temperature or higher humidity climates. However, the drawback of lower SiO2 % is that it won’t last as long. The ‘happy’ zone is finding a DIY coating that is a bit above 80%.
I would recommend reading more about these two products, to help you understand all the variables involved. This article is quite helpful when choosing a professional ceramic coating or a DIY alternative.
Question #7 – What’s My Budget and How Long Am I Keeping My Ride?
This one is simple. If you’re going to trade in your car every three to four years like most car owners, and your budget is limited, the DIY option is a smart one. However, if you’re going to keep the vehicle for a long time, and you prefer professionals to do the work for longer lasting results, the pro-grade option might be right for you.
Wrapping it Up
Here is the deal – you really need to determine which is your best option based on your individual situation. If you’re going to choose the DIY path – you really can’t go wrong with Armor Shield IX. Not only is our DIY coating arguably the easiest to apply, it’s also the strongest available today.
Our support is legendary – just ask us – we’ll tell ya. Or you can read the 1,000+ positive reviews on our website, Facebook, and other platforms to see for yourself.
Regardless of which paint protection solution you choose, make sure to carefully consider each option so you don’t regret it later.




14 comments
Dale Pearl
HI Jim!
It’s always good to hear from you!
This is a great question and one that we receive quite often! You can easily remove the existing coating with a buffer and a compound polish. I would recommend 2 passes and then you should be good to go!
HI Jim!
It’s always good to hear from you!
This is a great question and one that we receive quite often! You can easily remove the existing coating with a buffer and a compound polish. I would recommend 2 passes and then you should be good to go!
Jim Powell
Hi Guys, I have a simple question. If the DIY system lasts about 2 to maybe 3 years. Then how do you remove the remainder DIY Armor X Ceramic coating and prep for another Armor X Ceramic application?
Hi Guys, I have a simple question. If the DIY system lasts about 2 to maybe 3 years. Then how do you remove the remainder DIY Armor X Ceramic coating and prep for another Armor X Ceramic application?
Dale Pearl
Hi Jack!
The high temps are never really an issue. What may cause an issue would be high humidity levels. Best to perform the installation with humidity levels below 75%. If the humidity levels are too high the coating will appear “greasy” and will have difficulty curing properly.
Hi Jack!
The high temps are never really an issue. What may cause an issue would be high humidity levels. Best to perform the installation with humidity levels below 75%. If the humidity levels are too high the coating will appear “greasy” and will have difficulty curing properly.
Jack Kennedy
The article was helpful. I purchased an Audi A4…black on black. The car only has 200 miles and has not yet been washed—other than the prep work performed by the dealer. The car has been garaged since purchase. I plan to do a careful rinse to remove dust and then the 2 bucket wash prior to the IPH spray and wipe. The it seems like I am ready to apply the AvalonKing that I ordered last week.
Question. It has been warm and somewhat humid….but I will be in the garage doing the application. What are your comments related to say 80-85 degree temp and humidity and what issue these conditions might produce?