Cleaning and protecting surfaces from unsavory outside influences. It’s a constant battle, and one that never truly can be won, especially when the person applying said product is hurting instead of helping.
Here at AvalonKing, we’ve discussed everything from common ceramic coating mistakes, to car components that most people fail to clean, and do you know what? That’s just the edge of the oil pan amigo.
Today, we will be turning things up to eleven, and delving into the topic of transportation components that shouldn’t be ceramic coated. Regardless as to whether you drive a vintage muscle car, a 50cc scooter, a prop plane, or a damn tug boat, there are portions of each of these machines that should never see a drop of ceramic coating, and here’s why…

A Few Car, ATV, Boat, Bike, and Airplane Parts That Should Never be Ceramic Coated
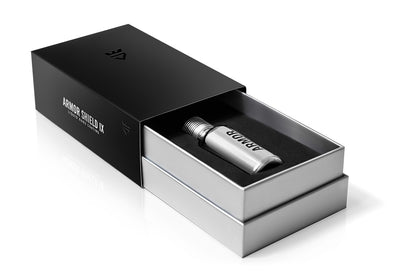
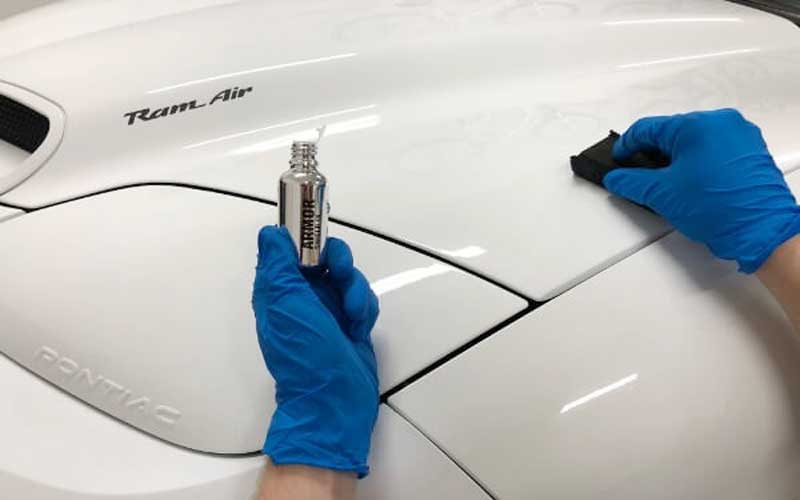
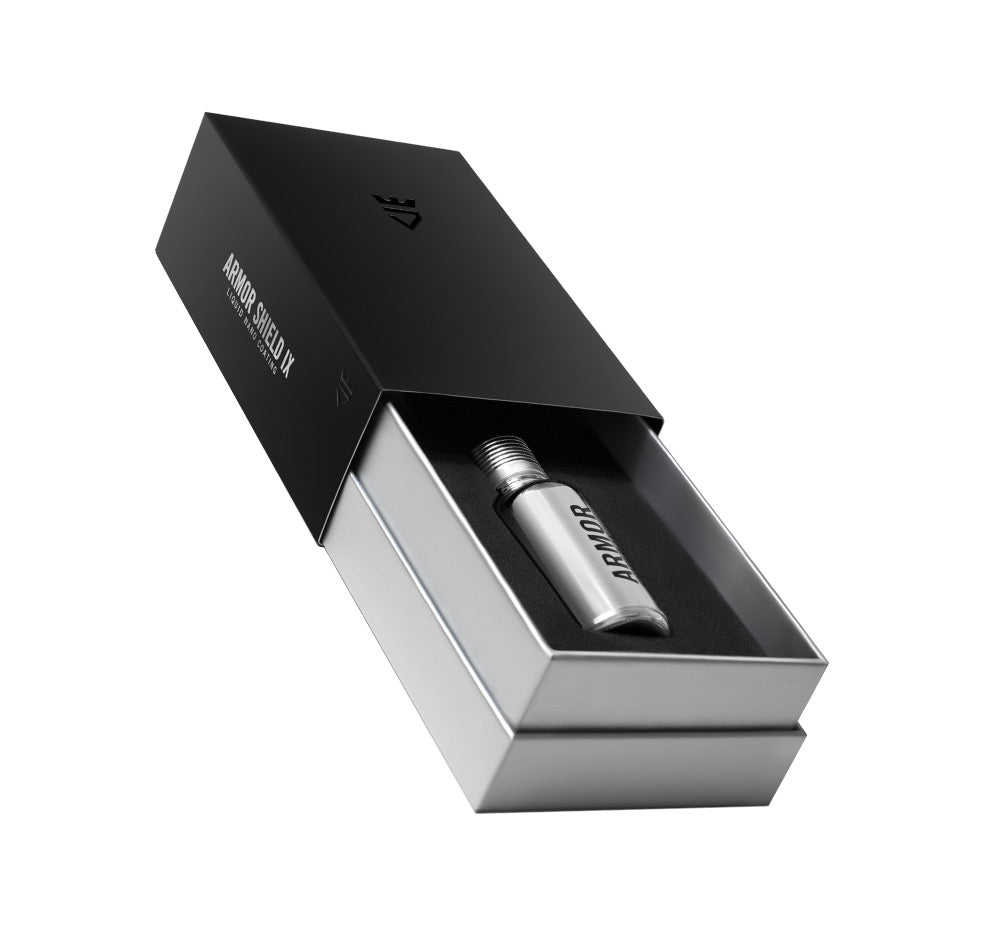
Before we dive into the details, let’s first look at why ceramic coating products like Armor Shield IX work so well, especially when paired with things like a paint protection film. Don’t get your ratchets twisted, because it’s not just automobiles that benefit from this magical man-made elixir either.
A high-grade, 9H-rated ceramic coating packs levels of heat, abrasion, chemical, H20, and impact resistance that border on the extreme. And while ceramic coatings remain far from bulletproof, they are a damn good solution for anyone looking for a semi-permanent protective sealant for a hard surface. Even auto manufacturers have gotten into the ceramic coating game in recent years, as everything from vehicle undercarriages to crucial driveline components get slathered in this rock-hard transparent product.
However, there are limitations to what areas get coated with this revolutionary coating, which leads us to today’s discussion of surfaces and materials to avoid when ceramic coating a mode of transportation. Sure, it would be nice to be able to resist UV rays, repel road grime, and prevent scratches, chemicals, extreme heat, and swirl marks from forming on every square centimeter of every object we own, but at this point in time, that’s just not possible.
Automobile
We begin with mankind’s preferred form of motorized transportation: The automobile. From an automotive exterior standpoint, you should avoid ceramic coating things like rubber seals, mud flaps, wiper blades, tires, or any other flexible component. Ceramic coatings are engineered to turn into a crystallized shell, so if it bends or flexes, chances are the coating will crack and be rendered useless.
Absorption is another issue here too, as certain seals on older vehicles will just suck the stuff up. It’s a good idea to keep sensors clear from ceramic coatings as well, as it may trigger false warnings, or worse, interfere with their ability to detect danger. And while coating calipers and alloy wheels is perfectly fine for repelling brake dust and road grime, you should never coat the brake pad or rotor itself, as it will only rub off and may cause stopping issues.
A vehicle’s interior adheres to the same guidelines as the exterior, which means anything squishy or silicone should never be ceramic coated. Most vinyl surfaces are fine to coat, but things like all-season floor mats, foot pedals, wrapped steering wheels, and anything encased in microsuede, cloth, or leather should be avoided.
Furthermore, regular and laminated glass windows that have been tinted should never come into contact with ceramic coating, as the two are far from compatible. Simply put, if it bends, folds, contours, changes shape, or rocks a tinted film, chances are it will not play well with a ceramic coating.
ATV
The off-road automobile’s hardcore little cousins, the ATV and side-by-side, may be rugged as all hell and well deserving of a 9H-rated ceramic coating, but they too have their own “untouchable areas.” You should always avoid coating things like the seat, as well as stuff like bar pads, seatbelts, mud flaps, and handle grips that are not hard plastic, metal, or vinyl.
Watercraft
On a boat, the deck is best left uncoated, as foot traffic will wear the coating thin in no time. Rubber stops, plugs, and seals are also big no-nos, as are seating materials, sails, and anything rope or rigging related.
Motorcycles
From grips and pedal pads, to seat cushions, saddlebags, and exposed silicone lines, the list of “no coat” parts on motorcycles is fairly straightforward. The good news is that the rest of the bike is pretty much fair game, so bring on the ceramic coatings, because bikes need protecting too.
Aircraft
When it comes to ceramic coating aircraft, one has to bear in mind that planes come with their own round of risks. A good rule of thumb here is that if it requires FAA inspection or approval, chances are it shouldn’t get ceramic coated. This includes sensors, as well as the exhaust path for jet engines and any component or panel that may see temps exceeding 440° Fahrenheit.
Quick Nerd Note: Regarding the application of ceramic coatings on the hulls of watercraft, it is worth noting that Armor Shield IX shouldn’t be expected to hold up as long in saltwater as it does in freshwater. Saltwater not only is a corrosion forming, brackish beast of a saline solution, but the salt itself turns into an almost sandpaper-like substance when forced up against a hull at high speeds. Another concern with watercraft, and one that is not oceanic specific, is the build-up of algae along the hull, which over time can mask a ceramic coating. So if you plan on ceramic coating the belly of your freshwater fairing boat, be sure to give it a good scrub along with some additional pressure washing prior to application.

What to Do if You Ceramic Coat the Wrong Part
While authentic, high-quality ceramic coatings won’t damage most hard surfaces, they can create problems if applied in the wrong area, or if they are improperly installed. So how can you remove ceramic coating if it has been applied in the wrong area like atop car tires or is no longer required? Forget all of the car maintenance myths the forums are regurgitating on the interweb. Here are three sure-fire ways to remove this space-age nanotechnology.
Chemicals
Chemicals with high pH levels are one of the more common ways of removing a ceramic coating. As they eat into the ceramic coating, the complex, mesh-like bond between atoms breaks down, and the coating is forced to slough off. Just be forewarned, many high pH products will not only remove ceramic coatings, but they will chew-up the clear coat too. So always do your research on the chemicals you plan on using prior to application, and when in doubt, don’t hesitate to reach out to a ceramic coating specialist for advice.
Chemicals and necessary tools selected, we turn toward the actual process of removing the ceramic coating. Here’s what must be done in order to ensure a safe, chemical-based, ceramic coating stripping procedure.
- Always start by checking to see how harmful the chemical may be on an inconspicuous area of ceramic coating or clear coat. Not doing so may result in detrimental results, especially if the chemical in question reacts differently to plastic surfaces as opposed to metal ones. Take your time, test, and inspect before wiping down larger surface areas.
- Once deemed safe for use, hit one panel or section at a time with your chemical of choice, taking special care not to allow the solution to sit for too long.
- If all looks good after completing one area, move to the next section, until the entire machine being cleaned is devoid of the product.
- Lastly, give all of the areas that were just stripped a quick rinse to remove any ceramic coating still lingering on the surface. Once dried, you should be able to distinguish any areas that you may have missed.
Clay
The second, and far safer method of removing ceramic coatings, requires the use of a clay bar, or clay mitt. Friction caused by these products tends to loosen the adhesive properties of ceramic coatings, and thus makes their removal all the easier.
That said, there are some disadvantages to the clay approach, with the primary one being its inability to remove iron contaminants. If this microscopic material is allowed to fully embed into a ceramic coating, or worse yet, the clear coat, you’re going to have one hell of a time removing it.
Disclaimer made, if you still wish to give this approach a shot, here are a handful of useful quick tips…
- Always start by using a traditional clay bar cleaning method. In a horizontal, left to right motion, use even pressure and keep with a consistent pattern, until the ceramic coating begins to dissipate.
- Most clay bar kits come with a tube of lube. Use a healthy amount of the supplied lubrication to keep both the clay bar and the surface being scrubbed slippery. This will allow you to safely remove both surface contaminants and the ceramic coating, without damaging the clear coat or paint underneath. If the clay bar or clay mitt did not come with lube, you can concoct your own by combining automotive shampoo with a splash of water.
- Using lesser amounts of lubrication will result in more friction, which is great for scouring stubborn sections, but it also comes with the risk of digging into whatever resides beneath said protective coating.
Polishing
Your final, and perhaps most potent form of ceramic coating removal, is the polishing approach. Used both as a pre-installation ceramic coating failsafe and as a car detailing product removal tool, polishing is just as effective as it is labor intensive. This is also the most challenging form of ceramic coating removal, so having some experience with polishing compounds and buffing tools is a must if you want your finish to turn out alright. We won’t get into the details of paint correction via polishing, for it would take all day. If you’d like to learn more please check out our blog article on paint correction.
As you progressively jump from one grade of cutting compound to the next, and swap-out polishing pads as necessary, you will notice that the surface areas are becoming tacky, or sticky. This is the sign that the ceramic coating is coming off, so keep at it until all traces of the substance have been removed.
Quick Nerd Note: If you plan on paying a company to remove a ceramic coating for you, know that prices are all over the place. The size of the job has a direct correlation with man hours invested, and therefore determine the final bill. So be prepared to drop well over a couple hundred bucks on a professional ceramic coat removal, and remember that once the process is complete, you are going to need to protect all of those exposed surfaces with something.

Ceramic Coating Mistakes to Avoid
Pre-installation detailing supplies and removal steps attended to, we now shift our focus toward commonplace ceramic coating mistakes. While you may only need one good layer of ceramic coating protection to keep a surface free from filth and harm, we recommend applying a second coat to ensure that even coverage is applied to all surfaces and that there aren’t any major missed areas.
Unfortunately, this two-step approach allows even more room for DIY car maintenance mistakes, some of which can be pretty damn detrimental. Here are a few of the more obvious offenders, some of which are applicable to all forms of transportation and hard surfaces.
- Attempting to coat a car when air temperatures dip below 40° Fahrenheit (4.4° Celsius) will cause the curing process to slow down significantly. The risk here is that if prolonged for too long, the ceramic coating will never fully cure, and will therefore be rendered useless.
- Coating a car in an environment with high humidity is another common issue. Airborne condensation also slows the curing process, resulting in an oily-looking finish that will not go away.
- Too much ceramic coating will result in a coating that looks greasy or wet, as it too refuses to fully cure.
- Early exposure of a ceramic coating to moisture is also a huge mistake. From precipitation and dew, to the act of prematurely testing the hydrophobic properties of the ceramic coating before it has time to harden, all of these things can compromise the work that has just been completed.
- Don’t skip steps in the prep-work process or try to take shortcuts. Clean thoroughly, and trust in the process. There’s a reason why we’ve been in this business for as long as we have and are still revolutionizing the ceramic coating game.
- Stacking layers is crucial to the lifespan of a ceramic coating. This basically means that the longest lasting product should always be applied first. Ceramic coating does not bond well with car wax, so keep things in their appropriate order if you want to see that ceramic coating last.
- Slap a layer of ceramic coating on a surface in direct sunlight and you’ll be horrified by how fast the coating dries, a mistake that leaves behind uneven product placement. A good rule of busted knuckle is to always allow an initial 4-5 hours of hardening time to take place under the cover of shade or indoors before moving outdoors.
- Tossing a coat of ceramic coating on a hot surface is also a major concern, so always keep your cool when coating.
- Two weeks is the average time required for Armor Shield IX to fully cure. That said, it only takes 48 hours for the product to solidify to the point where the ceramic coated machine or object can breath outdoors. Cut into that cure time and prematurely expose the coating to the elements, or worse yet, airborne debris, and you will find yourself ruing your inability to maintain patience.
- Finally, there is the subject of ceramic coating things that should never be coated. If it feels soft, cloth-like, rubbery, or consistently comes into contact with temps north of 440° Fahrenheit, chances are it shouldn’t be getting coated.



9 comments
Kevin
I will be putting the ceramic coating on a KIA Telluride. Is it ok to put it on the plastic trim around the wheels and along the bottom of the vehicle. Also what is the best way to work the ceramic coating around the raised lettering on the hood and rear lift gate? (Telluride)
I will be putting the ceramic coating on a KIA Telluride. Is it ok to put it on the plastic trim around the wheels and along the bottom of the vehicle. Also what is the best way to work the ceramic coating around the raised lettering on the hood and rear lift gate? (Telluride)
Peter
Another note on ceramic coating boats: do NOT coat below the waterline! It will be wasted as it wears off, and will adversely affect the way the boat handles until it wears off.
Another note on ceramic coating boats: do NOT coat below the waterline! It will be wasted as it wears off, and will adversely affect the way the boat handles until it wears off.
Bryan
Y is ceramic coating so expensive and in such a little amount, I’m afaraid I won’t even be able to fully coat a bug 4door truck
Y is ceramic coating so expensive and in such a little amount, I’m afaraid I won’t even be able to fully coat a bug 4door truck
Dale Pearl
Hi John!
That’s a good plan. the temporary car tents are excellent as shield the car from the elements as well what the trees and birds decide to randomly drop.
On the IPA id suggest a dilution between 15 to 25%. You are spraying on and wiping off. Do not allow to dry on the surface so you should be drying the IPA mixture off within 10 to 20 seconds at most.
John Kelly
Hi, I have a large Range Rover that won’t fit in the garage. I do live in California and can pick a week when the weather is good. But I guess I’ll need to get a tent or something to put the coating on and then wait 48 hours, right? Let me know. Also, is the IPA wipe down just straight alcohol or is a 50/50 mix with water? Thanks John
Hi, I have a large Range Rover that won’t fit in the garage. I do live in California and can pick a week when the weather is good. But I guess I’ll need to get a tent or something to put the coating on and then wait 48 hours, right? Let me know. Also, is the IPA wipe down just straight alcohol or is a 50/50 mix with water? Thanks John
John Kelly
Hi, I have a large Range Rover that won’t fit in the garage. I do live in California and can pick a week when the weather is good. But I guess I’ll need to get a tent or something to put the coating on and then wait 48 hours, right? Let me know. Thanks John
Hi, I have a large Range Rover that won’t fit in the garage. I do live in California and can pick a week when the weather is good. But I guess I’ll need to get a tent or something to put the coating on and then wait 48 hours, right? Let me know. Thanks John
Dale Pearl
Hi John!
You only need to wait for 1 to 2 hours between coats.
Hi John!
You only need to wait for 1 to 2 hours between coats.
John
Hi i just want to ask how long should i wait to put s second layer of ceramic coating
Hi i just want to ask how long should i wait to put s second layer of ceramic coating
Patrick Stephan
This article is comprehensive and informative. Nice job!
This article is comprehensive and informative. Nice job!