Prep work is what makes the dream work. Marinated meat makes the BBQ taste amazing when it’s cooked low and slow. A properly warmed up race car reduces the potential of major mechanical failures and enhances performance for chubby-producing laps. And headed into a concert properly lubricated just makes the show that much better.
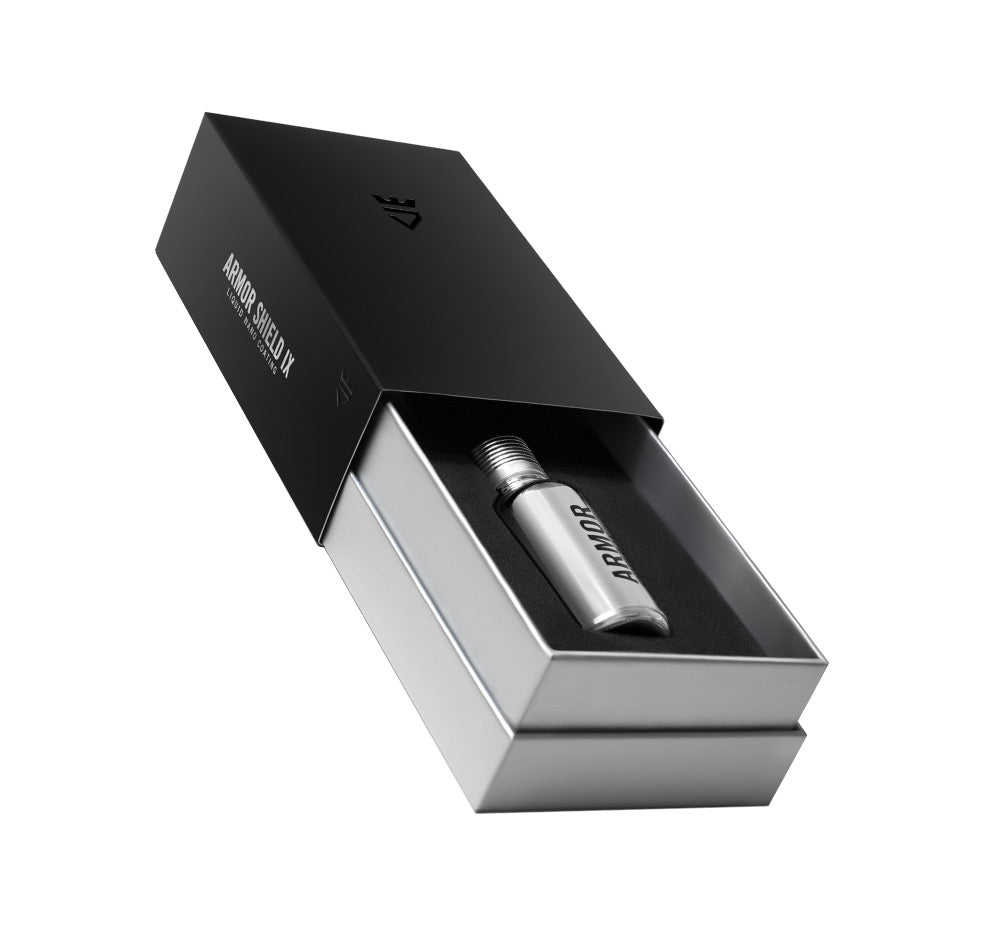
However, failure to prep your vehicle before applying a DIY ceramic coating will – not maybe, or likely, or could possibly – it WILL produce negative results. So, in today’s AvalonKing blog, we’re going to dive into the world of prepping for applying our DIY ceramic coating – Armor Shield IX.
We’ll provide you with all the steps you need to follow in order to ensure your application is easy, effective, and the finished product is of superior quality you expect from The King.
What Happens if You Don’t Prep for Ceramic Coating?

One fact that simply can’t be argued is that the when your prep work is great, you’ll experience better results. For ceramic coatings, the prep process involves handwashing, to remove wax, debris, chemicals, and other debris. Second, you want to clay bar treat the vehicle, then (if needed) complete mild paint correction. The final step is a nice IPA spray and wipes off with microfiber towels.
That really doesn’t seem that difficult – does it?
Well, you’d be shocked at how many folks simply think that’s too much work for them to handle. And that’s cool – some folks just put gas and go and never change their engine oil either. However, my dad always told me – if you’re going to do a job – do it right the first time.

Prepping for a ceramic coating MUST be completed for the coating to correctly infuse onto the porous surface of choice. This includes clear coated metals, plastic materials, vinyl wraps, PPF, glass, even polycarbonate.
Failure to do so will result in the coating having difficulty bonding to the surface. The higher the quality of that nano-technological bond – the longer it will continue to adhere. This results in longevity, a more enhanced shine, and improved hydrophobic properties. However, if there are contaminants or damage to the surface where the coating will bond, there will be some negative side-effects.
Reduce Luster

Armor Shield IX has quickly become the choice of car enthusiasts, mainly due to the ease of application. But, the shine that is enhanced is another reason for the massive love. However, these attributes are a moot point if the surface it covers is contaminated or not prepped. Brilliance of shine happens when the surface is clean, contains no scratches, or fine-spider webbing.
A nano-coating like Armor Shield IX is made from SiO2 or liquid quartz. It’s essentially a tiny layer of glass that is very hard – like 9H hardness. This depth enhances the shine. However, if there are contaminants or scratches on that surface, it will have a reverse effect.
Reduced Hydrophobic Properties
This is typically the result of the coating not lasting as long vs the initial coating. Once the coating has bonded onto the surface, it’s going to leave a flat surface on top – which will produce the hydrophobic effects ceramic coatings are known to produce. However, if the bond is weak, the coating will wear thin sooner – which eventually reduces the flatness of the coated surface and thus – the water, dust, and debris preventative properties.
They Wear Quickly

If you fail to prep the surface correctly, your efforts of applying the ceramic coating are going to be wasted. It’s simple – but we need to reinforce this fact. Like in Drag Racing – No Prep usually leads to more potential of wadding up your shit. With ceramic coatings, reduced prep work or higher contaminant levels under the coating will accelerate the wear process. It can also lead to oxidation – which may develop rust.
Understanding the Process for Ceramic Coating Preparation

So, now that we’ve clarified why prep work is so important to quality results, let’s break down the process.
Before we sold our first bottle of Armor Shield IX, we spent years researching the right ingredients at the correct percentages to have the best results for DIY car enthusiasts. During the formulation process, we determined that the easiest method for optimal results is to start with a perfectly flat surface.
To accomplish this, we recommended a four-section, 12-step process.
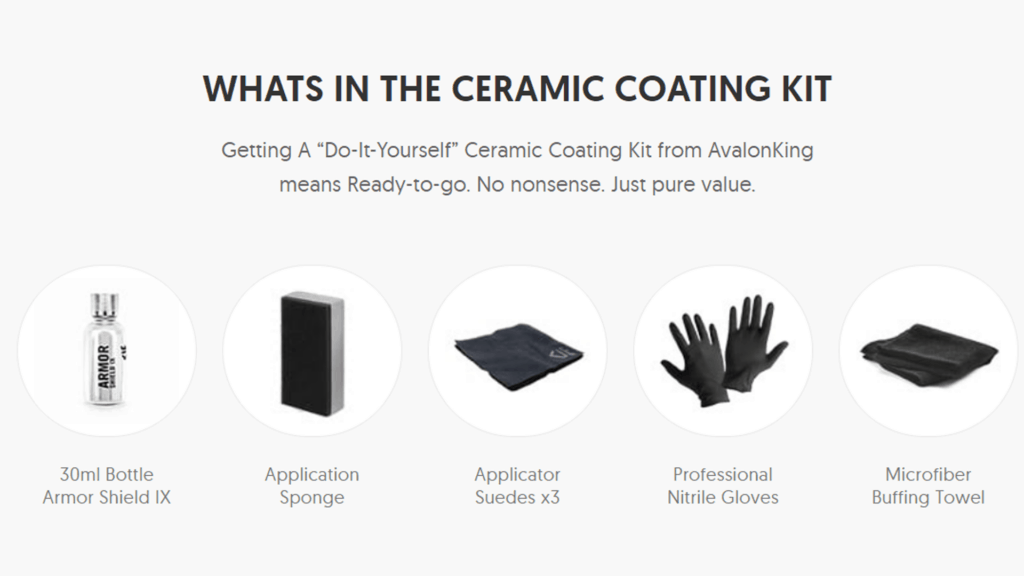
Noted below are the supplies we recommend collecting before planning out your prep process. To complete it correctly, the average car will take a few hours from start to finish. However, if your car has a lot of fine scratches (like swirl marks or spider webbing) you should complete paint correction – which can take a few days.
2 washing buckets: The reliable 2-bucket car washing method ensures you have a fresh supply of soap and water. It also reduces debris being spread back on the vehicle.
Auto-Specific Soap: When you wash your ride, you want to use products made for your car. Do NOT use dish soap, regardless of what you’re told on YouTube.com. It’s also important to not use stuff with polish or wax.
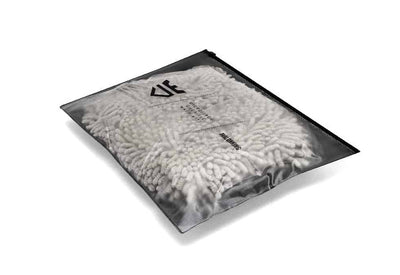
Microfiber Mitt or Sponge: Super plush microfiber wash mitts or sponges should be used for the washing process. This helps collect those rich suds and reduces swirl marks or scratches.
Clay mitt: So, we’re working on this product. Instead of a hard to hold clay bar, it’s a mitt, that covers more area, and works better. We should have it ready for our customers soon.
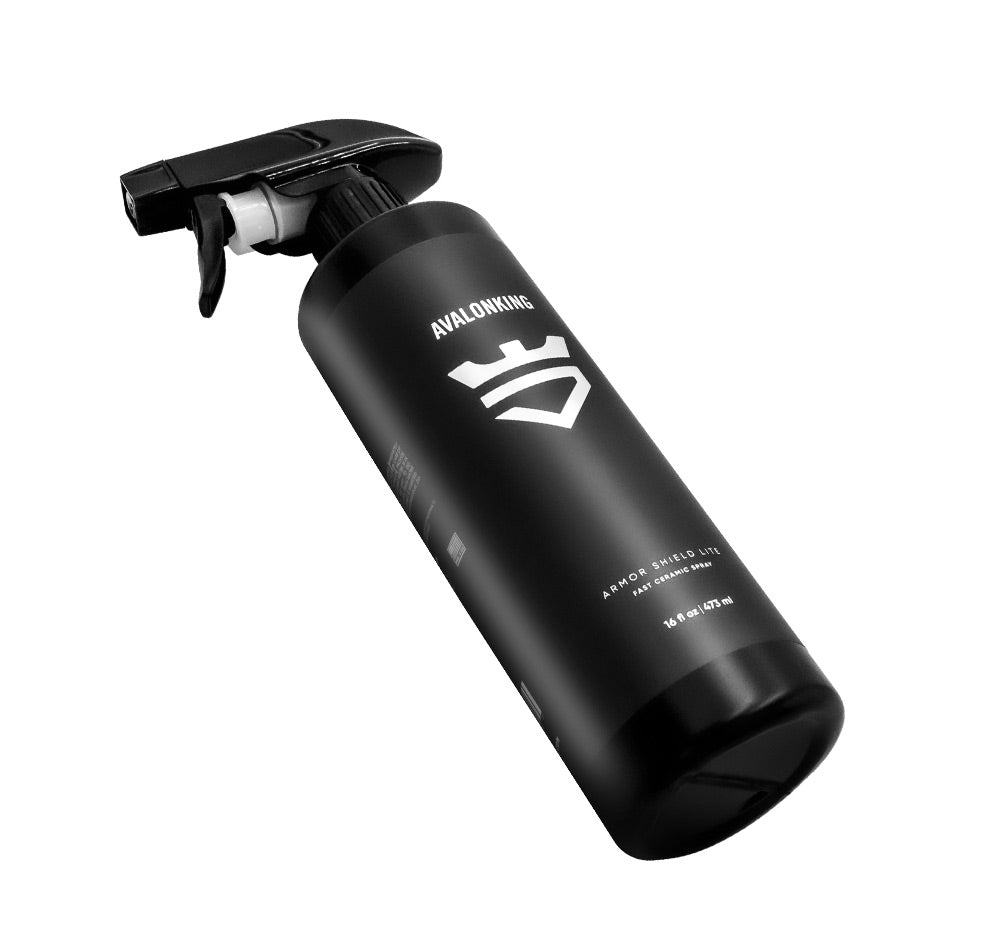
IPA or Isopropyl Alcohol Wipe: The last item to complete is the IPA spray. This will remove all the residue of the clay bar treatment, any excess polish or wax – so the surface is perfectly clean. If you’re looking for how to mix this yourself, here’s a blog post that might help.
Use Several Microfiber Cloths or Towel: When you’re prepping for a ceramic coating, you don’t want to skimp on supplies. Always use multiple, clean and dry microfiber towels.
Cutting Compound: If you have to complete paint correction, you’ll need a cutting compound or polishing compound. You’ll also need a polishing wheel and microfiber pads.
Part One – Washing
Step one is washing your ride. There are 4 parts to this task.
Step 1 – Pre Washing

Before you wash, you need to pre-wash. This will help to remove loose debris, dirt, bug crap, and other stuff from the paint surface. It makes washing much easier and effective.
Step 2 – Use Two Buckets

The two-bucket car washing process involves (2) individual buckets. One for washing solution, and one for freshwater. It’s best to use 1 ounce or 30-ml of concentrated car soap with 2 to 4 gallons of water. Always follow the instructions of the manufacturer you use for washing the vehicle.
Step 3 – Washing the Car – Washing the Car!!!

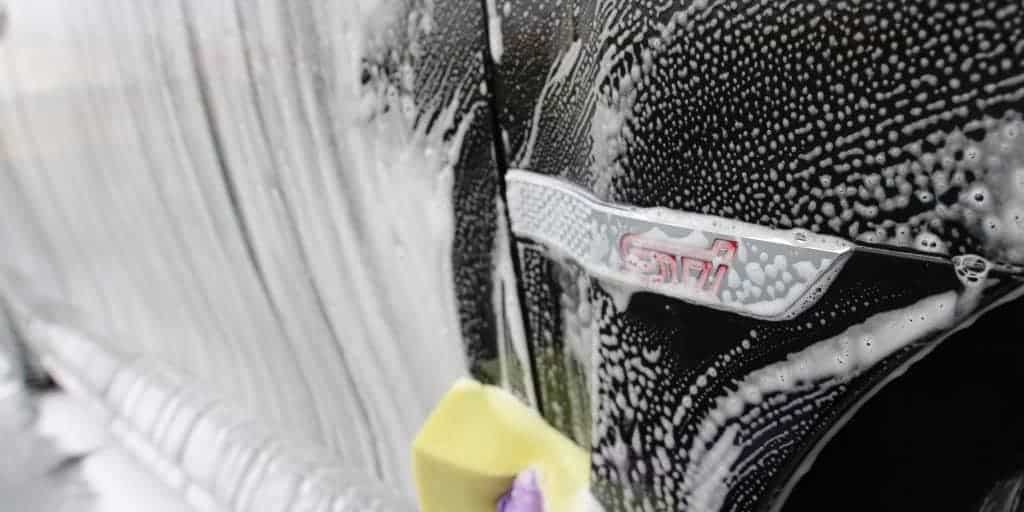
There are several ways to accomplish this step. But, the main thing to remember is to use a well-soaked wash mitt, work from the top and then the bottom. Do one panel at a time.
Step 4 – Rinse All Sections Before Proceeding

Scratches typically happen when you wash with reduced lubrication. It causes debris to slide on the surface, and dig into the clear coating. When you rinse each section, this becomes a moot point.
Part Two – Clay Bar or Clay Mitt Treatments

Don’t have a beer after washing the car – move directly to the next part, which is clay bar or clay mitt treatment. In this step, you’re going to use the clay mitt or clay bar kit along with tons of lubrication solutions to help remove tiny particles stuck on the paint.
Step 5 – Use a Good Clay Bar & Lubrication

There are several great clay bar solutions and kits on the market – and any of them will do the job. If you’re looking for a DIY hack – here is one. Use 1 to 2 ounces of car washing soap, and mix with a gallon of water. This lubrication is thicker than car washing soap, so it’s slippery.
Step 6 – Use Lots of Lube
When using a clay bar or mitt, the key to success is tons of lubrication. The more slippery your solution, the easier the clay bar will glide over the surface. This helps to remove tiny particles.
Step 7 –Work In Sections
Back to forward, and side to side in sections is the best way to use a clay bar or clay mitt. It’s important to be firm but gentle until you notice that the surface is smooth.
Step 8 – Rinse and Dry the Vehicle
After the clay bar process is finished, you should rinse the car completely. Use microfiber towels to dry the vehicle before moving forward in the prep process.
Part Three – Polishing or Paint Correction

I wish we could say that this is required on all vehicles – but it’s impossible to tell. Paint correction is best recommended when your vehicle has visible spider webbing or swirl marks. If you have bird dropping stains or other paint imperfections, you should also complete paint correction.
Now, here is the deal – since paint correction is a detailed and specialized process, it’s not a good idea for us to fully give you step by step instructions. If you’ve done it before, cool – you’ll know what to look for. If not, it’s a great idea to consult with a local detailer or mobile detailer.
Part Four – IPA Wipe Down
We’re in the final step of the prep process for ceramic coatings. This is where you’ll use an Isopropyl Alcohol spray solution. Now, this video above gives a visual example of how to spray and remove.
HOWEVER, it also shows the WRONG way to mix the spray. I wrote a blog that outlines the exact steps involved in mixing IPA solution for ceramic coating prep work. Just be sure to check out the details contained within this link before proceeding.
Step 11 – How to Apply and Remove IPA Spray
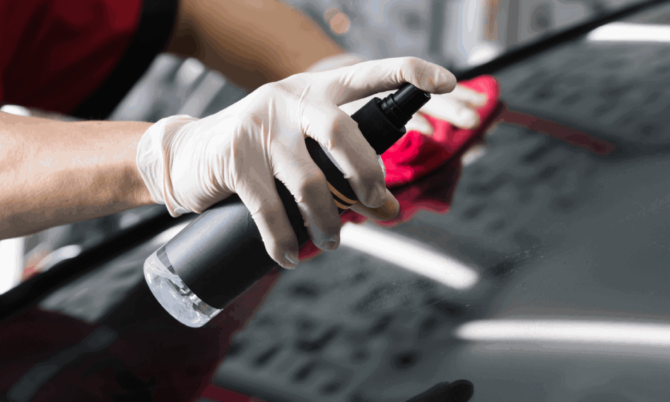
So, the final panel wipedown is exactly that – a wipe down. It’s a simple process. First, work on one panel at a time. Spray the solution on the paint surface, and immediately wipe it off with a clean and dry microfiber towel. Use multiple microfibers in this process.
Step 12 – Check those Nooks and Crannies
The last thing to do is to check those tiny cracks and areas where excessive IPA spray, water, or anything else might be hiding. When you apply the ceramic coating, you don’t want any debris impacting the application.
Wrapping it Up
Anytime you’re going to spend money on improving your vehicle, it just makes sense to do the job right. When you add an air intake, improving the flow of your exhaust and tuning the fuel curve should quickly follow. Changing suspension set-up? Matching that with new wheels and tires and brakes to optimize performance again makes sense.
If you want to protect your vehicle from exposure from UV rays, bird crap, and more, and want to get the optimal performance, simply follow the recommended prep work before attempting to apply.


5 comments
Greg A. Miller
What temp ranges can this product be applied? My question leans more toward cold.
What temp ranges can this product be applied? My question leans more toward cold.
Joel Passerell
Good info Tim. If I’m applying the coating in my garage and I have a ceiling mounted, gas radiant heater that uses a pilot light. The garage is fully insulated and has insulated overhead doors (granted only about R-4) with the typical vinyl weather stripping around them so not totally air tight. Do I need to be concerned at all with polishing vapors or excessive fumes from the coating and having an open flame in a 3-car sized garage? Thanks.
Good info Tim. If I’m applying the coating in my garage and I have a ceiling mounted, gas radiant heater that uses a pilot light. The garage is fully insulated and has insulated overhead doors (granted only about R-4) with the typical vinyl weather stripping around them so not totally air tight. Do I need to be concerned at all with polishing vapors or excessive fumes from the coating and having an open flame in a 3-car sized garage? Thanks.
Mike Bock
Very detailed and helpful information. I can’t wait to revive my kit to get started. Thank you
Very detailed and helpful information. I can’t wait to revive my kit to get started. Thank you
Tim Charlet
Hey John:
Thanks for the question. If you’re going to go through a 2 to 3 stage paint correction, then that’s OK to do over multiple days. Once that’s done, you can move forward to the actual application process. However, right before you apply it (which should take a few hours to complete), just wipe down the body and other parts you want to coat with IPA and microfiber. This needs to be done before you apply it. Also, make sure NOT to do this in direct sunlight, as it will make it more difficult to apply. You can also apply the coating in sections if you’re worried about time restrictions. Start with the hood and roof, then complete the right side, then the left side if you need to. Just make sure to set enough time to completely wipe down with IPA, then apply and let dry.
Let me know if you have any other questions and we’ll help ya.
Tim Charlet
John Dillon
Tim, all great advice.
What is your reccomendation for breaking up this work into multiple days, where the car being worked on is your daily, and you do not own a garage. I am worried that i wont be able to get enough done in one day and get the coating on.
I am planning a 2-3 stage paint correction before, and perfecting the paint before im ready to apply ceramic coat.