Contrary to popular belief, taking your automobile to a car wash is not a DIY car detailing hack. Correct car care is a process that requires the implementation of tools, techniques, cleaning supplies, and perhaps most importantly, knowledge.
Knowing how to use a microfiber cloth is one thing, but knowing how to properly clean and dry microfiber is another. Anyone can vacuum a car, but not many people know how to operate a handheld steam cleaner with a lancing tip.
Here are 9 amazing DIY car detailing tips that will help you cut-out the expensive professional detailer fees, remove nauseating chemicals from the equation, and make daily driven car life all the more clean, enjoyable, and safe.
1. Natural Carpet Cleaner

Looking to get rid of all those nasty stains that have been collecting on your car’s upholstery, and deodorize your interior, but hate man-made chemicals? You can make your own all-natural carpet cleaning solution by combining the following ingredients in an easy-to-apply spray bottle, and hot damn does it work well!
Just be sure to use a high quality carpet/upholstery brush along with this cleaner, as this will allow you to bring any deeply embedded gunk to the surface, while agitating the deodorizing solution deeper into the carpet’s fibers.
- 6 cups hot water
- 2 tablespoons castile soap
- 2 tablespoons distilled white vinegar
- 1/4 cup hydrogen peroxide
- 15–20 drops essential oil (to mask the vinegar aroma)
Quick Tip: You can use this all-natural homemade cleaner inside the home as well, as it cleans and adds a pleasant aroma to floor rugs, sofas, mattresses, drapes, and more.
2. Haze-Free Headlights

Do your car’s hazy headlight housings look like Cheech and Chong just held a fatty spliff smoking session inside? Has night driving become more of a “steer-and-pray” sort of scenario, instead of a simple to-and-from commute? If so, it may be time to resurface your headlights, and we have just the thing to keep them from hazing over once again.
Most headlight restoration kits offer an inexpensive entry-level price point, and the solutions they provide tend to be subpar at best. For results that work, skip the garden variety headlamp haze removal spray, and upgrade to a mid-grade headlight scratch remover kit.
As opposed to simple headlight haze removal products, these kits come packed with everything you need to eliminate scratches, lift deeply embedded debris, and buff those lenses until they shine with a passion that only Chuck Norris can fully comprehend.
While you can complete this DIY detailing task without the use of an electric drill in the span of an hour or so, the use of a power tool will definitely expedite the process. For those in search of a handheld solution, manual headlight resurfacing kits for medium hazing are readily available and are also extremely effective.
Quick Tip: If you don’t want to bother with restoring your headlights every year, take the time and ceramic coat over them. This will not only prevent hazing from occurring, but it will also make the lenses themselves far easier to clean when things like bug guts, road salt, and bird shit are thrown at them.
3. Decontaminate Your Dusty Air Vents

A quick and easy trick for cleaning car vents, is to use a detailing brush that’s been loaded with a tiny spritz of the aforementioned all natural carpet cleaner. You don’t want to oversaturate the brush with liquid, so add just enough moisture to it, that any dust it comes into contact with will cling to the bristles.
Quick Tip: Once you have scrubbed each vent, turn the fan on and repeat the entire process one last time to confirm that no dust bunnies are lurking in the darkness beneath your dash. While you are at it, hit those back seat air ducts if you haven’t already, along with the vents underneath each seat, because they too tend to get ultra filthy.
4. Essential Oil Air Fresheners

It’s about damn time we rethought automotive air fresheners, because the chemical-rich crap that gets packed into these things is terrifying. Being that most car air fresheners are a single use item, that tree hanging from your rearview mirror is destined for the landfill once those aromas fade.
Skip the carcinogen-filled air freshener aromatics by installing an essential oil diffusing car air freshener instead. These potent little products come in a wide array of aromatherapy inducing scents and styles, and are often made in such a way that refills are ultra easy. Available in vent clip, rearview mirror hanging, and cupholder sizes, essential oil car air fresheners are without a doubt one of the easiest and safest solutions for those looking to refresh their automobile’s cabin air.
Quick Tip: Next time you swap out your cabin air filter, toss a few drops of your favorite essential oil on the fresh filter prior to installation. This will help eliminate any muskiness left behind by the old filter, and will make the air blowing from your vents smell divine for the following week or so.
5. Wave Goodbye to Windshield Wiper Streaks

While a dry-rotted windshield wiper blade will create streaks due to the cracks running along its structure, an undamaged wiper will create streaks due to debris build-up. You can quickly go from hard-to-see to streak-free by merely wiping the blade with a dash of denatured alcohol on a paper towel or shop cloth.
As you run the towel down the length of the blade, all of the grime and air pollution that has become scooped-up by your car’s wiper blades will be removed. The result? A towel with one hell of a nasty black smear of filth running down the center, and a wiper blade that is thrilled to be streak-free once again.
Quick Tip: Blast your car’s wiper blades with water, and then use a slender plastic trim removal tool to dig out any deeply ingrained dirt from the wiper blade’s fins prior to cleaning them with alcohol. Anything that impedes the blade’s ability to apply even amounts of pressure on the glass will likely cause streaking and water spots to form, so always be sure to conduct this prep step before cleaning those wiper blades.
6. Homemade Tire Shine

Go ahead and scoff. We sure as hell did… at least, all the way up until we realized that the following oddball “rubber cocktail” actually worked. Just be sure to let your ride sit for a while in order to allow this concoction to soak-in, or else you’ll find that your homemade tire dressing is being slung everywhere.
Homemade Tire Shine Recipe
- Castor Oil – 25 ml
- Automotive Shampoo – 10 ml
- Rubbing Alcohol – 75 ml
- Water – 2 liters
- Tire Brush for Scrubbing
- Tire Applicator Pad or Microfiber Towel for Application
To get the most out of this automotive madness, use the automotive shampoo and water to wash the tire, utilizing a quality tire brush for cleaning the sipes and textured surfaces on the outer sidewall.
Scrubbing is complete, hit the tire with a dash of rubbing alcohol, which will remove contaminants from the sidewall, without drying out the rubber.
Once dried, splash some castor oil on a separate microfiber towel or tire applicator pad, and slather those sidewalls until a sheen is bright enough that it can be detected from outer space.
Quick Tip: If you don’t have any castor oil laying around, use baby oil instead, and rub it in a circular motion, as David Hasselhoff smiles roguishly and looks on in approval…
7. Chemical-Free Upholstery Cleaners

While disposable interior wipes are by no means expensive, they do get quite pricey if used continuously over time, and they are by no means good for the environment.
Spray-on upholstery cleaners that have been paired with a fluffy microfiber cloth may be a bit more environmentally friendly, but they too tend to be loaded with unnatural ingredients, some of which can be nauseating to certain people.
Fortunately, there are a number of companies out there that make all-natural, and even FDA certified organic car interior cleaning products. Many of these products come with rave reviews, surprisingly moderate price tags, and refreshing, plant-derived essential oil aromas.
Quick Tip: The only downside to using natural car interior cleaning products, is that many of them are a wee bit on the oil-rich side. If you don’t want a super shiny oiled looking/feeling surface, opt for the old fashioned isopropyl alcohol (IPA) wipe-down instead, as it will kill bacteria and clean most hard, non-electronic surfaces.
8. Remove Deeply Embedded Pet Hair

You can have all the suction power in the world at your finger tips, but even the most advanced vacuum cleaner is not going to do shit when it comes to removing deeply embedded pet hair. Sure, a vacuum will get the bigger tufts, and a pet hair brush will help to an extent, but for super stubborn follicles, a spray-on solution must be implemented.
In order to make your own pet hair removal spray, take one (1) part liquid fabric softener, and dilute it with seven (7) parts water. After blending, simply spray onto the area you wish to clean, allow the solution to sit for 2–3 minutes, and then use your pet hair brush and vacuum to remove the pet hair.
The reason why you want to use fabric softener, is because it helps reduce static cling, which is one of the primary reasons why pet hair can be so difficult to remove. Fabric softener also softens things like carpet fibers (whoa, no way…), so it is more likely to release any pet hair that may be trapped beneath the surface.
Quick Tip: If you want to stick with the all-natural DIY approach, you can make your own fabric softener with inexpensive household ingredients.
9. Activated Charcoal Cabin Air Filters

Our final car detailing tip today, is something that you can set and forget, and it will last for years and years without needing replacement. We are talking about activated charcoal cabin air filtration, and hot-diggity-damn does this stuff get the job done.
While products like activated carbon and baking soda infused drop-in cabin air filters do a great job of filtering the air that pumps out of your vehicle’s vents, they don’t do crap for the quality of the air that is suspended within the vehicle itself.
Throwing a handful of bamboo charcoal bags into various areas of your car’s cabin will allow you the ability to absorb aromas, instead of masking them with perfumes or toxic chemicals. We suggest opting for a multi-pack that utilizes eyelets, so that you can hang the charcoal filters if you wish, or stuff them in the trunk, beneath passenger seats, and within door pockets.
Parting Shots

How well a vehicle is maintained, and the products that are used to keep it looking and performing at its best are ultimately up to the owner to decide. Hopefully the tips, tricks, advice, and methods listed above will help you see that there are quite a few DIY alternatives to the mainstream products being advertised to the masses.
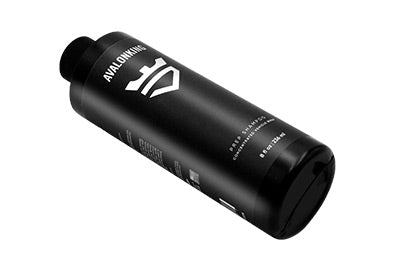
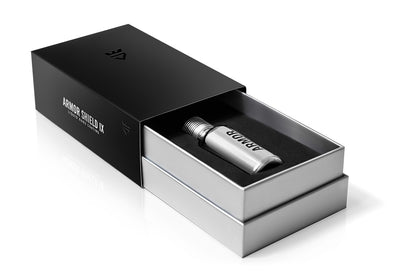
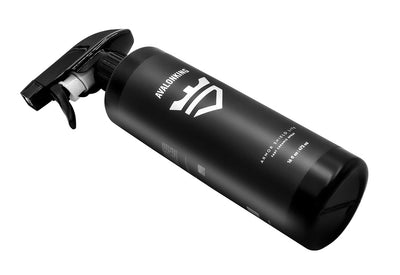
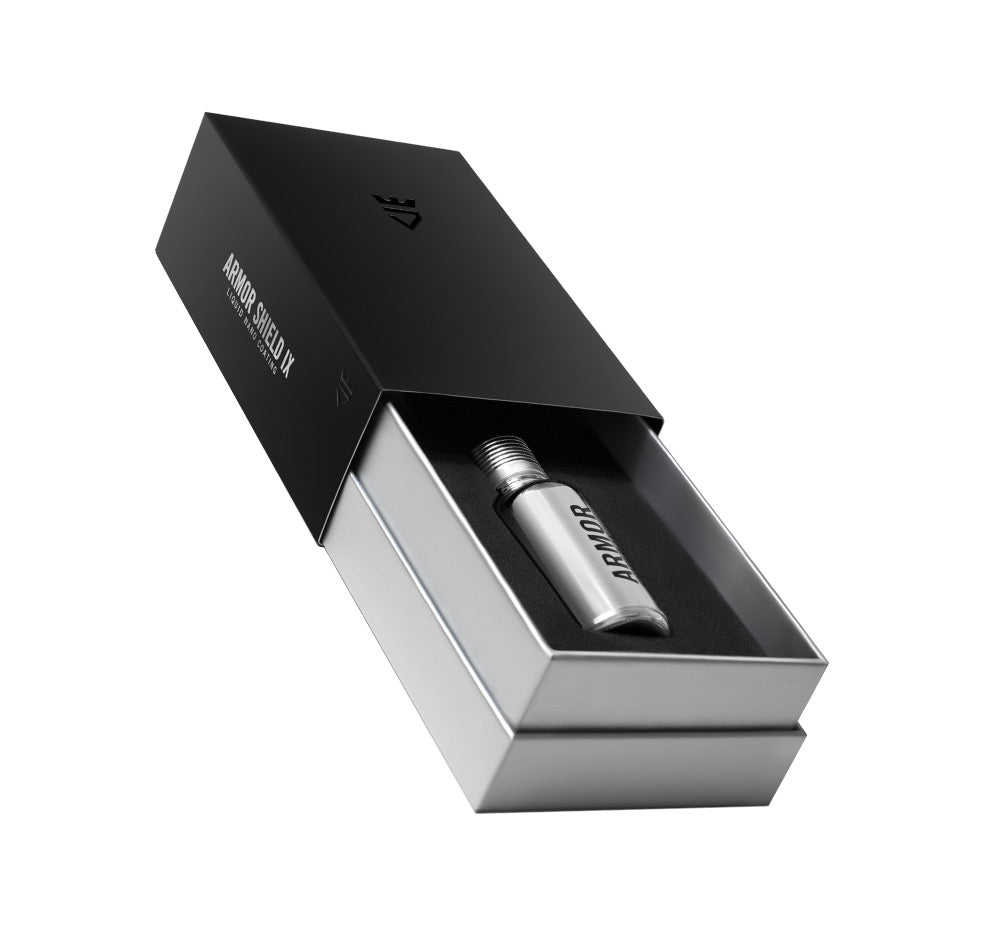
Now as for homemade nano ceramic coatings, that’s something you might want to leave to the scientists down at the lab at AvalonKing. There’s a reason why Armor Shield IX remains the world’s highest rated DIY ceramic coating product, which explains why we are able to offer a 2-year quality guarantee for every bottle we sell.



3 comments
Jimmy William Galloway
I have used your product on my 2017 Ford Taurus. It is a Limited Editioned with the metallic Blue Jean paint job. Your product made that paint job really pop. Every time I wash it , it looks like I have reapplied the sealant. I do not believe it can be beat. even with hand application.
I have used your product on my 2017 Ford Taurus. It is a Limited Editioned with the metallic Blue Jean paint job. Your product made that paint job really pop. Every time I wash it , it looks like I have reapplied the sealant. I do not believe it can be beat. even with hand application.
Carl Pearly
Gr8t diy tips. I’ve searched Dr Google forever to find these “gems” for detailing my ride.
You guys(and gals) are AmaZing!!
TY CoolC.
Gr8t diy tips. I’ve searched Dr Google forever to find these “gems” for detailing my ride.
You guys(and gals) are AmaZing!!
TY CoolC.
David Ferra
I Have 4 left and it work great., Thank You.
I Have 4 left and it work great., Thank You.