When it comes to cleaning, disinfecting, and protecting an automobile, washing and waxing is about as basic as it gets, and the results can be just as underwhelming.
While skipping the quickie car wash, with its big-ass abrasive brushes, harsh pH shampoos, and questionable water sources is certainly a start, cleaning your vehicle with the two-bucket DIY wash method will also only get you so far.
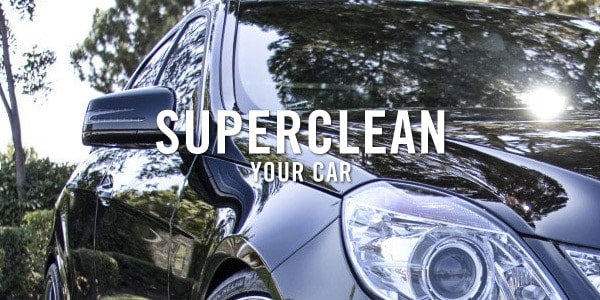
As DIY enthusiasts continue to search for new ways to make their vehicles look as immaculate as possible, while reducing the risk of things like mold formation, the art of “super cleaning” has come into the mainstream.
But what exactly is super cleaning, and does it really make that much of a difference over the old fashioned spray, scrub, and wipe approach?
Today, we’ll review some of the most popular automotive DIY deep cleaning techniques, evaluate how well they work, and discuss whether or not this intense decontamination procedure is right for you.
1. Super Clean Your Car’s Exterior
Time Spent: 1–2 hours
Savings: $150–300
Over the years, YouTube car detailing superstars and DIY zealotshave tested and reviewed every imaginable cleaning chemical and detailing tool on the market. Along the way, these “clean freaks” have dropped quite a bit of knowledge on the whole super clean phenomenon, in order to show what works, what to watch out for, and how to not royally screw-up your vehicle.
When it comes super cleaning a car’s exterior, super cleaning can be both quite labor intensive and time consuming, which may turn some people away. Super cleaning a vehicle’s exterior also requires a hefty array of detailing chemicals and gear, so be forewarned that there will be some up-front expenses that must be made prior to beginning the process. You’ll also need to have a place to store all of your detailing gear once the job is done, so make sure that you have a spot set aside somewhere before hopping in head first.
That being said, the process of super cleaning a car’s exterior encompasses the entire detailing gamut. Pre-washing, foam cannon shenanigans, clay media decontamination, polishing and paint correction, microfiber buffing, and fine detail finishing must all be completed if you want to super clean the outside of an automobile.
However, all of that toil will begin to pay off when you see your old paint job and faded black plastic trim begin to go from dirty and dull, to glossy and bright. If the vehicle in question is routinely driven, we strongly suggest super cleaning the exterior of twice a year, once in the spring and again in the autumn. This will make bi-weekly washes much easier, while preventing summer contaminants (bug guts, tree sap, etc.) and winter nastiness (road salt, slushy asphalt grime, etc.) from making a permanent home in your car’s clear coat.
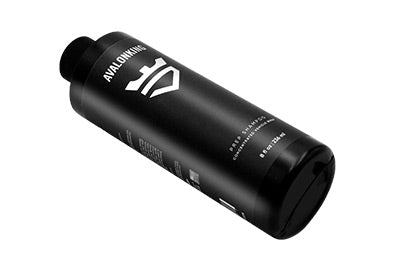
Quick Tip: When super cleaning a vehicle, it’s important to let the car shampoo sit for a bit, as this will allow it to loosen-up any hardened road grime, tree sap, bird crap, and other forms of stubborn contaminant. Just be sure to always work in a shaded or covered work space to avoid hard water spot formation, and use a pH balanced surface prep shampoo for a far more thorough and speedy super clean.
2. Super Clean Engine Bays

Time Spent: 1–2 hours
Savings: $50–200
It may seem like a risky endeavor, but cleaning your car’s engine (and the bay it resides in) really isn’t that dangerous if a few precautions are made beforehand. Just wrap any exposed air filters or sensitive electronics with plastic bags and affix them in place with a few rubber bands, and remember to take it easy when it comes time to spray or rinse grime away.
In order to super clean your engine bay, you’ll also need to get a few goods that are not really intended for exterior cleaning, but are more of a “detail focused” design. Some of the more must-have tools include a vacuum with a fine tip hose attachment, a detailing brush kit, at least one multi-pack of microfiber towels, some high-grade engine cleaner/degreaser, a garden hose with a spray nozzle, a pre-blended bottle of car shampoo and H20, and a hefty amount of surface and trim protectant.
Some additional tools that will help you super clean your engine bay are a handheld steam cleaner with a multi-function nozzle for getting in tight places, a pressure washer that’s been put on its mildest setting, and either a leaf blower or some compressed air for quicker drying times.
The engine bay super cleaning process starts with either a steam cleaning, or the vacuum removal of any large debris, followed by the water blasting of anything that refuses the vacuum’s advances. Engine rinsed, take a look around and spray a liberal amount of cleaner/degreaser on the nastier looking areas of the engine compartment. At this point, feel free to break out those brushes and scrub way at any area you feel needs some elbow grease.
After another rinse, your engine bay should be looking a lot cleaner, at which point you can spritz it down with the car shampoo solution and start scrubbing with the other brushes in your detailing brush kit. Rinsed one last time, the bay is then ready for a microfiber cloth wipe-down, along with a little leaf blower or compressed air action, for those of you who prefer to displace water instead of absorbing it.
Once dried, you can get rid of those protective plastic bags, and use your trim conditioning chemicals and a clean microfiber cloth to give that bay that super clean shine you’ve been craving.
Quick Tip: For fresh cabin air, without the use of questionable man-made chemicals, stash a bag or two of activated charcoal odor neutralizer inside your car. These inexpensive aroma filters absorb the invisible gunk floating around inside a car, and oftentimes come in a sealed breathable bag for hassle-free use and removal.
3. Super Cleaning a Car Windshield

Time Spent: 20–30 minutes
Savings: $30–50
Fingerprints, airborne debris, plastic interior off-gassing, and even the breath emanating from your mouth can cause an oily film to form on the inside of your windshield. This is not only unpleasant to look at, but dangerous too, as it impairs your vision at night, and is quite distracting when headlight glare hits that oily residue.
In order to eliminate oily windshield streaking, and remove things like dust and debris build-up, spittle, and that booger your kid just flicked from the back seat, you’ll need to put the following steps into play.
First, thoroughly clean the outside of your windshield, as this will allow you to better determine what parts of the windshield need to be super cleaned on the inside. Then, scrub the backside of the windshield with a clean microfiber cloth, followed by a wipe-down with some mid-grade isopropyl alcohol to remove any oil build-up. Once that’s done, break out the automotive glass cleaner of your choosing, along with a fresh microfiber cloth to finish the windshield super cleaning process.
Quick Tip: Try to refrain from using a trim and surface protectant on your dashboard, as these products are often ultra oily, and will release said oils onto your windshield as they evaporate in the sun. Instead, use a simple microfiber cloth wipe-down and call it a day.
4. Super Clean Headlights

Time Spent: 20–60 minutes
Savings: $75–150
Forget using toothpaste for headlight restoration. This trick may work in a pinch, but it will never be able to provide the same levels of quality control and longevity as a purpose-built headlight restoration kit.
Now that’s not to say that all headlight restoration kits are made equal, because there’s a lot of gimmicky crap out there. So read reviews, and opt for a medium-grade headlight repair kit from a reputable brand, as this will provide you with everything you need to restore those hazy lenses to their former glory.
The headlight super cleaning process is fairly simple, as you gradually move from one grade of wet sanding to the next, continuously working in a side-to-side and up-and-down motion to reduce the onset of swirl marks. Heavily tainted headlights will take a bit of elbow grease and patience, but those lenses will eventually begin to turn crystal clear once more, at which point it’s time to break-out a microfiber buffing towel for some additional shine.
Quick Tip: After cleaning your headlights, hit them with a high quality nano ceramic coating to keep them looking new for the next 2–5 years, as they repel everything Mother Nature and the open road has to throw at them.
5. Super Clean Leather Seats

Time Spent: 5–30 minutes
Savings: $100–$300
Quick Tip: Leather seats super cleaned, maintain them by applying a leather conditioner every few months, and use a sunshade in summer to help keep UV rays and temps down.
6. Super Clean Carpets

Time Spent: 30–60 minutes
Savings: $100–200
A vehicle’s carpets are arguably the filthiest area of the interior. Muddy boots, rain-soaked umbrellas, spilt beverages, forgotten chocolate bars, dead bugs, pet hair, and all of the dust, pollen, dandruff, and dirt you can imagine have likely left their mark on your carpet.
While a highly reviewed carpet and upholstery cleaner and a quality carpet and upholstery brush will indeed cut through a lot of the caked-on crud, there’s a bit more to super cleaning a vehicle’s carpet than scrubbing.
Floor mats are removable for a reason, so get those nasty things outside, where they can be hosed, shampooed, scoured, and rinsed before being hung to dry. While those floor mats are drying, set yourself to vacuuming the carpet, using the brush as needed to dislodge any deeply embedded filth or dried grime.
If you see a stubborn stain or extra dirty area, break-out the carpet cleaning chemicals and give it a blast. We find that the foaming stuff tends to work best, as it penetrates even the most worn-down carpet to lift contaminants, and leaves a visual reminder of where you will need to scrub.
Quick Tip: If you plan on steam cleaning or shampooing your vehicle’s carpet, do it on a warm sunny day. This will guarantee that your interior dries quickly, and that it has the ability to properly air-out. Just say no to mold and mildew allergies folks…
7. Super Clean Car Upholstery

Time Spent: 20 minutes
Savings: $75–-200
While carpets can be cleaned with strong chemicals and a super rough brush, upholstery tends to require a more delicate approach. Sure, milder brushes, gentler chemicals, and less pressure are one way of getting super clean upholstery, but they will never be able to compete with a high-grade steam cleaner.
What was once considered an expensive specialist’s tool, has in recent years become a surprisingly affordable, lightweight piece of car cleaning gear, and holy crap do these things work well.
For super clean results, first clear away any large debris with an upholstery brush and a regular vacuum, before following up with a little steam cleaning action.
As you go you may notice that some stubborn stains resist the steam cleaner’s powers. Just spray a dash of upholstery cleaner on the area, let it sit for a moment, agitate with a brush, and steam the area one more time.
Quick Tip: Use a “steam lance” to remove dirt and debris in hard to reach areas where your vacuum won’t reach. You will find this tool rules at cleaning in between seat rails, inside cup holders, within vents, around the center console, along the length of door pockets, over shifter assemblies, and in many other tight spots.
Parting Shots

While you may not need to super clean your vehicle every other week, or even every other month, a bi-annual deep cleaning is a good rule of wrench to follow. This will not only help reduce the amount of deeply embedded contamination on and in your car, but it will make routine cleaning procedures far easier, and reduce the risk of allergic reactions.
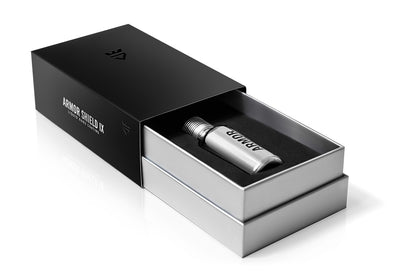
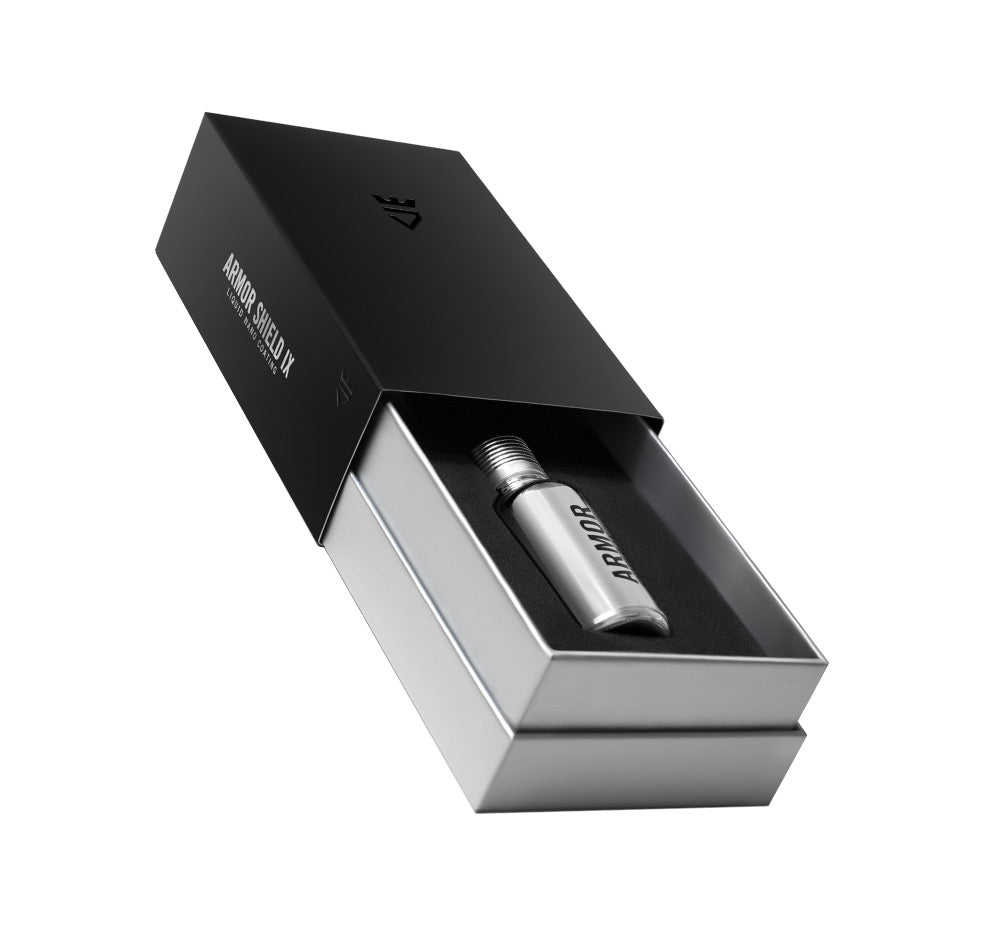
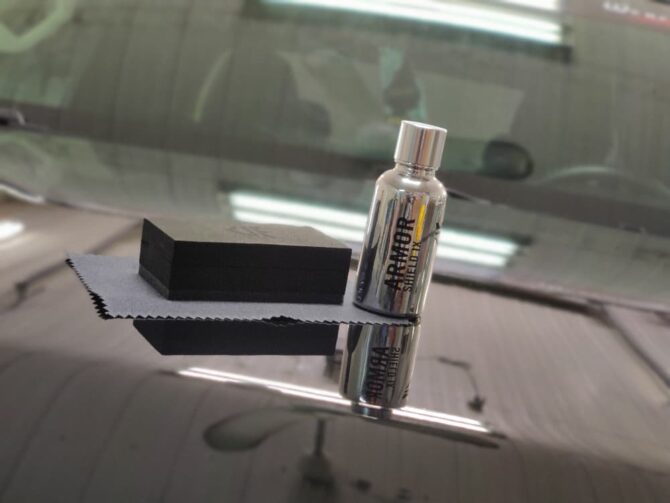
Just be sure to hit all of those hard surfaces with a properly blended IPA spray and a clean microfiber cloth after your super cleaning session is complete, and then coat them with a 9H-rated nano ceramic coating, like Armor Shield IX.
Doing so will make it nearly impossible for contaminants to get a foothold, and it will add a rich, deep-gloss luster to the surface, all while making your next super cleaning session all that much easier.


2 comments
Kevin Nielsen
I am getting ready to apply the ceramic coating to a 2022 Telluride. 2 questions – 1) I am able to apply this coating to the plastic trim around each of the wheels and along the bottom of the car? 2) How do you apply the coating around the raised badges on the edge of the hood and on the rear hatch. I am not able to find information on how to install around badges. Thank you
I am getting ready to apply the ceramic coating to a 2022 Telluride. 2 questions – 1) I am able to apply this coating to the plastic trim around each of the wheels and along the bottom of the car? 2) How do you apply the coating around the raised badges on the edge of the hood and on the rear hatch. I am not able to find information on how to install around badges. Thank you
Lary Cook
Upholstery cleaning is really hard! I usually take my vehicle for professional wash when I had to get them cleaned. I think pros to a really great job!
Upholstery cleaning is really hard! I usually take my vehicle for professional wash when I had to get them cleaned. I think pros to a really great job!