
What Are the Most Common Car Stains?
When you notice a paint stain on your daily driver or garage queen, don’t panic! It’s not the end of the world. In fact, chances are the blemish isn’t even engrained into the paint itself, but merely stuck upon the clear coat surface that has been layered over the paint. This is one of the primary purposes of clear coat applications, as they serve as the first line of defense against smudges and splatter.
Typically, a healthy car clear coat will make stain removal a cinch, as it repels the unsavory contaminant, and merely requires a quick wipe-down with a clean microfiber cloth and a spritz of detailing spray.
However, there are a few car paint stains that are tougher to remove than others. Here are a handful of the most common automotive “stubborn stains,” along with the pro-approved cleaning chemicals and removal methods that make their elimination far less of a hassle.
Paint Oxidation
The leading contender in the common car paint stain game isn’t really a stain, but the result of allowing a stain to spread. Paint oxidation can develop from any number of outside influences. From scratches and dents, to road salt corrosion and harsh chemical exposure, anything that penetrates a vehicle’s clear coat and exposes the painted surface underneath to the elements is bad news. Early detection and taking appropriate action is the key to preventing bare metal and soft plastics from being damaged by oxygen, water, and salt.
If left unattended on metal surfaces, oxidation can quickly turn into rust and/or corrosion, so nipping this one in the bud is a must, regardless of what you drive. The trick with oxidation though, is that depending upon the severity of the situation, professional paint correction procedures may need to be implemented. But not to worry. We’ll touch upon that topic a little later on.
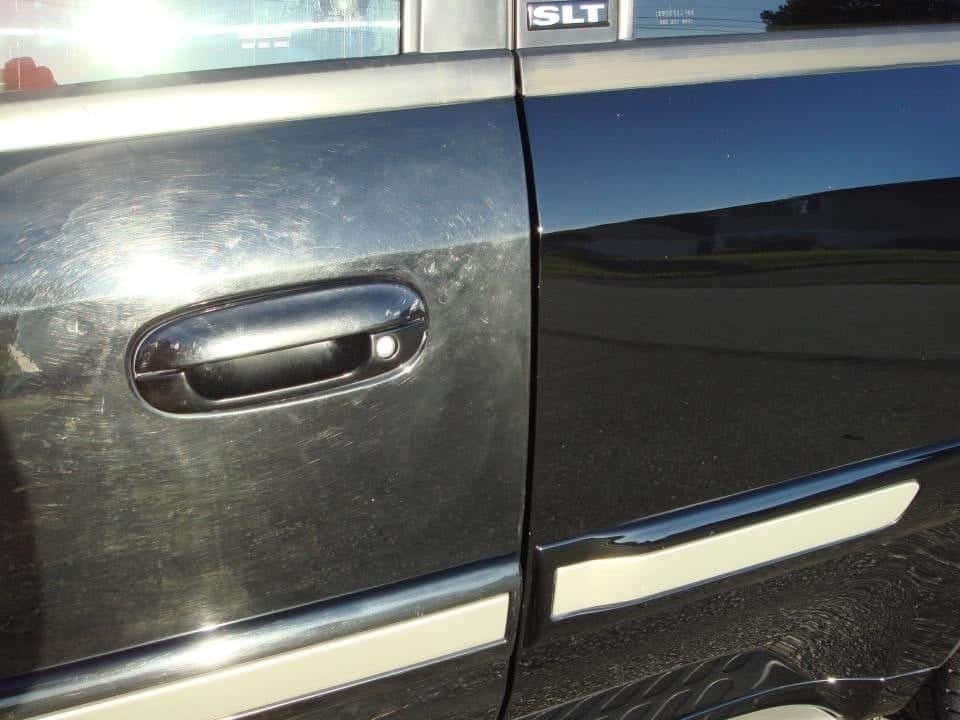
Paint Swirl Marks

Another misunderstood stain is a scratch. Also commonly referred to as “paint swirls” or “spider webbing,” these miniscule surface scuffs are little more than etchings or scratches embedded within the vehicle’s clear coat. If allowed to dirty, or stain, these blemishes can become quite unsightly, and over time may lead to paint oxidation.
Typically, swirl marks are caused by using rough towels or overly abrasive car washing supplies, along with improper washing and drying techniques. Automated car washes are also a common cause of spider webbing paint damage, hence the old-fashioned hand wash method being the most widely approved method of car cleaning.
Swirl marks can range in size and depth depending upon the amount of exerted pressure, as well as the texture of the cleaning material being used. Here, paint protection products like a 9H-rated ceramic coating will do wonders, as they are extremely resistant to surface scratches.
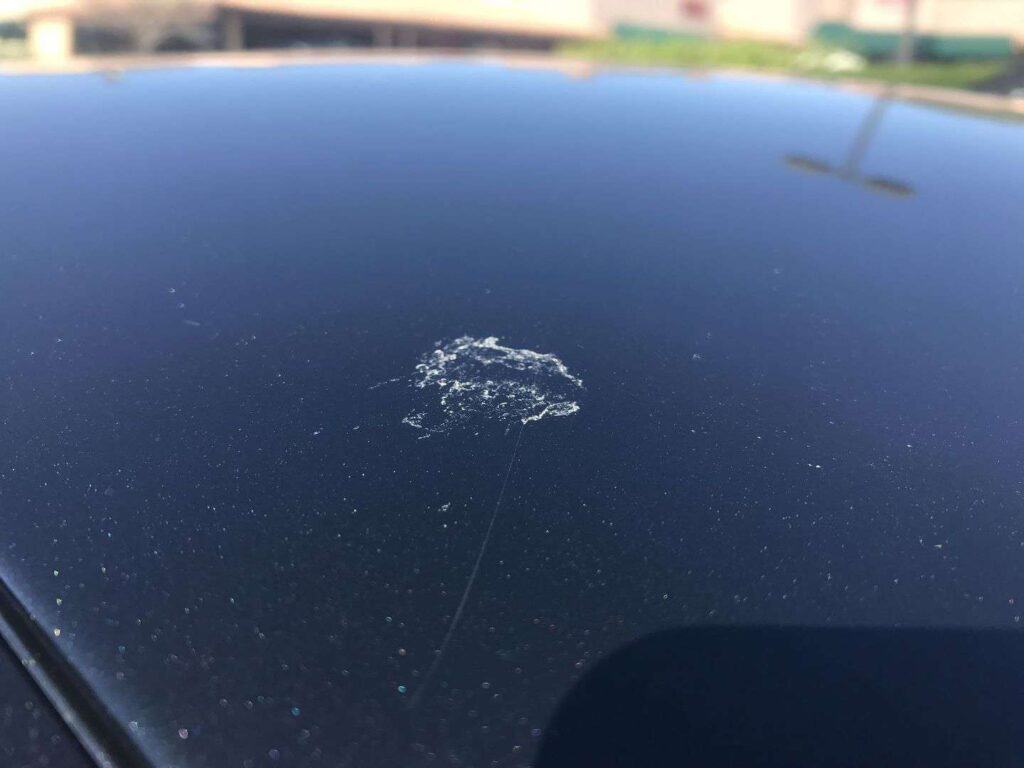
Tree Sap & Resin

The next round of paint stains is caused by that bitch of a mother we call “Nature,” and the resinous, foliage-filled canopies that shade out the sun. Yes, we’re talking about the lifeblood of a tree: Sap. When a tree gets pruned, damaged by wind, threatened by insects, or exposed to rot, the afflicted area oozes this sticky stuff to neutralize the threat and place a protective “gauze” over the wound. Once dried, the area resembles a scab-like surface, hence the aforementioned “lifeblood” analogy.
While sap stains can come from many kinds of trees, and is instantly recognizable due to its glue-like, spotty appearance, certain kinds of tree sap can be more challenging to remove than others. This is due to the fact that many kinds of sap aren’t actually sap at all, but evergreen “resin.” Fir, pine, and cedar trees in particular are notorious for producing this nasty, acid-rich stuff; which when allowed to eat into a car’s clear coat, results in a recognizable stain that has literally been “etched” into the surface.
Like oxidation, this is one of those contaminations that is best detected and removed right away. Allowing tree sap or resin to sit for prolonged periods of time will only give it further cause to permanently affix itself to your automobile.
Bird Droppings, Berries, & Bug Splatter
Much like tree sap and resin stains, bird droppings and bug splatter damage paint surfaces via acidic contaminants within their molecular structure. Damage can occur within just a matter of hours, and is often accelerated when direct sunlight, excessive heat, and the diet of the bird who just took a dump on your car is called into question. Bug splatter has a similar effect, but is typically magnified not by the insect’s diet, but the genetic makeup and size of the critter in question. Bugs also tend to have exoskeletons, so they not only splatter when they hit your vehicle, but they have the ability to crack into the clear coat too.
As for berry stains, that’s an entire topic in and of itself, for there is far more to this brightly hued residue than one might assume. For further reading on this stain-filled subject, we suggest turning toward our blog article entitled “The Great Fruit Fight.”
Road Grime & Salt

Salted roads, dusty trails, and polluted underpasses all play a role in the amount of car stains christening our cars every moment they are in motion. From freshly laid asphalt kicking-up on your hood, to filthy gutter water and desert dust collecting on your quarter panels, it’s all there to stain and if you’re not careful, remain…
Car Paint Stains Simplified

So let’s review for a moment, shall we? Most of the common stains found on car paint are caused by outside sources, and the stain itself is not really embedded into the paint, but stuck on the clear coat, or whatever protectant that’s been applied atop said transparent surface.
All of the stains listed above can be quite difficult to remove too, some of which require the application of specialized cleaners, degreasers, or deep cleaning products like polishing and cutting compounds. Breaking out the old electric orbital polisher typically means cutting into the clear coat until the complete depth of the stain has been removed. This is a job best left to the pros, a topic that we will discuss in detail here shortly.
Defining Water Spot Stains

A water spot essentially is a stain. Fortunately, these top layer stains won’t always etch into the clear coating, but rather develop atop them. So despite their prevalence, water stains tend to be much easier to remove. This is because the majority of the time, water spots are caused by mineral deposits suspended within the liquid, which when dried, has nowhere to go but onto the clear coat. Milder water stain marks can oftentimes be removed with little more than a microfiber towel, while more serious spotting requires the application of a chemical cleaning agent or approved automotive soap.
Essentially, there are three commonplace water spots to watch out for, all of which are listed below.
Stage One

The first level of water spot is a “Stage 1,” or “Type 1” spot. This sort of stain is commonly caused by hard water with excessive amounts of calcium, chlorine, and other trace chemicals and minerals. You can often remove this sort of stain with a microfiber towel, or by using a mild detailing spray.
Stage Two

The second layer to water spots is the Stage 2 stain. This is often the result of a bonded mineral being allowed to sit on the painted surface for prolonged periods of time. Due to being permitted to eat into the clear coat, this type of H2O stain requires chemical removal in order to be completely cut from the surface.
Stage Three

The final, and by far most serious water-based stain is known as the “Stage 3” water spot. Having been permitted to fully embed within the vehicle’s clear coat, the mineral deposit has become so deeply engrained in the painted surface, that it will require aggressive removal procedures in order to be safely lifted.
How to Remove Car Paint Stains
For many people, the primary problem with car paint stains, is that there really isn’t a cut-and-dry solution for removing them. Different stains require different kinds of care and tools/chemicals. Depending upon the depth/level of the stain, how long it has been allowed to solidify upon the paint, its molecular make-up, and the tainted surface material itself, removal may require some “serious surgery.”
But before you begin to sweat bullets, over the image of your ride going “under the knife,” know that there are a few deciding factors that must be taken into consideration before a stain’s removal can even begin. Pondering the following questions will help you determine the severity of the situation, as well as your ability to remedy the issue on your own.
What is the source of the stain?
Determining where a paint stain originated can tell you a lot about the fixes that are ahead. For instance, if the paint stain has been caused by something extremely acidic, the stain has more than likely dug deep into the clear coat, and will likely require professional paint correction. We suggest going to a pro for something like this, because an inexperienced, heavy-handed approach will more than likely result in the removal of the clear coat, and potentially, the paint beneath it.
How long the stain has been sitting on the surface?
The longer a stain is allowed to sit on a surface, the more difficult it will be able to remove. Kind of like your drunk uncle after he passes-out on your grandma’s sofa. While a berry stain that has been bumping uglies with your automobile for a few days might be able to be removed from the equation a quick, two-buckets-and-a-beer car wash, anything that’s been allowed adhere to your car’s clear coat for weeks on end will likely require more drastic measures.
What’s your level of automotive detailing experience?
You don’t have to be a professional detailing guru to safely and successfully remove a stubborn paint stain, but being completely clueless isn’t going to help your cause either. Paint stains resulting from corrosion-causing chemical splatter, spilled paint, or deeply embedded tree resin require ample amounts of time, patience, experience, and tools. Taking the, “Let’s try this and see if it works…” mentality is more than likely going to hurt more than help, so unless you have experience dealing with auto body maintenance and repair it might be best to hand your keys over to a pro.
Steps for Removing Car Paint Stains
For the novice DIY enthusiast looking to get their feet wet, or those with moderate detailing experience in search of some stain-removing experience, the following steps are a great place to start.
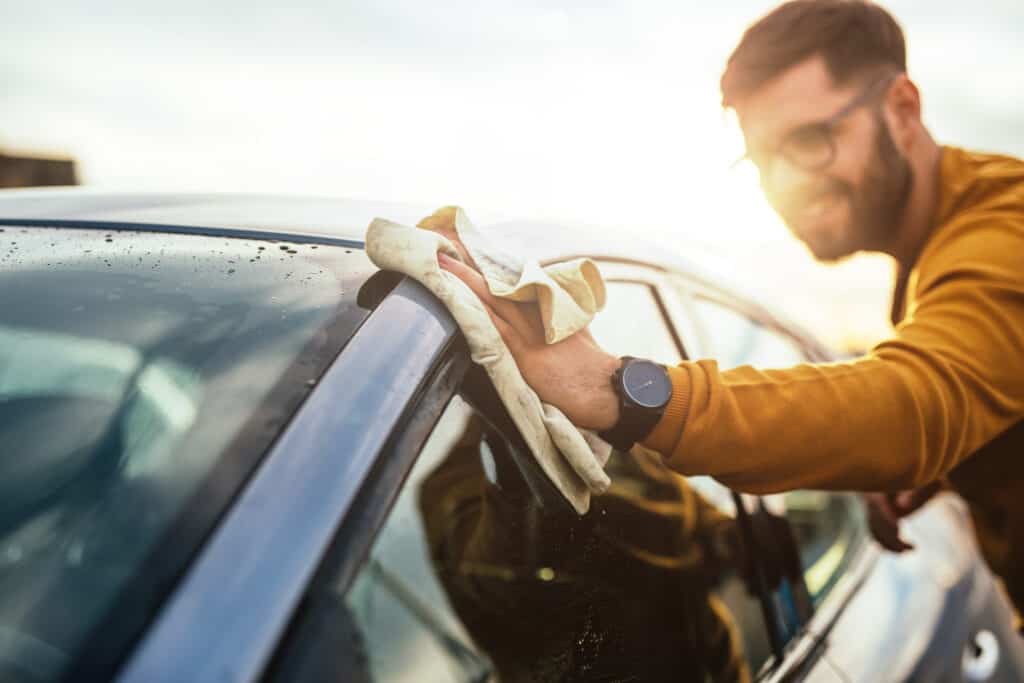
Step 1: Wash & Dry the Vehicle
A clear view of what can and cannot be merely washed away with soap and water should always be your first step. This where our tutorial on how to complete the aforementioned two-buckets-and-a-beer car wash method will come in handy, which when combined with some straightforward detailing tips will expose tough stains, and wash away everything else.
Step 2: Blend-Up a White Vinegar Spray Solution
Once your car has been completely washed and dried, whip-up a distilled white vinegar spray solution. Vinegar is an amazing, super affordable cleaning product and odor eliminator, and when blended to make a 50/50 distilled water mixture, has the ability to remove many types of tough surface stain.
50/50 blend made, shake the bottle and spray the solution onto the stained surface. Allow the homemade liquid to sit for about 30-seconds before wiping away the vinegar spray solution with a clean microfiber towel.
If the stain remains, conduct one more application with the vinegar spray before proceeding to the third step. Most of the time, you will not need to do so, as this solution works on Stage 1, 2, and even certain Stage 3 water spots. It can also loosen-up bird shit or bug guts, berry stains, and various kinds of road grime.
Quick Tip: Always be sure to use distilled water and vinegar as it will guarantee that you are creating a concoction that is devoid of impurities. Just don’t let this solution sit on a painted surface for too long, as its intense pH levels can quickly damage a clear coat.
Step 3: The Clay Bar Treatment
Our next stop on the soiled paint stain highway is the classic clay bar, or clay mitt treatment. Commonly referred to as “claying,” this procedure involves the use of an automotive approved moldable clay (either by itself or installed within a specialized wash mitt), and some lubricant/car wash shampoo.
By sliding the clay bar or mitt back and forth over the car’s exterior, you not only pick-up microscopic impurities and deeply embedded road contaminants, but surface stains too. This procedure is both labor intensive and detrimental to surface protectants like wax and ceramic coating, so only attempt claying after exhausting the prior two options.
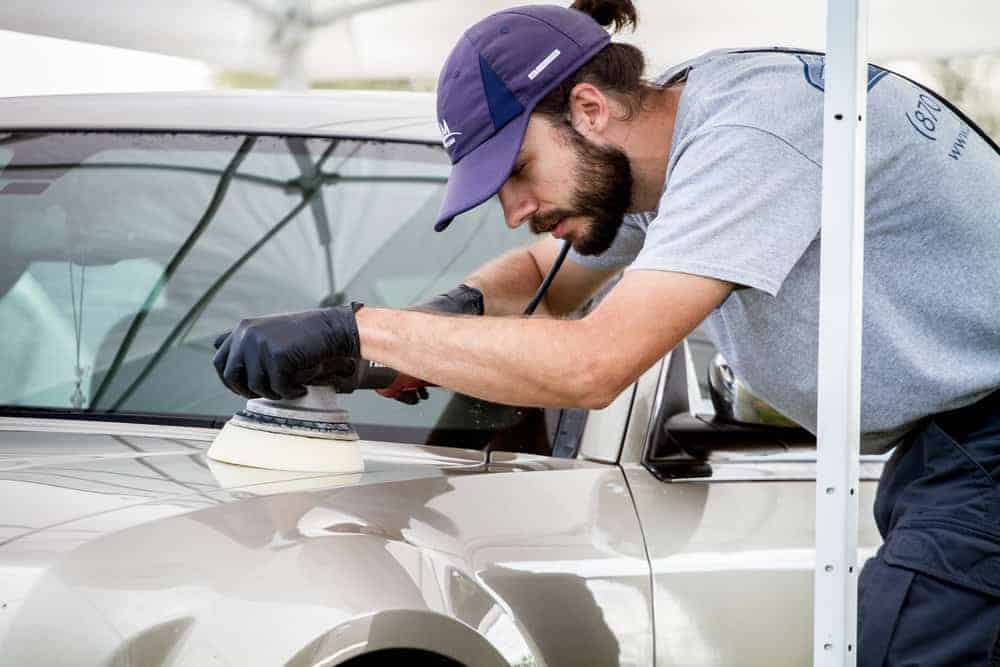
Step 4: Paint Correction

If you’ve attempted all three of the steps we previously listed, and that damn stain still remains, your final (and only) option is to attempt a paint correction procedure. This involves breaking-out a series of polishing compounds in varying grit levels, a sleeve of microfiber applicator pads, painter’s tape, and an electric-powered orbital polisher. Just be forewarned, it’s paint correction that tends to quickly go from a, “Let’s try this out…” sort of project, to an, “Oh shit ya’ll. I think I fucked-up…” fiasco.
On the upside, this procedure will more than likely remove any oxidation “stains” or spider webbing from the car’s clear coat. So for those of you who are feeling confident enough to attempt such an operation, our step-by-step blog feature on the topic of paint correction will more than likely come in handy.
Parting Shots & How to Prevent Paint Stains
There is no other way to spin this: Removing paint stains is a process that can be easily avoided. Opting to apply a high-quality surface coating product like a paint protection film (PPF), or a DIY nano-ceramic coating is going to make a massive difference in the amount of strain spent on removing surface stains. The latter of these two tends to have the upper hand, as most common 9H-rated DIY ceramic coatings cost a fraction of what a pro PPF install runs.
This nano-coating uses microscopic quartz particles to fill the peaks and valleys found on solid, porous surfaces, which means that once cured, contaminants have a difficult time embedding in the clear coat’s surface. Hard water and grime-laden slush bead-up and roll away, while crap like tree sap, bird turds, bug splatter, berries, and chemical-based stain producers struggle to find a foothold, and can oftentimes be rinsed away with little to no effort.
Paint stains aren’t the only thing a 9H-rated ceramic coating repels either. Surface scratches become a problem of the past, and UV ray worries suddenly disappear, so forget fretting over clear coat and paint oxidation or the threat of spider web surface scratches. For more information regarding how Armor Shield IX can keep your car protected from the elements, along with useful car cleaning hacks, be sure to head over to the AvalonKing blog information page. Chances are both you and your ride will like what you find.


Comments (29)
I just went through. Car wash and noticed I had several gold/yellow stains on the hood of my car…they may have been there unnoticed beforehand. I was parked under a tree for about 6 days. WHITE CAR…HELP
I was intending to pinstripe my 2018 honda and cleaned area with alcohol. Decided not to pinstripe. Didn’t clean off alcohol(70%). Now dirt smudges from cleaned area are embedded in car. Have tried goo off & WD40 without success. Has been very hot. I’m guessing claying may be required? Thanks! Steve
Hello
I put gas in my n at time I fill it till the gas run out down the side. My car is white, after a drive thur car was I noticed a gas stain. How to remove it?
Hello Velile!
To be perfectly honest none of us here have heard of that. Is it a liquid, powder, dust or paint debris?
A product call umadubhula was mistakenly splashed on my white car ,what product can I use to remove it
I need to know the answer to this question too…our car has a black discoloration due to water dropping (leak) in our gutter. Is there a diy for this?
I think when I had my windows tinted a couple years ago that they must have laid part of the tint on the top door frame. Is there anyway to get that off?
Hey white Mildew looking roof bonnet ..when u clean or buf it gets smaller but then griops Ur rag ..and stops coming off
Hello I have 2016 tahoe and lately it started to develop a white film on the hood and roof top. Its dark grey color suv. I have tried mcguires 3 pack of compound polisher and wax. but have only gotten as far as compound and some polish. I started with compound rubbing by hand, no change. then used an orbital polisher. it starts to vanish but as soon as it dries up the dry look comes back. I’ve tried the polisher and the same thing. I’m not a professional detailer. Maybe I’m doing something wrong in the process. But whatever stained my paint is in there. some advise, would be gladly appreciated. I’m going crazy here
I’ve used cloth car covers for years on my cars and I have this problem with my newest car cover (cloth) and the stains can’t be removed from the clear coat even with McGuire’s cleaning wax which used to work for me.
Anybody have any ideas?